
Cult Classics
These three cameras have some what of a cult following in the 35mm film community. Each one easily slips into a pocket without much fuss. Prices vary considerably between the three, but all will cost easily above $75 depending on where you purchase them.

Canon Sure Shot, Rollei 35s, and Olympus XA2.
These three cameras have some what of a cult following in the 35mm film community. Each one easily slips into a pocket without much fuss. Prices vary considerably between the three, but all will cost easily above $75 depending on where you purchase them.
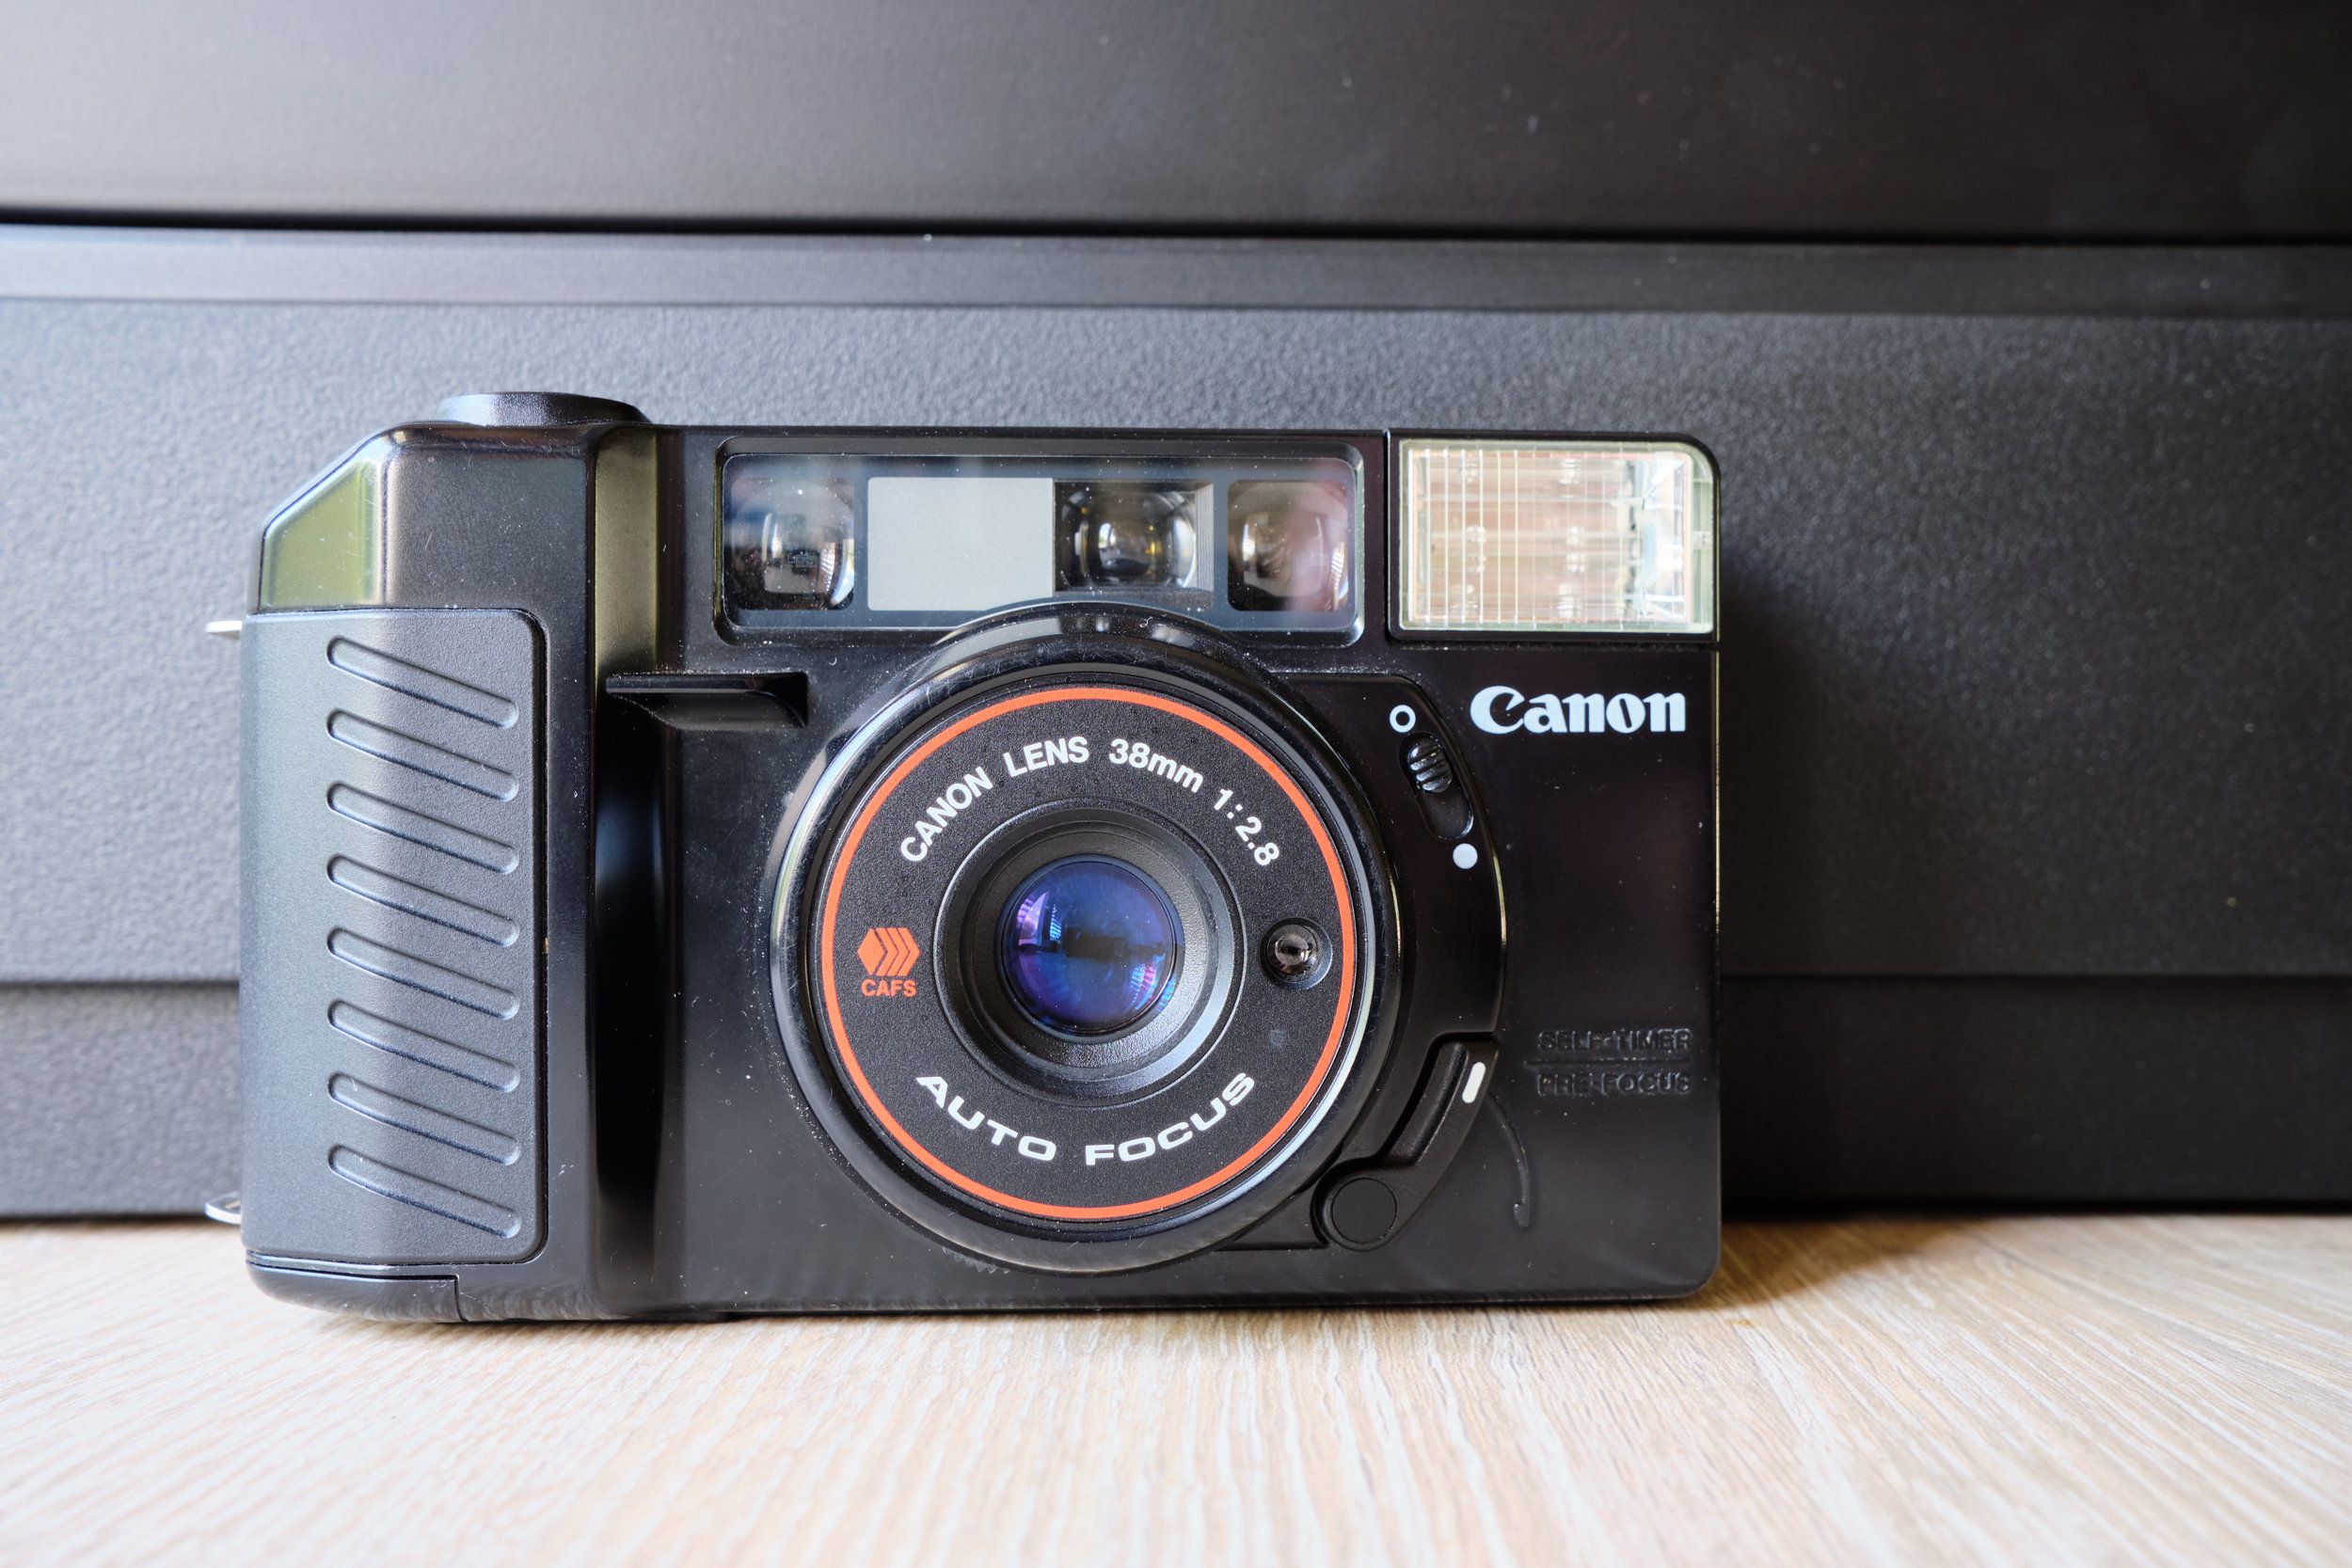
The Canon Sure Shot is the most automated of the three cameras. The only thing you have control over (sort of), is the focus. The switch on the front allows you to “Pre-focus”, though it’s anybody’s best guess where it’s actually focusing. There is a small scale in the viewfinder showing you about where it’s focusing, but I really have no idea what the scale means in practice. Other than the pre-focusing option, all you do is point and shoot and hope that the photo turns out.
A little bit about the camera:
35mm film
38mm f/2.8 Lens
Completely automatic point & shoot (except for the pre-focus)
Decently sharp lens
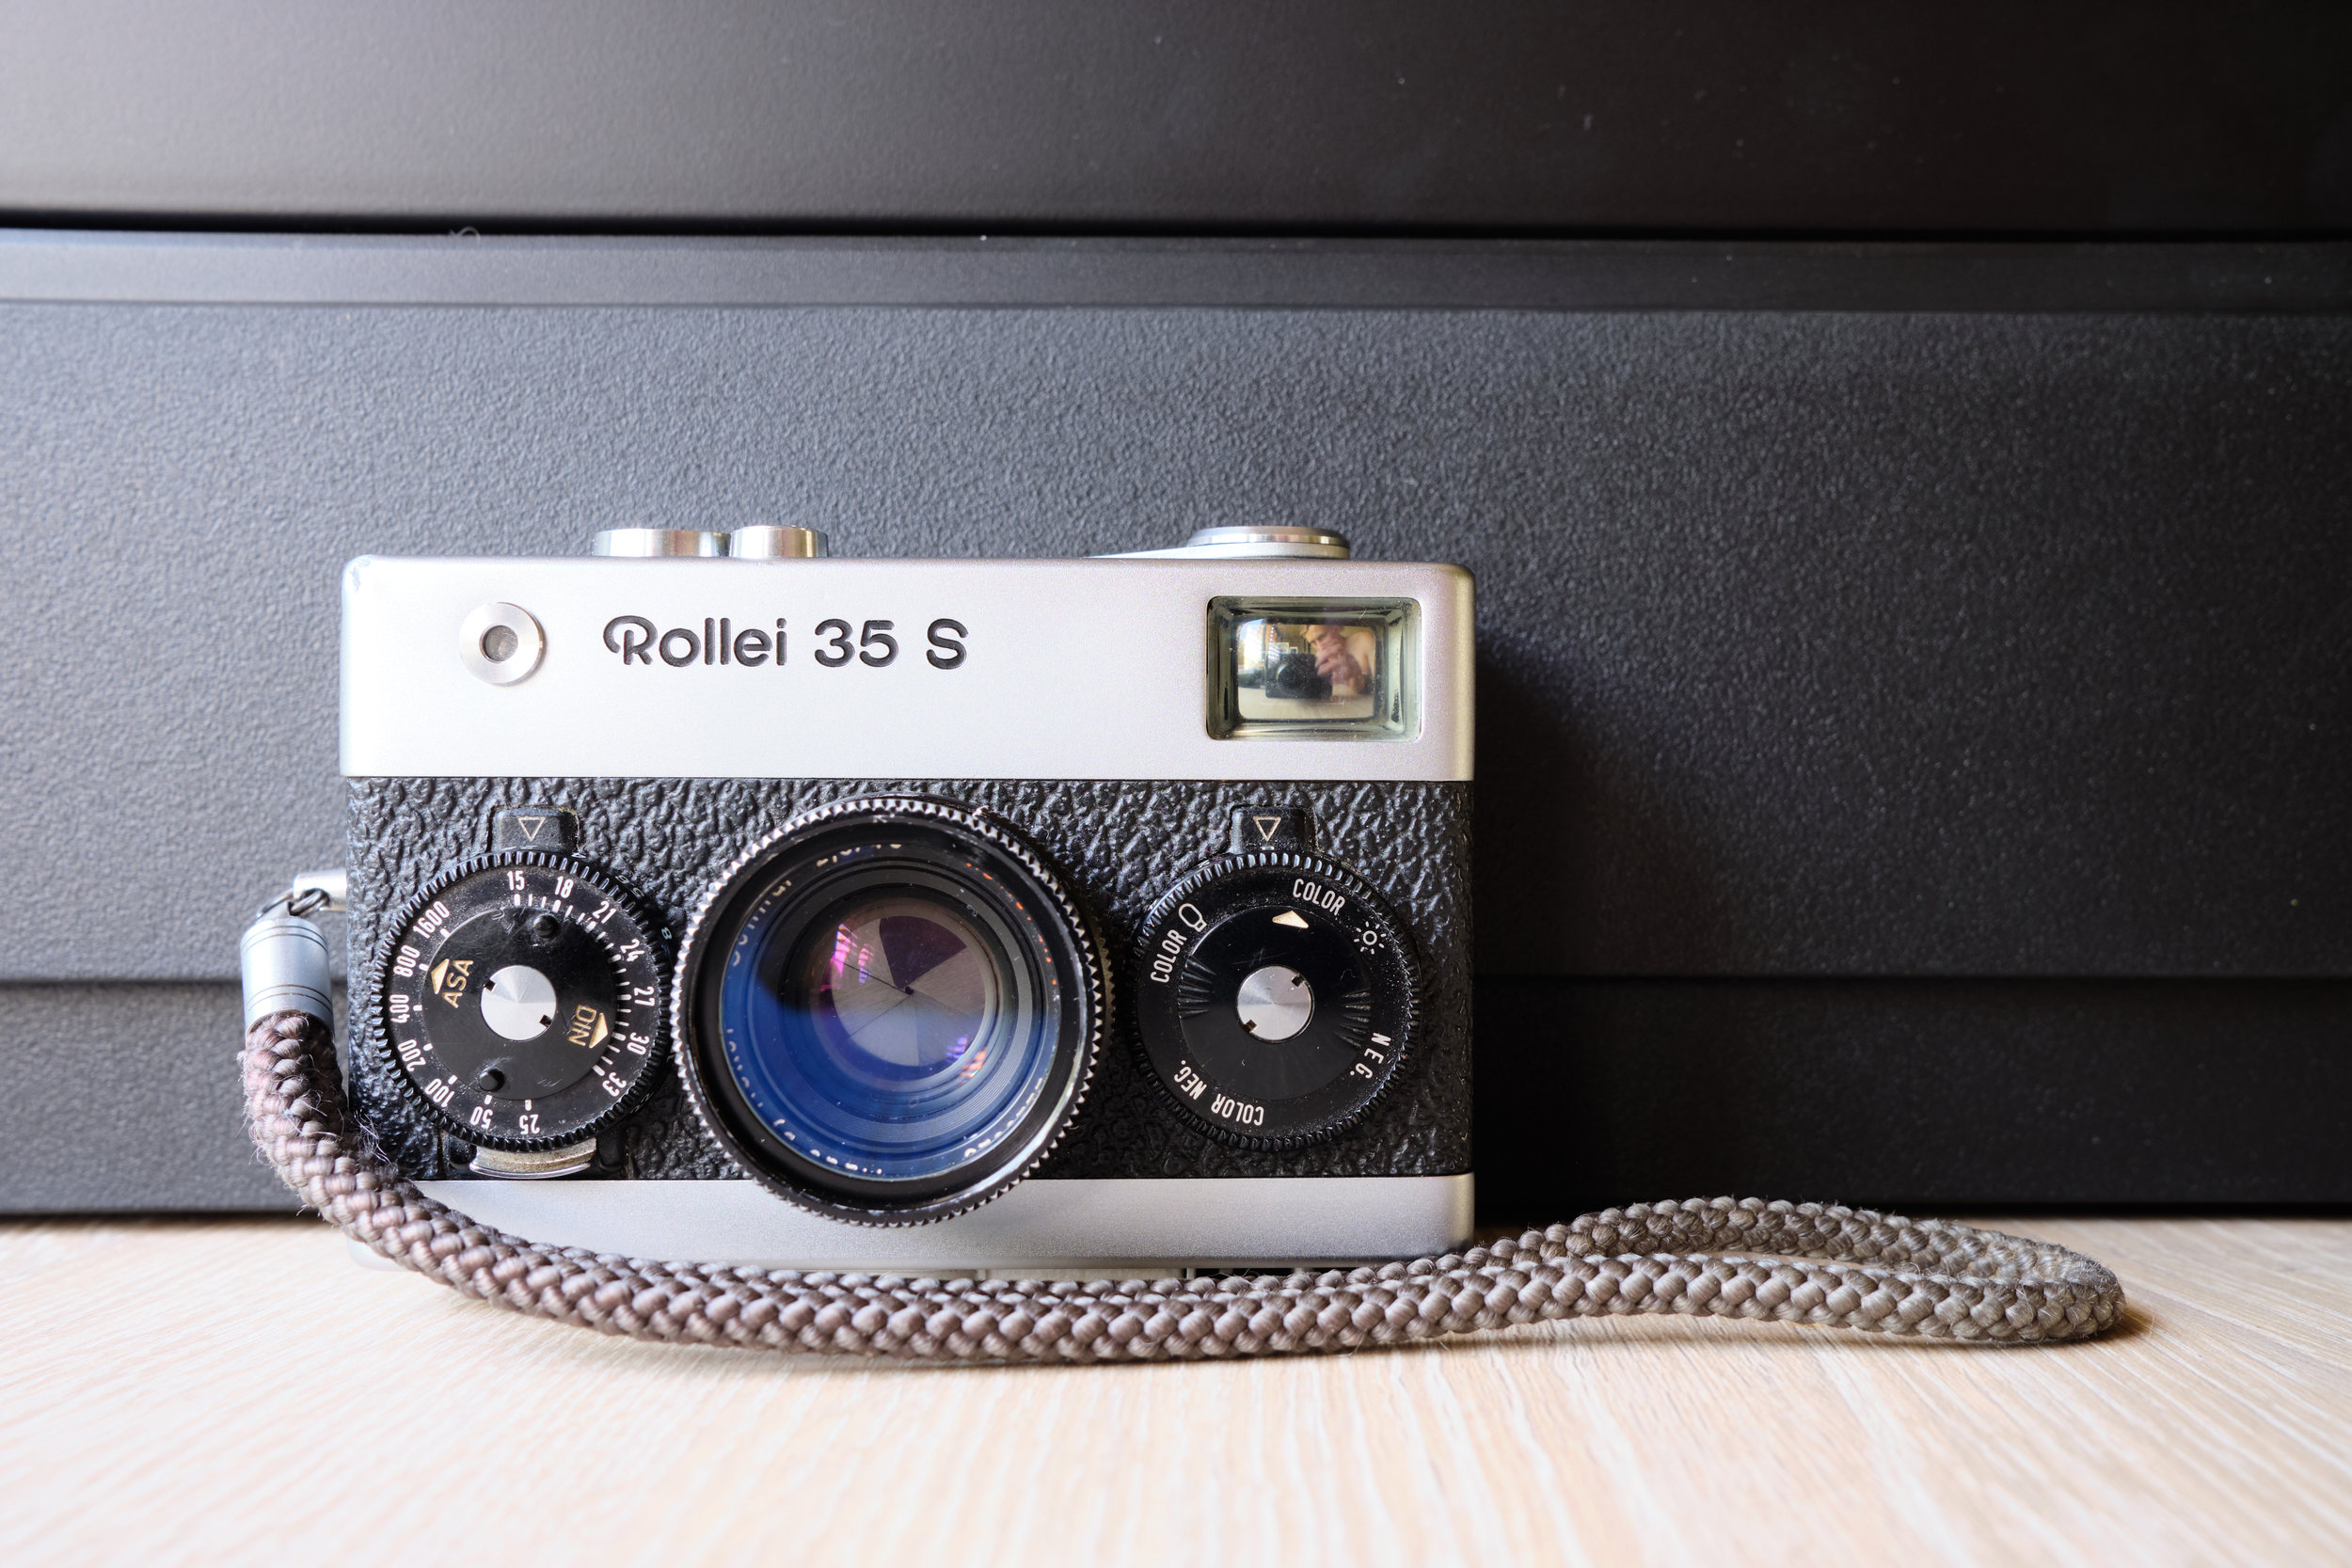
The Rollei 35 S is completely manual and the most compact of the three cameras. It does have a light meter to help determine proper exposure but finding a battery for it isn’t the easiest; I’ve been guessing exposure. Shutter speed and aperture are controlled by the two front dials. Focus is of the zone-focusing style, which is basically guessing distance and hoping you get it right. This is the most well made camera of the three as well. 1960’s german engineering is something else.
A little bit about the camera:
35mm film
Completely manual
40mm f/2.8 Sonnar Lens
Most compact and extremely well built

The Olympus XA2 is a strange mix between the two other cameras. You must move the switch on the left of lens to determine where it will focus, so a much less accurate version of zone-focusing. Exposure is completely automatic. I feel most comfortable sliding this camera in a pocket since the lens is covered when closed. I’m not sure which one is quieter, this camera or the Rollei. Advancing to the next frame is the same as disposable cameras, with an edged wheel on the right side.
A little bit about the camera:
35mm film
35mm f/3.5 Zuiko Lens
Mix of manual and automatic
Easily the lightest of the three
I will write up a full review of each of the three cameras in the next month or so, going into more detail and showing pictures I’ve taken with each one. In the mean time, I’m going to hunt for a battery for the Rollei so I hopefully get some in focus shots.
Enjoying *Most* of the Process
There are multiple reasons I started shooting film again, but the biggest reason is that it slows me down and makes me more present in the moment. Shooting film is inherently a slow process, and since I started developing and scanning at home, it has become even slower.
There are multiple reasons I started shooting film again, but the biggest reason is that it slows me down and makes me more present in the moment. Shooting film is inherently a slow process, and since I started developing and scanning at home, it has become even slower. I’m learning to set aside an hour or two a week to develop film that has been sitting idly by for sometimes two months before I get to it.
Shooting is obviously my favorite part of the whole experience. Developing only takes about 20 minutes from start to finish, hanging to dry takes about two hours. I find the process of developing very therapeutic; I am fully engulfed in the moment, and it feels like my own form of meditation.
After the film has dried, I get to cutting it up into scannable sections to hopefully make it a little more efficient.
BUT, scanning is awful. It’s painfully slow, the software is buggy and reminiscent of early 2000’s Internet Explorer. It’s like someone designed the software back in ‘01 and failed to ever update the interface. Trying to edit within the scanning software feels like walking through the woods on an unknown trail, blindfolded. You take one step off the trail, kick a rock, trip and fall into a ditch. I’m only being slightly dramatic. Pull up the histogram to edit the blacks, mid-tones, and highlights, and what you see happening to your photo doesn’t make any sense compared to what you’re doing to the histogram. It’s incredibly inaccurate and doesn’t loan much confidence in the scanning program.

Epson V750 - Nothing PRO about it.
Another issue I had with scanning was the inability to leave the computer and software to run and go do something else. If you didn't keep clicking on the screen between every photo, it would stop. How incredibly efficient. After digging through a couple pages of Google results, I actually found out there is a solution to this stop-go issue I was having. I had to download another file which was separate from the main program, restart the whole software, and then it would scan continuously like it’s supposed to. I have no clue as to why they chose to keep those things separate instead of just including it in an update. But again, early 2000’s design.
Scanning does go quite a bit faster now, but it’s still the worst part of shooting film. If I have a professional lab do the scanning, I have to pay at least $20 a roll, and that adds up quickly with how much I shoot. Scanning at home is the more economic option, but my $300 scanner doesn’t quite give the quality that the professional lab’s $15,000 scanner is capable of.
If I try to push the scans too much while editing afterwards, they get some gnarly lines going up and down the frame. Everyone loves seeing lines going across the frame and spending 30+ minutes trying to edit them out right?

Unedited scan from an unnamed lab in Arizona. Notice the vertical lines across the entire image.
Any attempt to make the scanner do what it’s designed to do, and it’ll wreak havoc on the scans. I tried to apply the “Digital ICE” function to this picture to have the dust, scratches and other blobs removed from the photo. It didn’t work in the least bit, and honestly I think it made the entire scan worse than if I had kept it off like usual. These scans were a cluster from the beginning, as the lab I went to in Arizona mailed back the negatives on top of one another, which in the film world is a huge no-no. They stuck together, ready to rip off the emulsion from the negatives.
Thing is, just because there’s one awful part to shooting film, doesn’t mean I’ll stop anytime soon. The majority of the process is a blast, scanning just sucks. I leave the negatives under books for a couple days to help flatten them out anyways, and I’ve found myself doing that more often now that I’m scanning at home. Maybe one day I’ll be able to invest in a $15,000 scanner, but that ain’t happening for a long, long time. Until then, I’ll keep dealing with this crap shoot of a system.
The Case for an Expensive Tripod
Tripods, like cameras, lenses, and everything else in the world, come in a wide array of choices. Variety is the spice of life, but when it comes to anything photography related, things get quite blurred quickly.
Tripods, like cameras, lenses, and everything else in the world, come in a wide array of choices. Variety is the spice of life, but when it comes to anything photography related, things get quite blurred quickly. There are options ranging from the $25 Amazon Basics tripod, to a $1500 Really Right Stuff tripod. As the old adage goes, you get what you pay for. With tripods, that statement rings true in every single way.
I paid 80 dollars for my first tripod and head, and they worked the way I needed them to. As my gear collection and skill set expanded, I outgrew my tripod head. It couldn’t handle the weight of my larger lenses, nor could it spin horizontally like I needed when I got into panoramas. I ended up buying a new tripod head to mount onto the legs, spending another $100. That head worked great the last three years with the gear I had, but as my dive into medium format grew deeper and deeper (think holding two bricks worth of a camera), that tripod set up could no longer support my needs or my gear.

Size doesn’t always equate to increased stability, in this case it does.
Every time I put my camera on that tripod and locked it up, the legs would bend, the ball head would slowly adjust itself, and my composition I worked so hard to get would end up shifting into whatever the tripod felt most comfortable with. Long exposure shots would get blurred because the tripod would blow and bend with the breeze. I can’t even begin to count the number of shots that got ruined because my gear was too much for the tripod.

Both tripods extended to max height.
With my trip coming up, I knew I needed something sturdier if I wanted my shots to turn out. It was painful, but I ended up shelling out around $800 total for Oben carbon fiber legs and an RRS ball head. The difference between the two set ups was clear the first time I set them up next to each other. I put my camera on the new set, locked it in, and proceeded to push down on the top of it to see what would happen. I couldn’t believe what happened; Not. A. Damn. Thing. It didn’t shift or bow, I was blown away.

Six pounds of metal on top of another five pounds of metal.
Not only was the whole thing sturdier, it was friendlier to use. It’s quicker and easier to set up and take down. It’s weighs a whole lot more than my other tripod and head, but with more weight comes more security. I’m not saying to go spend $800 like I did, because honestly I’m kind of insane, but please spend more than you think you need to, because it will help in the long run as your needs grow.
“Your shots are only as sharp as your tripod allows them to be.” - No idea who said it but it’s a solid quote.
5 Frames With the Mamiya M645 1000s and Mamiya-Sekor C 55mm f/2.8
My dive into medium format film was hard and fast. Less than two months after I started shooting film again, and after buying a Leica M3, I found this beauty of a Mamiya M645 set up on eBay.
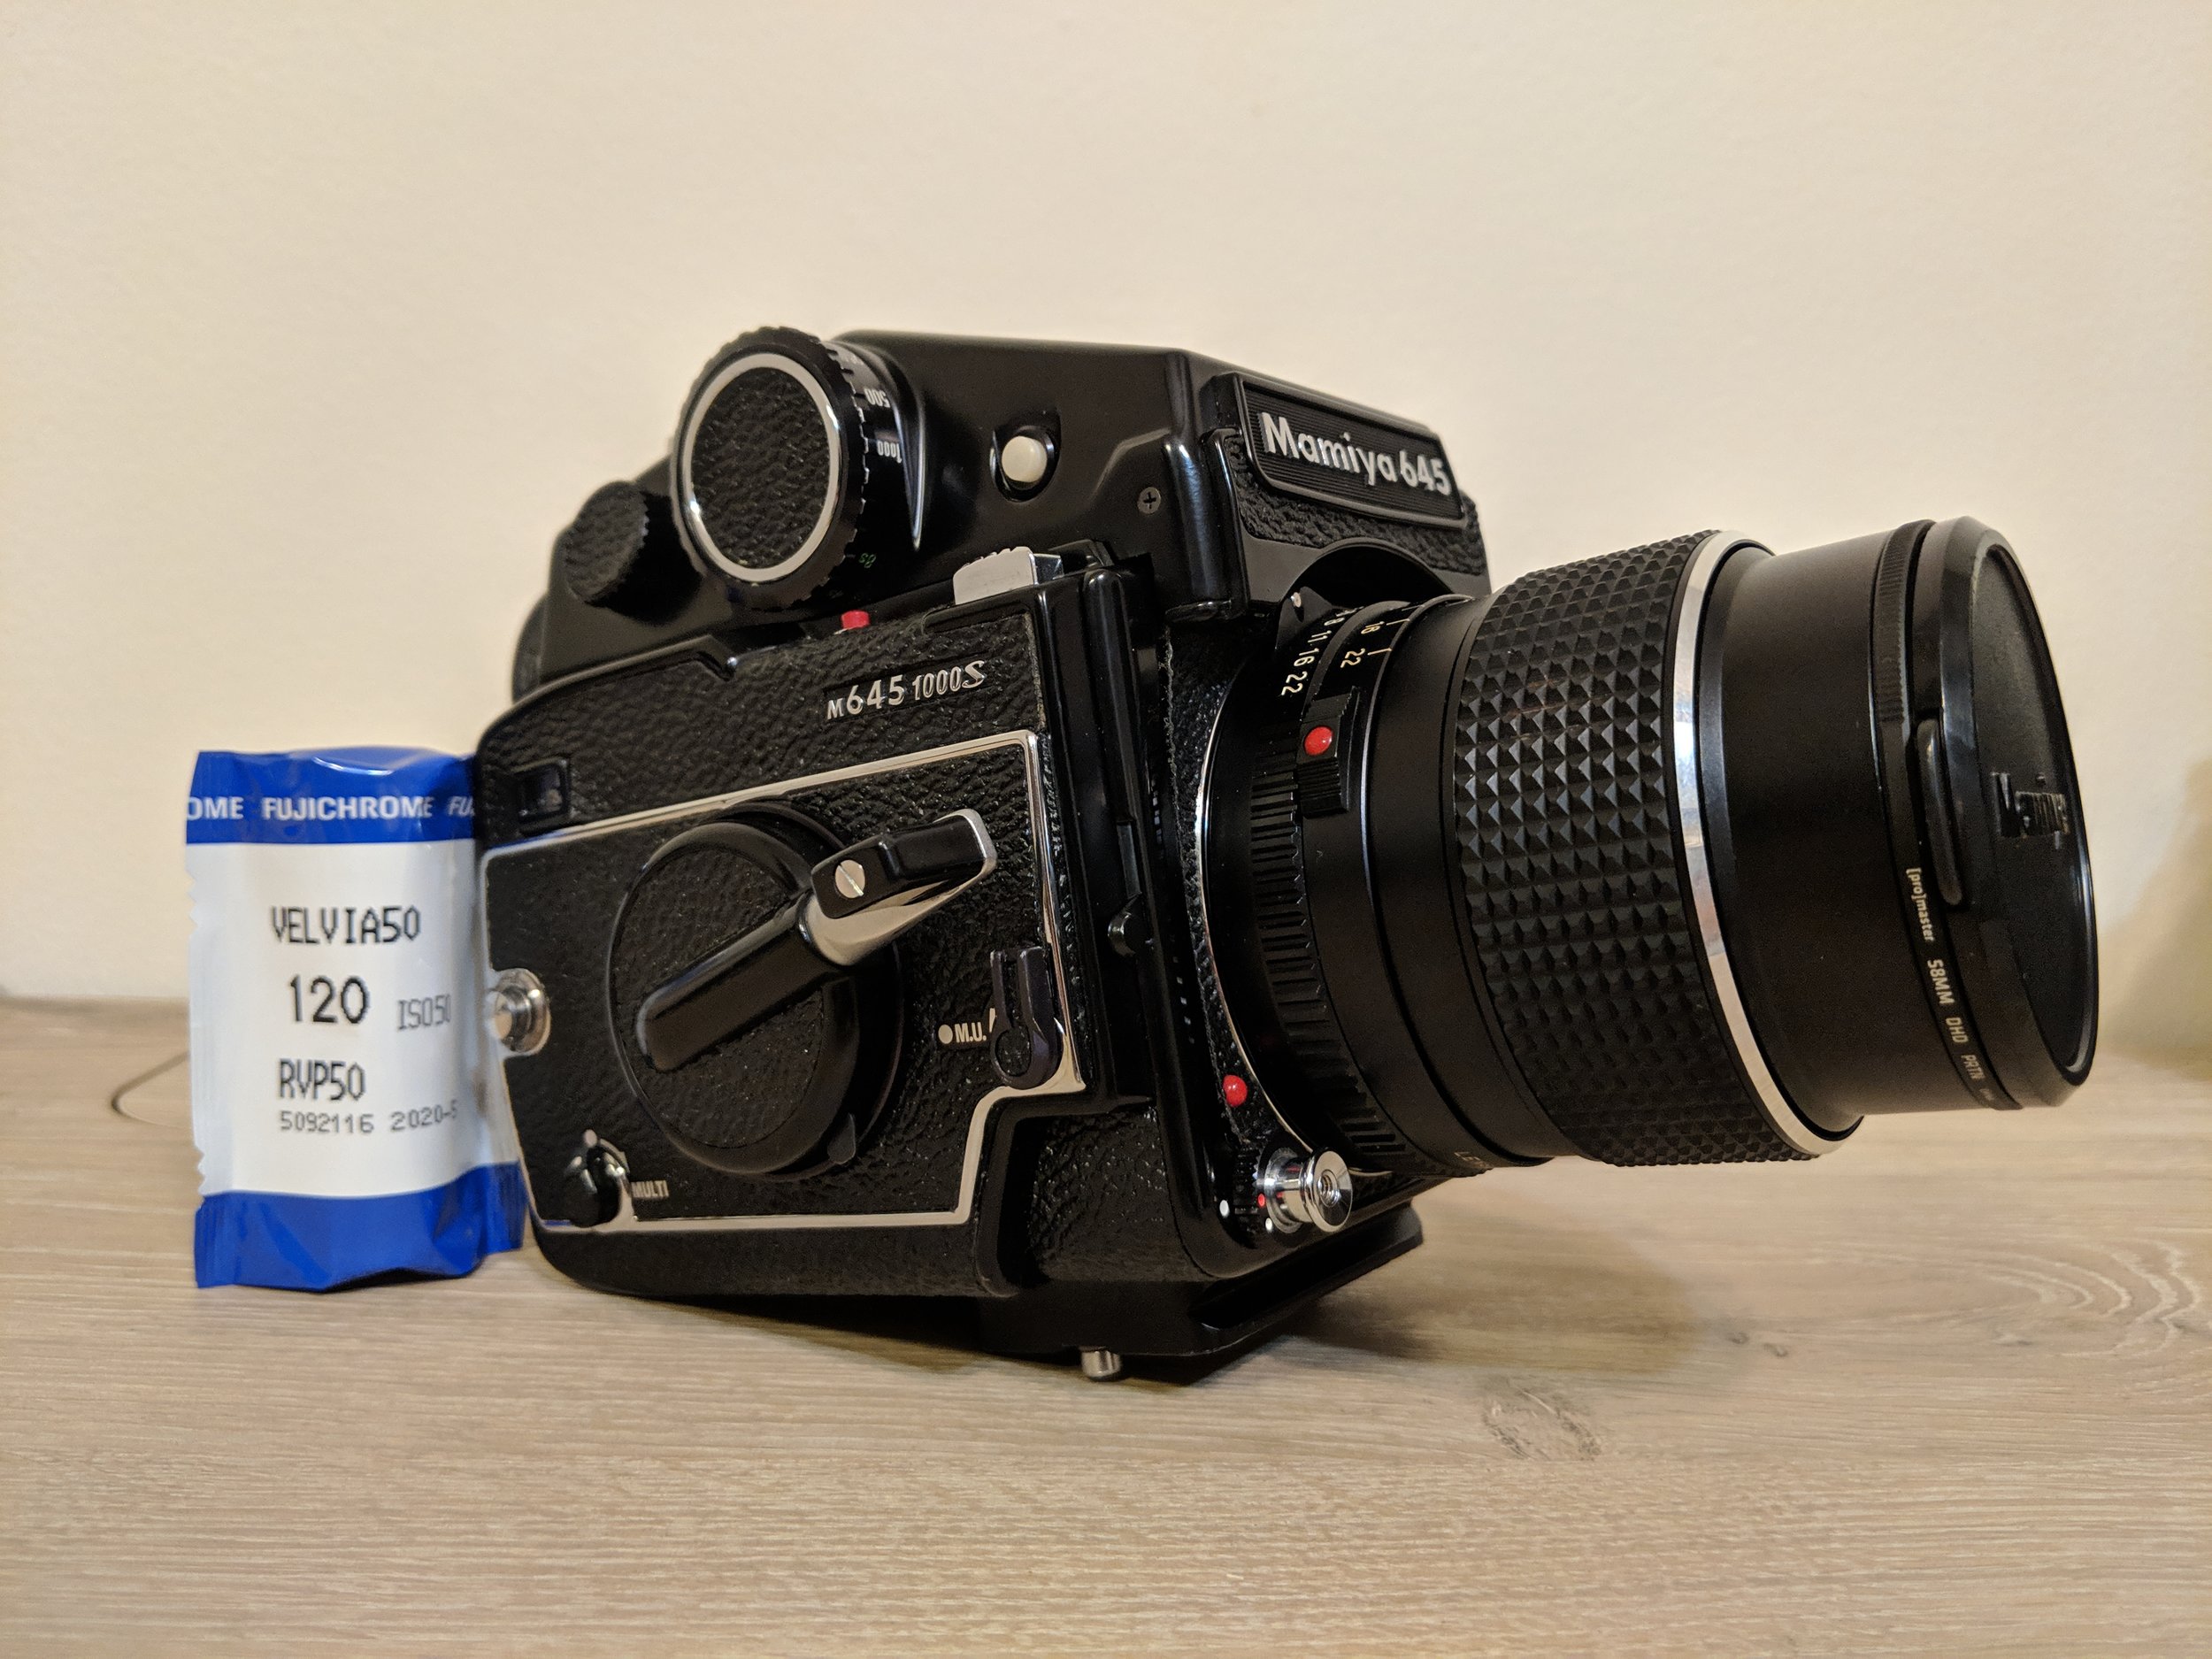
My dive into medium format film was hard and fast. Less than two months after I started shooting film again, and after buying a Leica M3, I found this beauty of a Mamiya M645 set up on eBay. It originally came with the 80mm f/2.8 but I wanted to go a little wider. The 55 f/2.8 offers a full frame equivalent of about 36mm. This lens has barely left the camera, and allows me to hand hold most shots at 1/60th of a second with ease.
The lens itself is small and decently light for being mostly metal and glass, where as the body weighs at least two and a half pounds with the metered prism attached. It's a honker, that's for sure. The body is solidly built, the mirror is massive and claps loudly when either of the shutters is pressed. The 1000s has a mirror up lever (highly suggested for slower speeds) and a multi-exposure opposite of the mirror up. I haven't experimented with how many exposures are possible, but I imagine it could go on endlessly if necessary. Shutter speeds range from 1/1000th of a second to 8 seconds. The multi-exposure lever could be utilized for astrophotography if need be. It's not my favorite camera to lug around, but it certainly gets used the most.
It produces 15 images when 120 film is used, 30 with 220. Each negative is 56mm by 42mm, so not quite 6x4.5. Since the shutter button located on the front of the body is rather touchy, I would highly recommend locking it after each carefully curated shot. Film in general slows you down, but medium format does so even more.
Here's to making those 15 shots count.
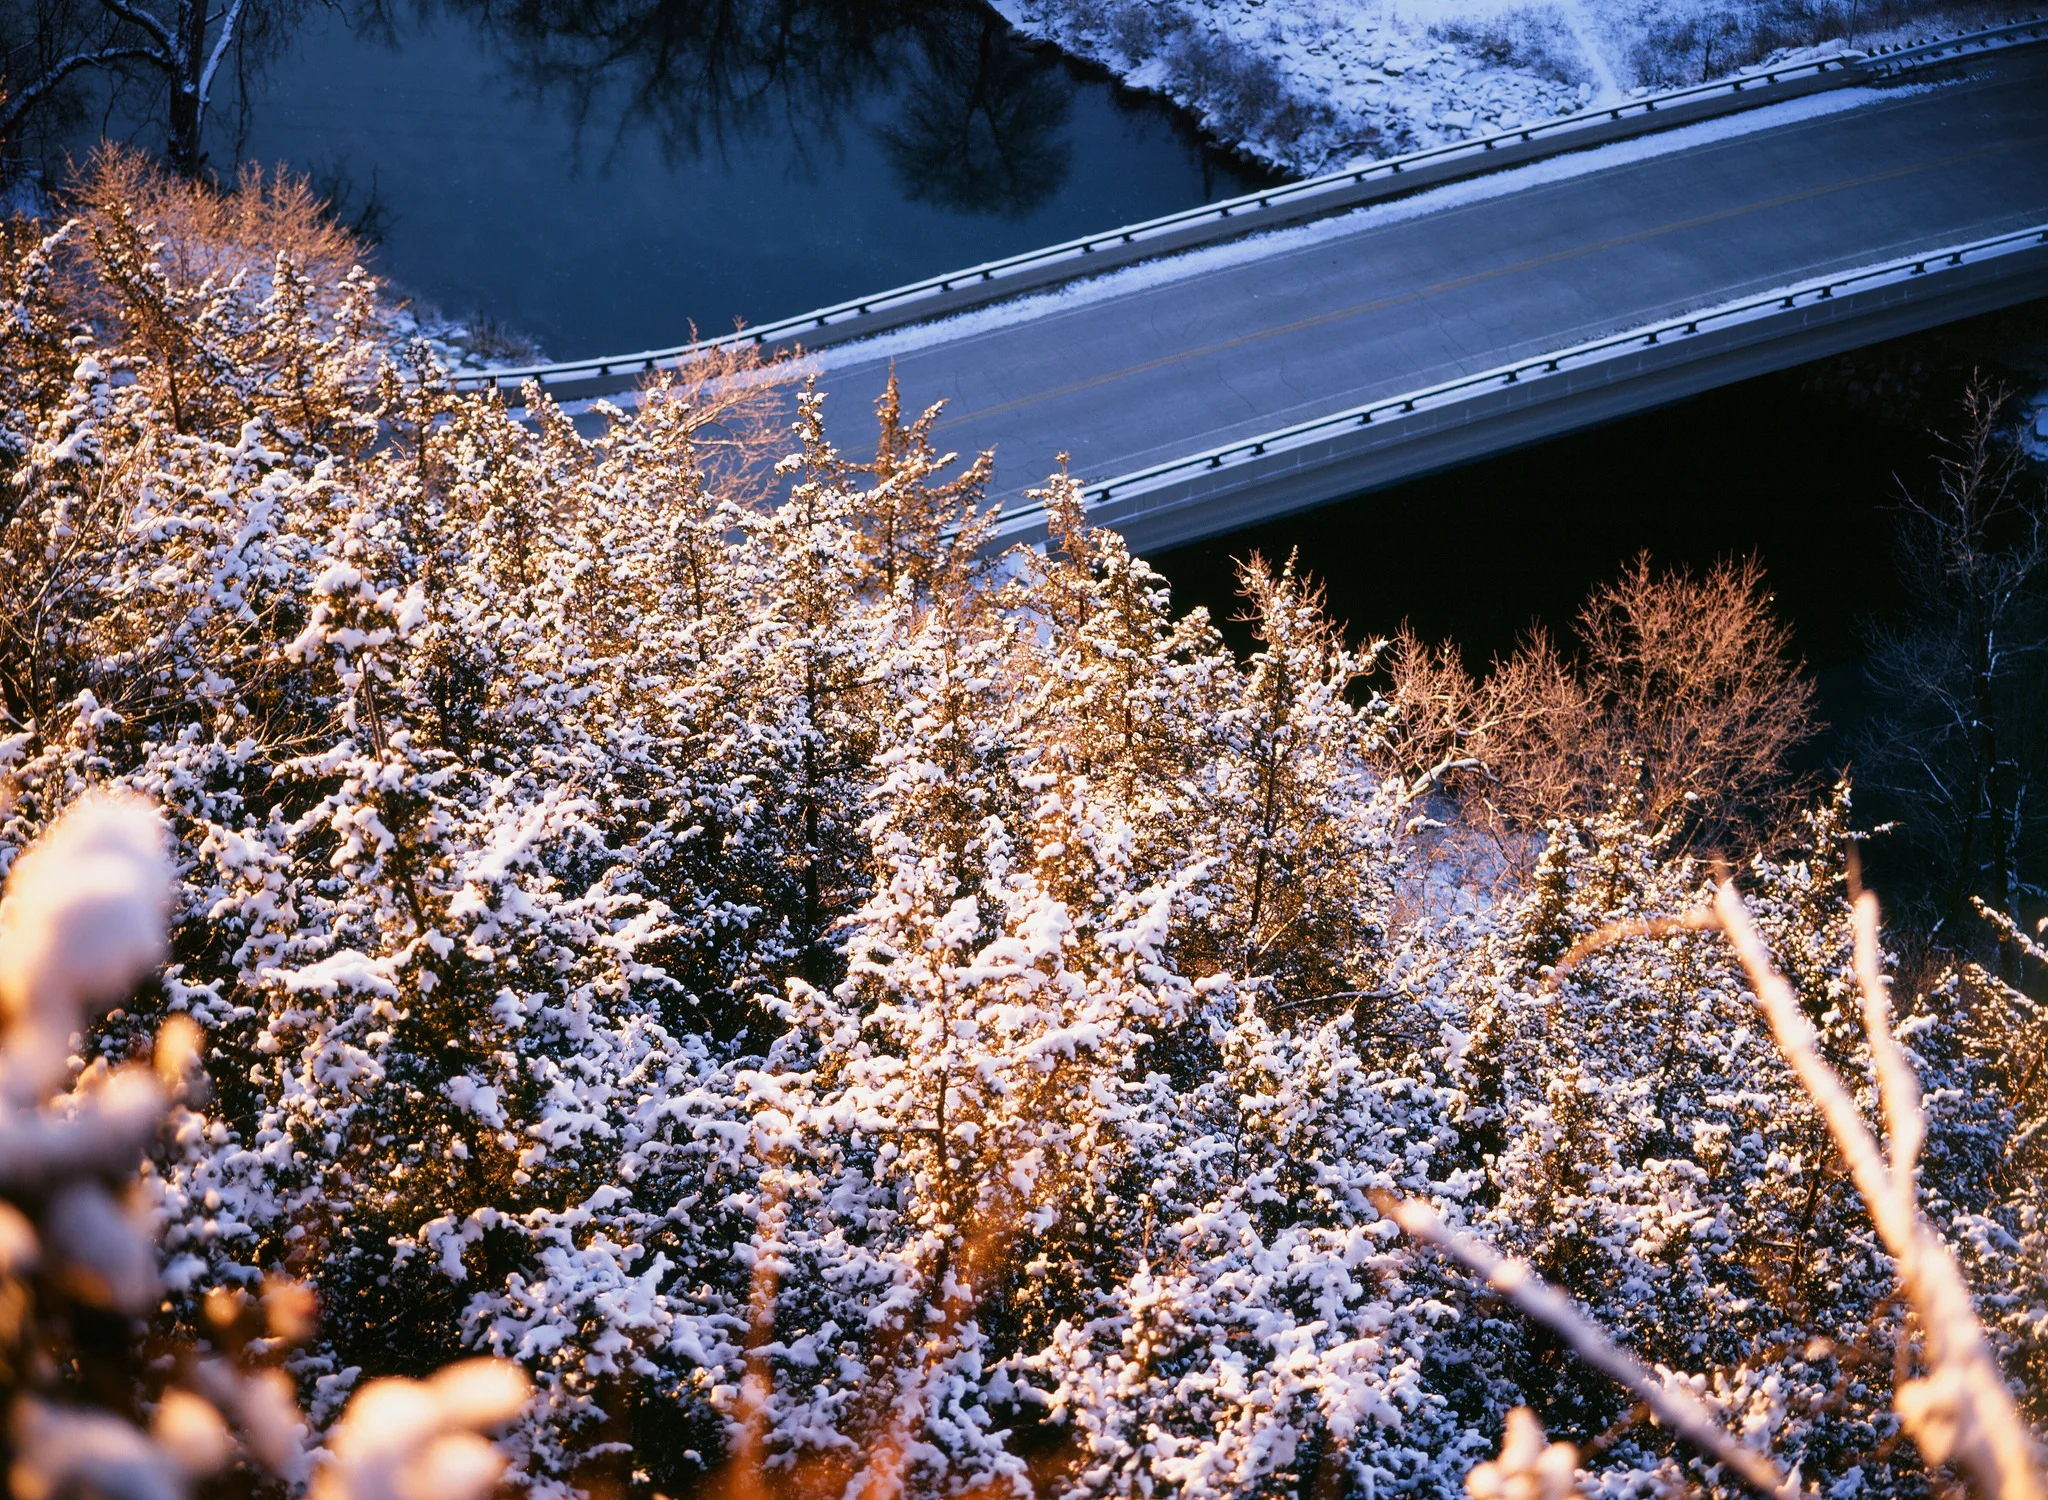
Velvia 50 - Lanesboro
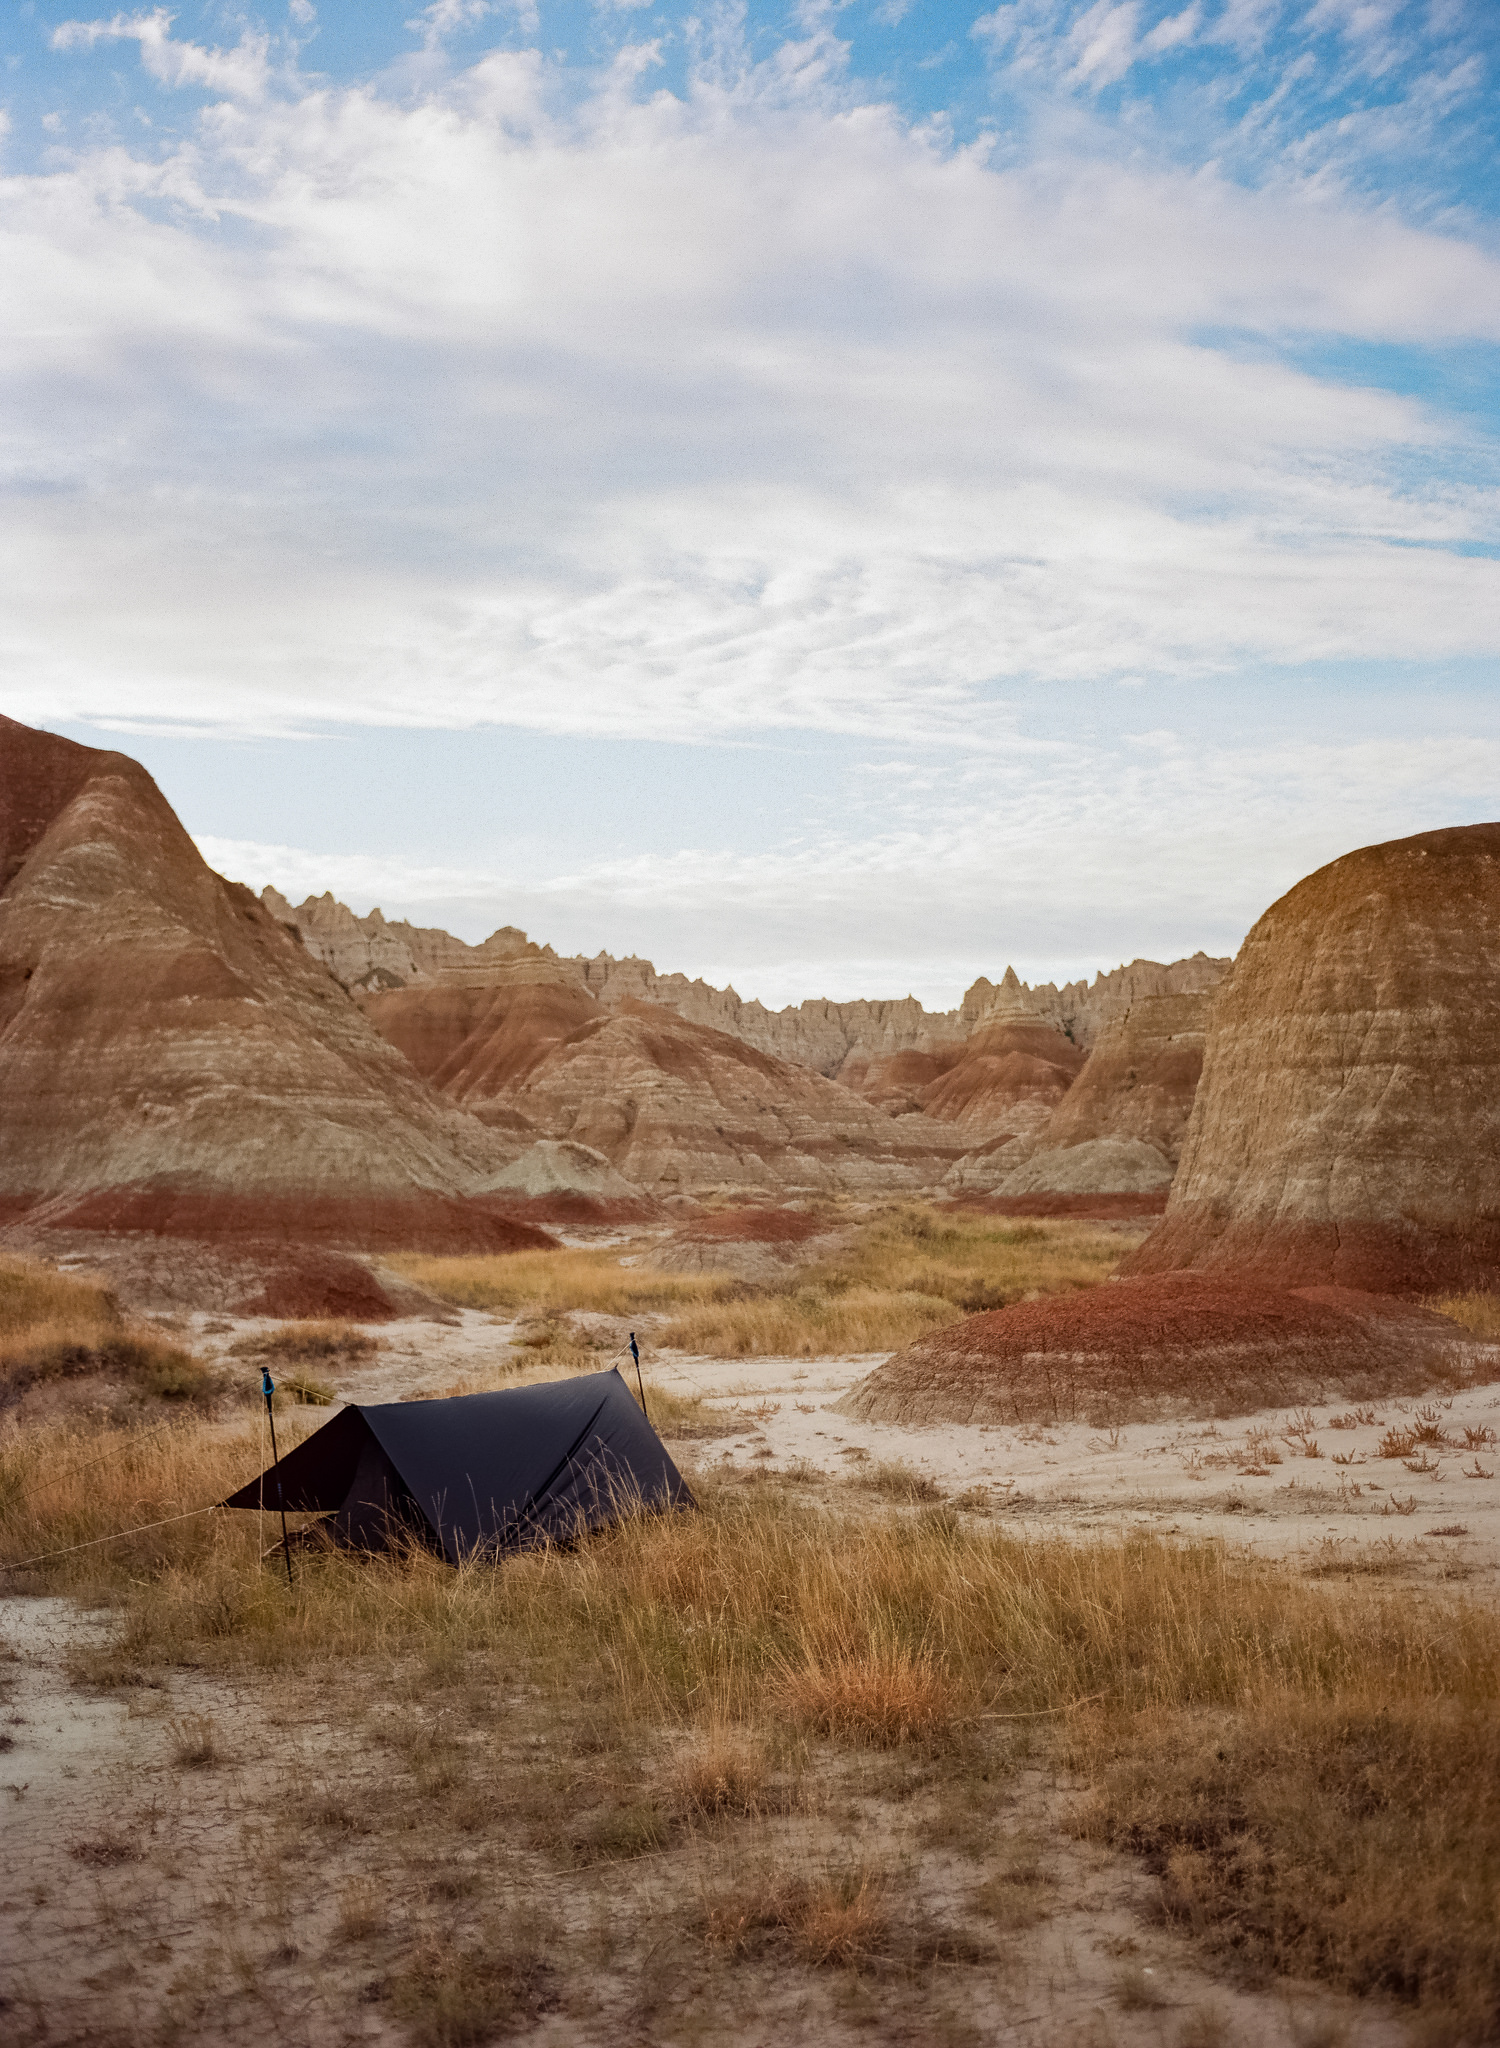
Ektar 100 - Badlands National Park

Velvia 50 - Lanesboro

Ektar 100 - Badlands National Park
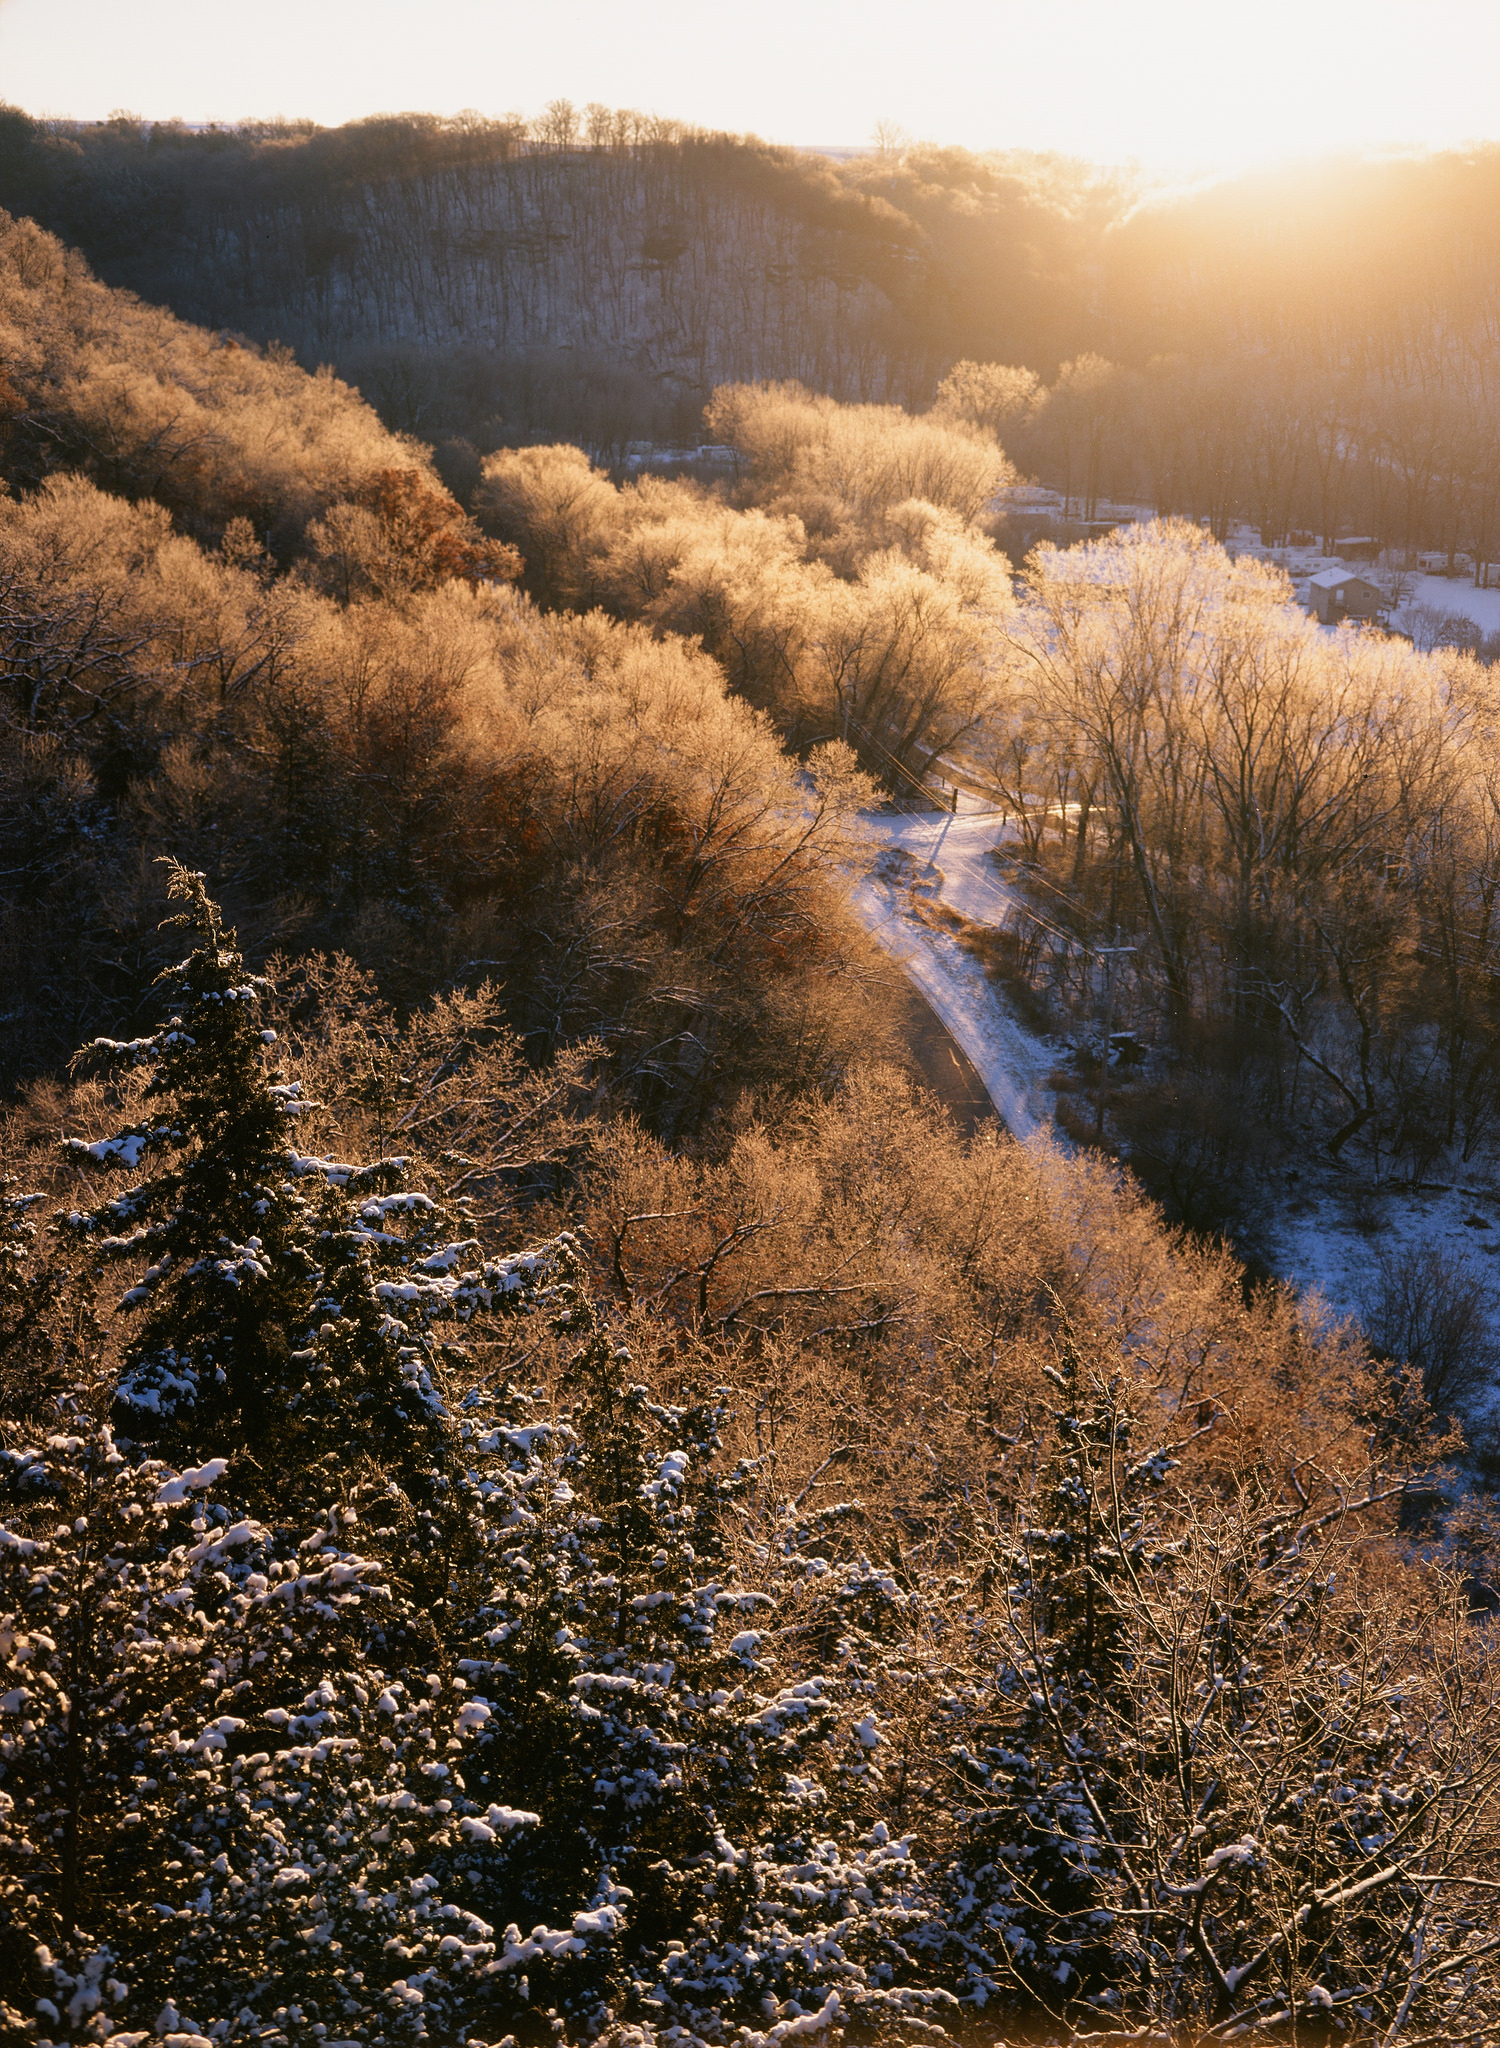
Velvia 50 - Lanesboro
6 Frames with the Canon Rebel G and 50mm f/1.8
The Canon Rebel G is not a sought-after film camera, but it’s what I was gifted for a film photography class I accidentally took in college. It was my moms’, and either well taken care of, or rarely used. It’s rather simple, with one dial to control shutter speed and aperture, a shutter button, a self-timer, different exposure modes ranging from A to M, an ISO mode to change the automatic reading of the film, exposure lock, and TTL center weighted metering.

The Canon Rebel G is not a sought-after film camera, but it’s what I was gifted for a film photography class I accidentally took in college. It was my moms’, and either well taken care of, or rarely used. It’s rather simple, with one dial to control shutter speed and aperture, a shutter button, a self-timer, different exposure modes ranging from A to M, an ISO mode to change the automatic reading of the film, exposure lock, and TTL center weighted metering. The “Nifty Fifty” paired with the G is one of the lightest set-ups I’ve come to hold in my hands. All together it weighs less than a pound (.45 kg), fits easily in a sweat shirt pocket, and is very inconspicuous when it comes to street photography with its small form.


Metering is accurate, and looking through the viewfinder, it is incredibly easy to see your aperture, shutter speed, and exposure reading. Shutter speeds go up to 1/2000th of a second, and down to 30 seconds.
When popping open the back, the film goes on the left, rolls to the right, and automatically spools up on the right. As you are shooting, the film automatically rolls back into the film canister, preventing any shots taken from being ruined. I have come to love this feature, as winding up film is a pain in the ass with my Leica M3 and Mamiya 645 1000s. All and all, I’d recommend this set up to anyone looking to get into film, as the whole set up won’t cost more than $150 (less if you buy a used nifty fifty). This camera is entirely responsible for my expensive dive into film, and I wouldn’t have it any other way.