Using Black Lights for Portraits
I think most people have a fascination of the effects of black lights, being exposed to their color twisting effects in places like bowling alleys, laser tag, and arcades. Like most people, I found it interesting how certain colors would just pop and seemingly glow. I’d seen a couple photographs over the years showcasing these effects, but none of them were interesting enough to truly peak my interest to try it myself.
Fujifilm X-T3 - Fujinon 50mm f/2 @ f/3.6, ISO 3200, SS 1/125
I think most people have a fascination of the effects of black lights, being exposed to their color twisting effects in places like bowling alleys, laser tag, and arcades. Like most people, I found it interesting how certain colors would just pop and seemingly glow. I’d seen a couple photographs over the years showcasing these effects, but none of them were interesting enough to truly peak my interest to try it myself.
Since I was taking a couple photography related classes for my college degree, I pushed myself to try some techniques I hadn’t done before, one of which ended up being portraits under black light. I knew I wanted bright and colorful makeup that would hopefully pop like I’d seen in bowling alleys, so I reached out to a couple people who were makeup artists. I rushed over to the local WalMart to pick up some black lights after a little bit of research, and was ready to go within a few hours.

Fuji X-T3 - Fujinon 50mm f/2 @ 1/125 SS, ISO 3200, f/3.6
I set up the black lights as best as I could, and had a makeup artist by the name Bella come over with a friend of hers to try out a couple different looks and get some hopefully great photos. Bella brought some of her most colorful palettes of makeup, and worked on applying them. I then began the lofty task of blocking out all of the light from my entire apartment, to get the best possible chance of capturing the glow from the black lights. I hung blankets across every window, closed doors where I could, and closed the blinds as best as I could at 2pm on a Saturday. For the most part, it worked pretty well, but there was still a tiny bit of light creeping in. That would end up being the least of my worries.
Once we got started shooting, we quickly realized that the black lights weren’t doing what we thought they would do. Vibrant greens and blues were turning grey, somehow being washed out instead of lifted by the lights. We scrapped our original plans and ended up using a little bit of a fill light to not completely put the look Bella had created to waste. The photos turned out okay for the first look, but the green being washed out by the black lights really put a damper on things.

Portrait illuminated by a soft light above and to the left of the model, with rhinestones and green makeup surrounded the eyes. The black lights caused a blue background and slight bleed of blue onto the models face and shoulders.
The fill light definitely helped to bring back some color in the makeup, but overall the look ended up not working out. We turned off the fill light, and put Bella’s makeup palette right next to the lights, discovering that basically all of them turned to grey under its effects. We were at a loss. After talking it over a bit, we decided to try some different paint I had (not very skin safe, but it did end up working somewhat decently.)

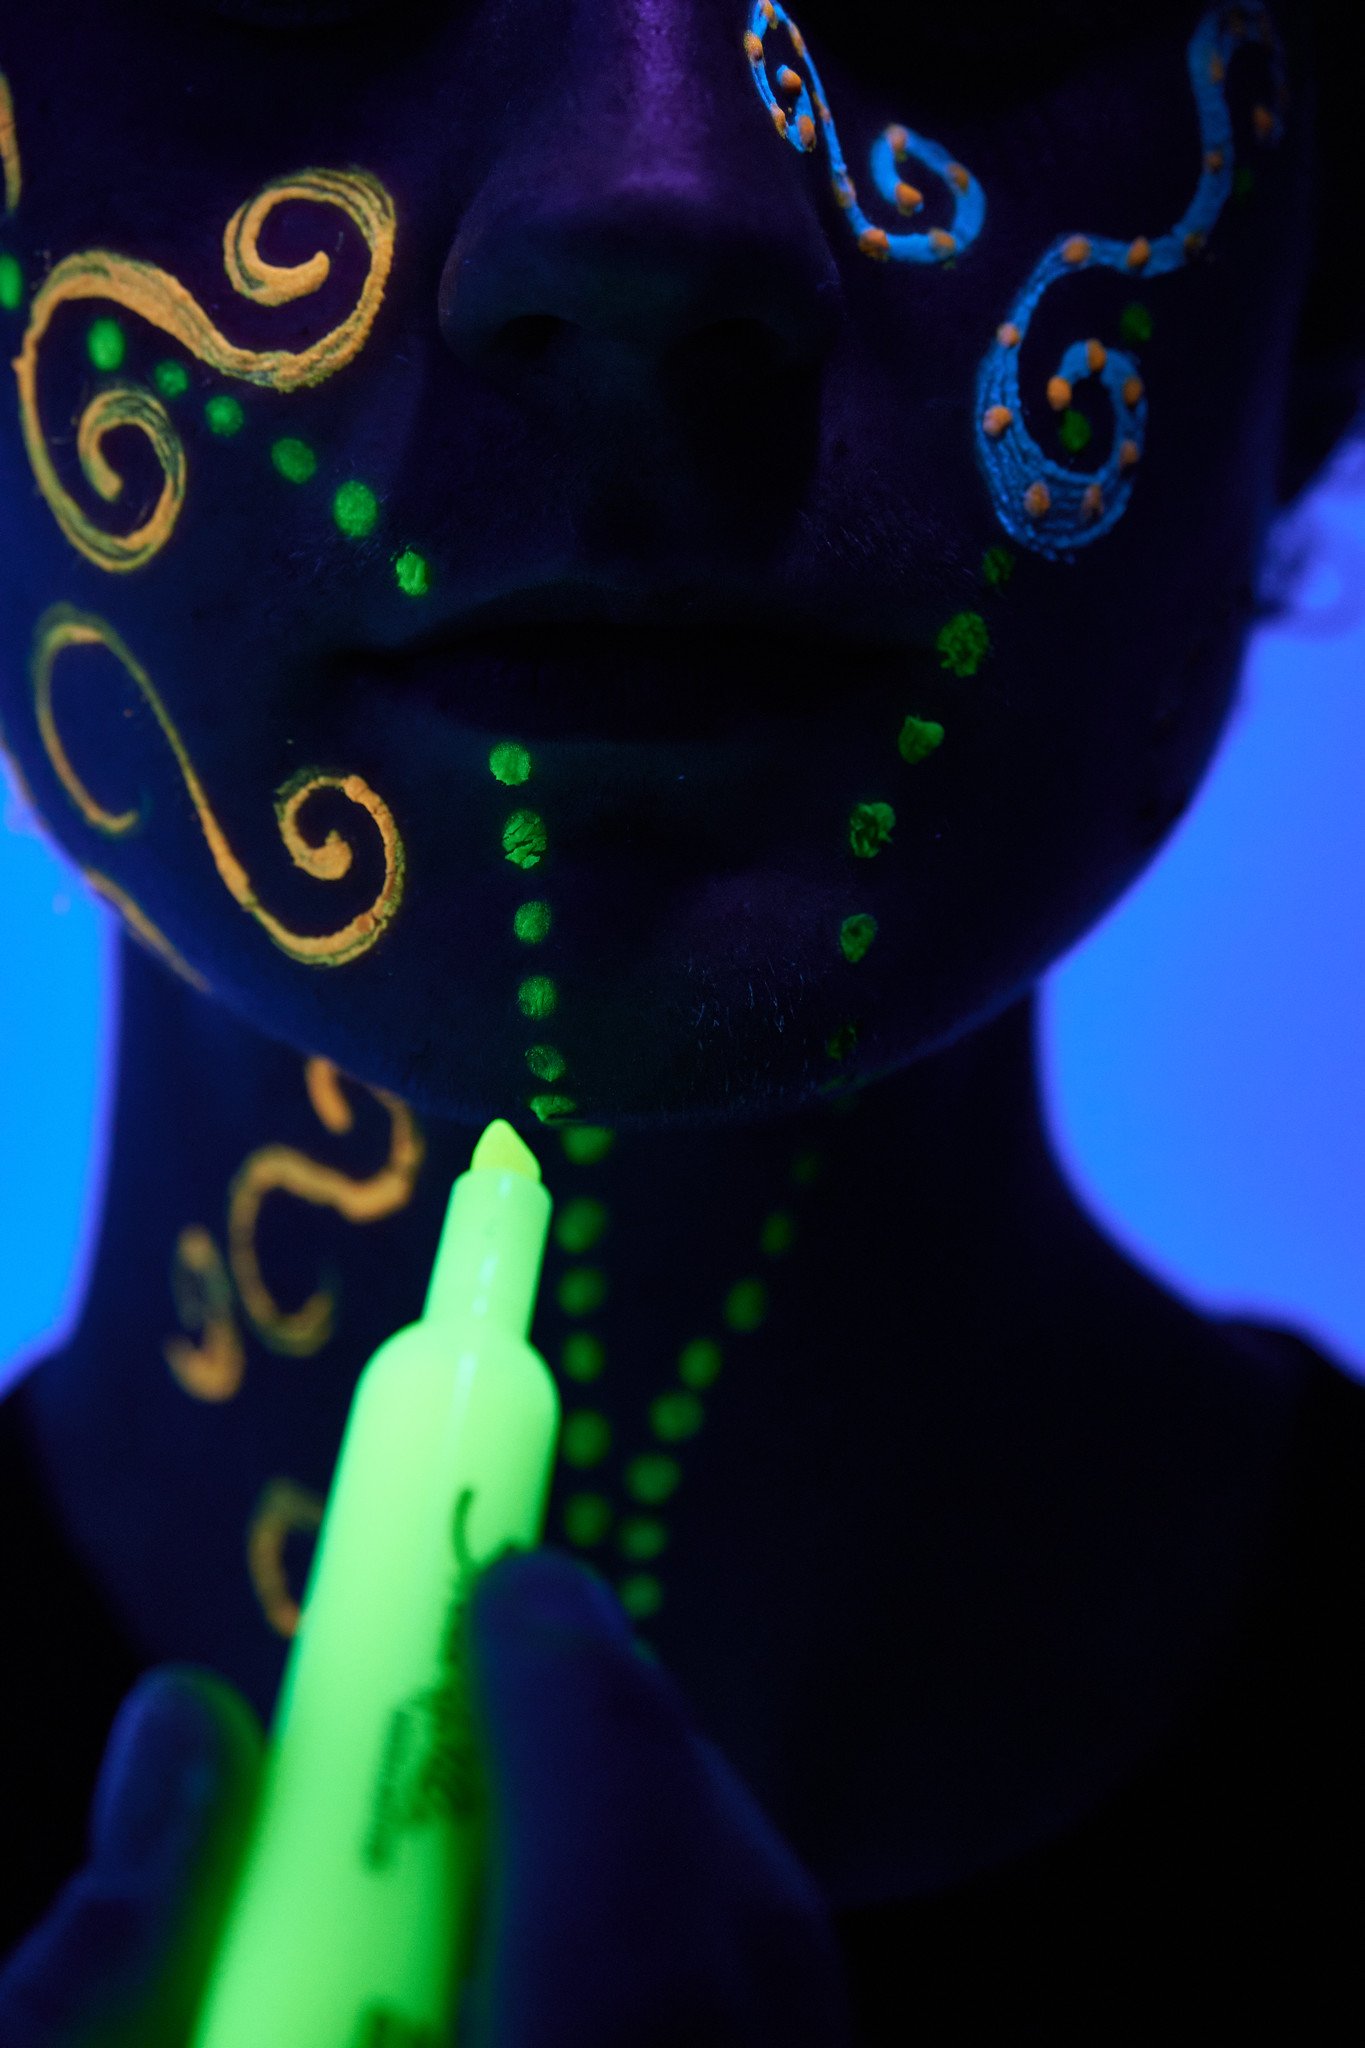
Orange paint around the eyes being illuminated by black lights with shimmer glitter on the eyebrows glowing bright blue.
The orange paint I had laying around certainly popped more than the green eye shadow did, but its effects were still pretty minimal. The shimmer glitter on the eyebrows popped incredibly, though I’m not sure if they were glowing because of the black lights, or just reflecting the light from them towards the camera. None the less, it seems to be working better, so we were happy with the results. We ended up doing one more look, with slightly more orange paint, and it ended up just being more of the same.

Rhinestones and orange paint above the eye in a wing shape. The orange paint has a slight glow under the black lights, while the rhine stones have some very minor reflections coming off of them.
At this point, we felt defeated with the entire attempt, being thwarted by the lights and the little effect they had on the makeup. Bella and her friend left, and I went to figure out why the hell it hadn’t worked the way we thought it would. After doing a bit of research, I came to discover that there were multiple different types of black lights, determined by the nanometer wavelength they had.
The lights I bought were 395nm black lights, which is on the absolute edge of the UVA spectrum before they are no longer considered black lights. Around 400nm, the light will emit a violet hue, which mine very obviously do. A true black light will emit no visible light, which is around 365nm and below. 365nm seems to be the industry standard when it comes to true black lights, as they create the most visible pop of color that we associate with them.
Many companies will market lights as black lights, when it reality they are simply violet lights, and have very little resemblance to actual black lights in effect. If you’re looking to buy some, find ones that say they are around 365nm in the light spectrum, otherwise you’ll encounter similar results to what I did. They are typically more expensive, but in this case, I think you’re getting a better product and the actual product that you’re looking for. Knowing what I knew now, I scheduled another photoshoot with a girl in my class by the name of Liv, and told her what did and did not ultimately work so we would have a more successful shoot.
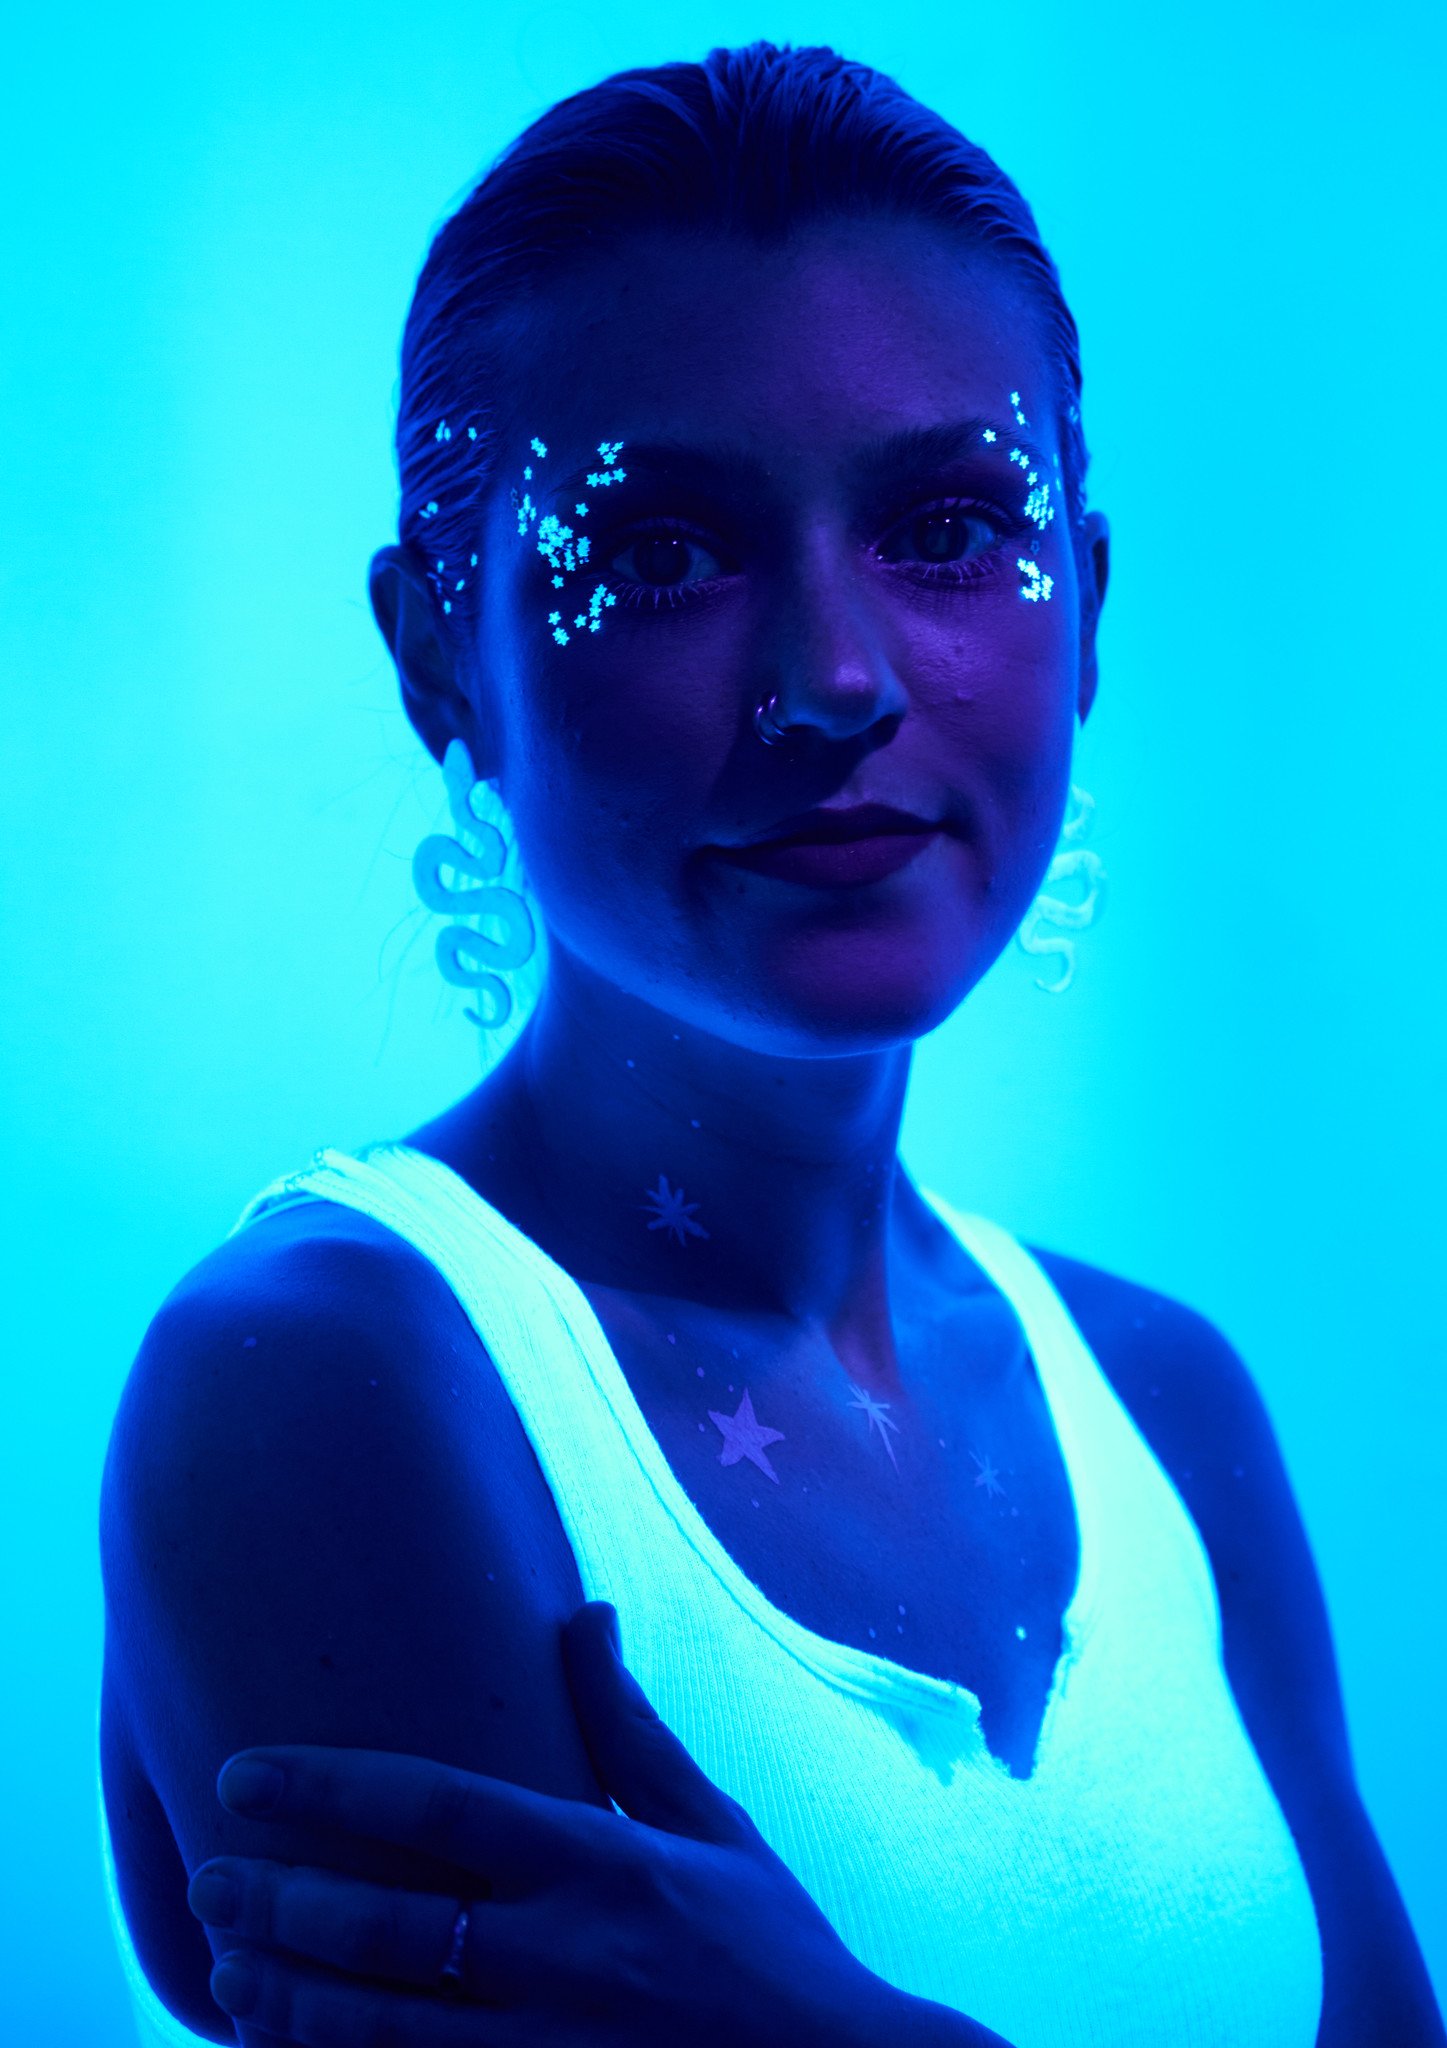
While still emitting a more violet light, the shimmer glitter starts pop exceptionally well, being illuminated very brightly along with the models white top.
After learning from all the previous issues, my shoot with Liv was going amazingly. The star glitter glowed around her eyes perfectly, and the white glow from her top looked incredible. The blue light wrapped around her and lit up my paper roll behind and gave the photos a somewhat otherworldly feel to them. While the top, glitter, and earrings did glow very nicely, the white paint she had used only showed a slight glow, showcasing the issues I had with the first go around in my black light portrait attempts.
I’m still not sure if the glitter was actually glowing or reflecting from the black lights, but they do look the way I originally imagined they would. We did a couple more photos and applied some of the stars and glitter to me, and enjoyed the success of my second attempt at the shoot.

Only slightly different than the portrait above, Liv’s tattoo offers a really nice connection to the earrings, and a contrast in the glow the earrings offered.
Overall, shooting portraits with black lights was incredibly fun, but also incredibly challenging as I didn’t quite understand how they worked going into it originally. I would love to continue shooting portraits like this, but would need to invest in a true black light with a 365nm wavelength to get the effects I was originally aiming for and imagining. Feel free to buy me this one from Amazon, as I think it would really help me explore this niche area even further and get better results overall.
I highly recommend explore this niche too if it interests you, but please learn from my mistakes (or don’t) and avoid the downfalls of misleading advertising and barely black light black lights.
A New Beginning
I’m currently sitting here in my new apartment in Mankato, finally going down the path I set my eyes on years ago. I’ll be graduating in two years with two degrees, Multimedia Technology, and Interdisciplinary Studies. I tacked on the Bachelor’s of Science in Interdisciplinary Studies because, financially, it made the most sense since it would make me a “full time” student, and that helps a ton with grants and scholarship money.

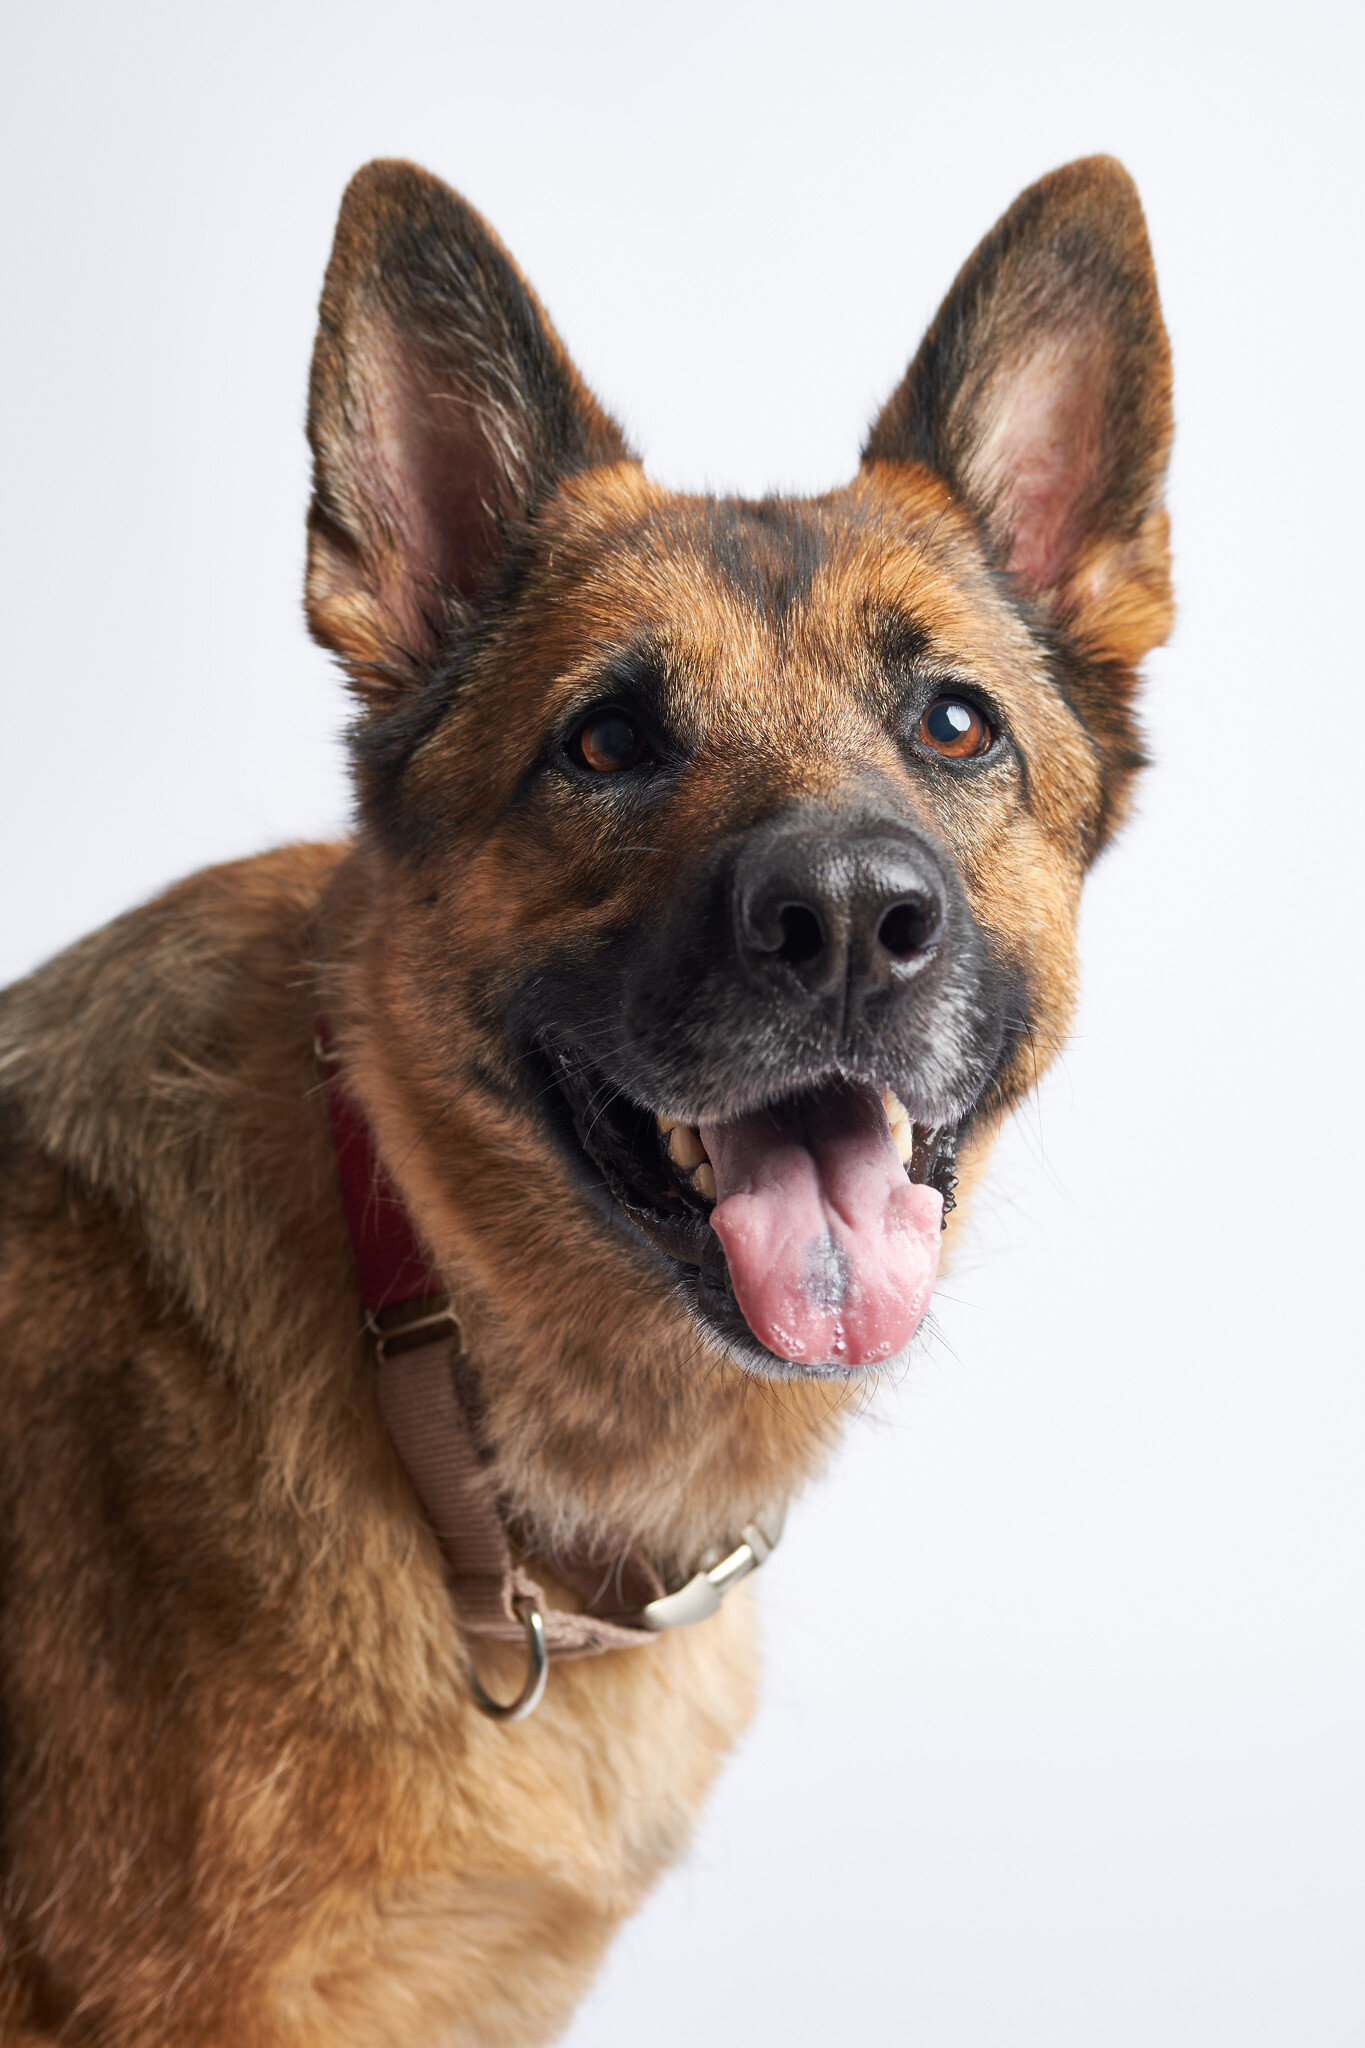
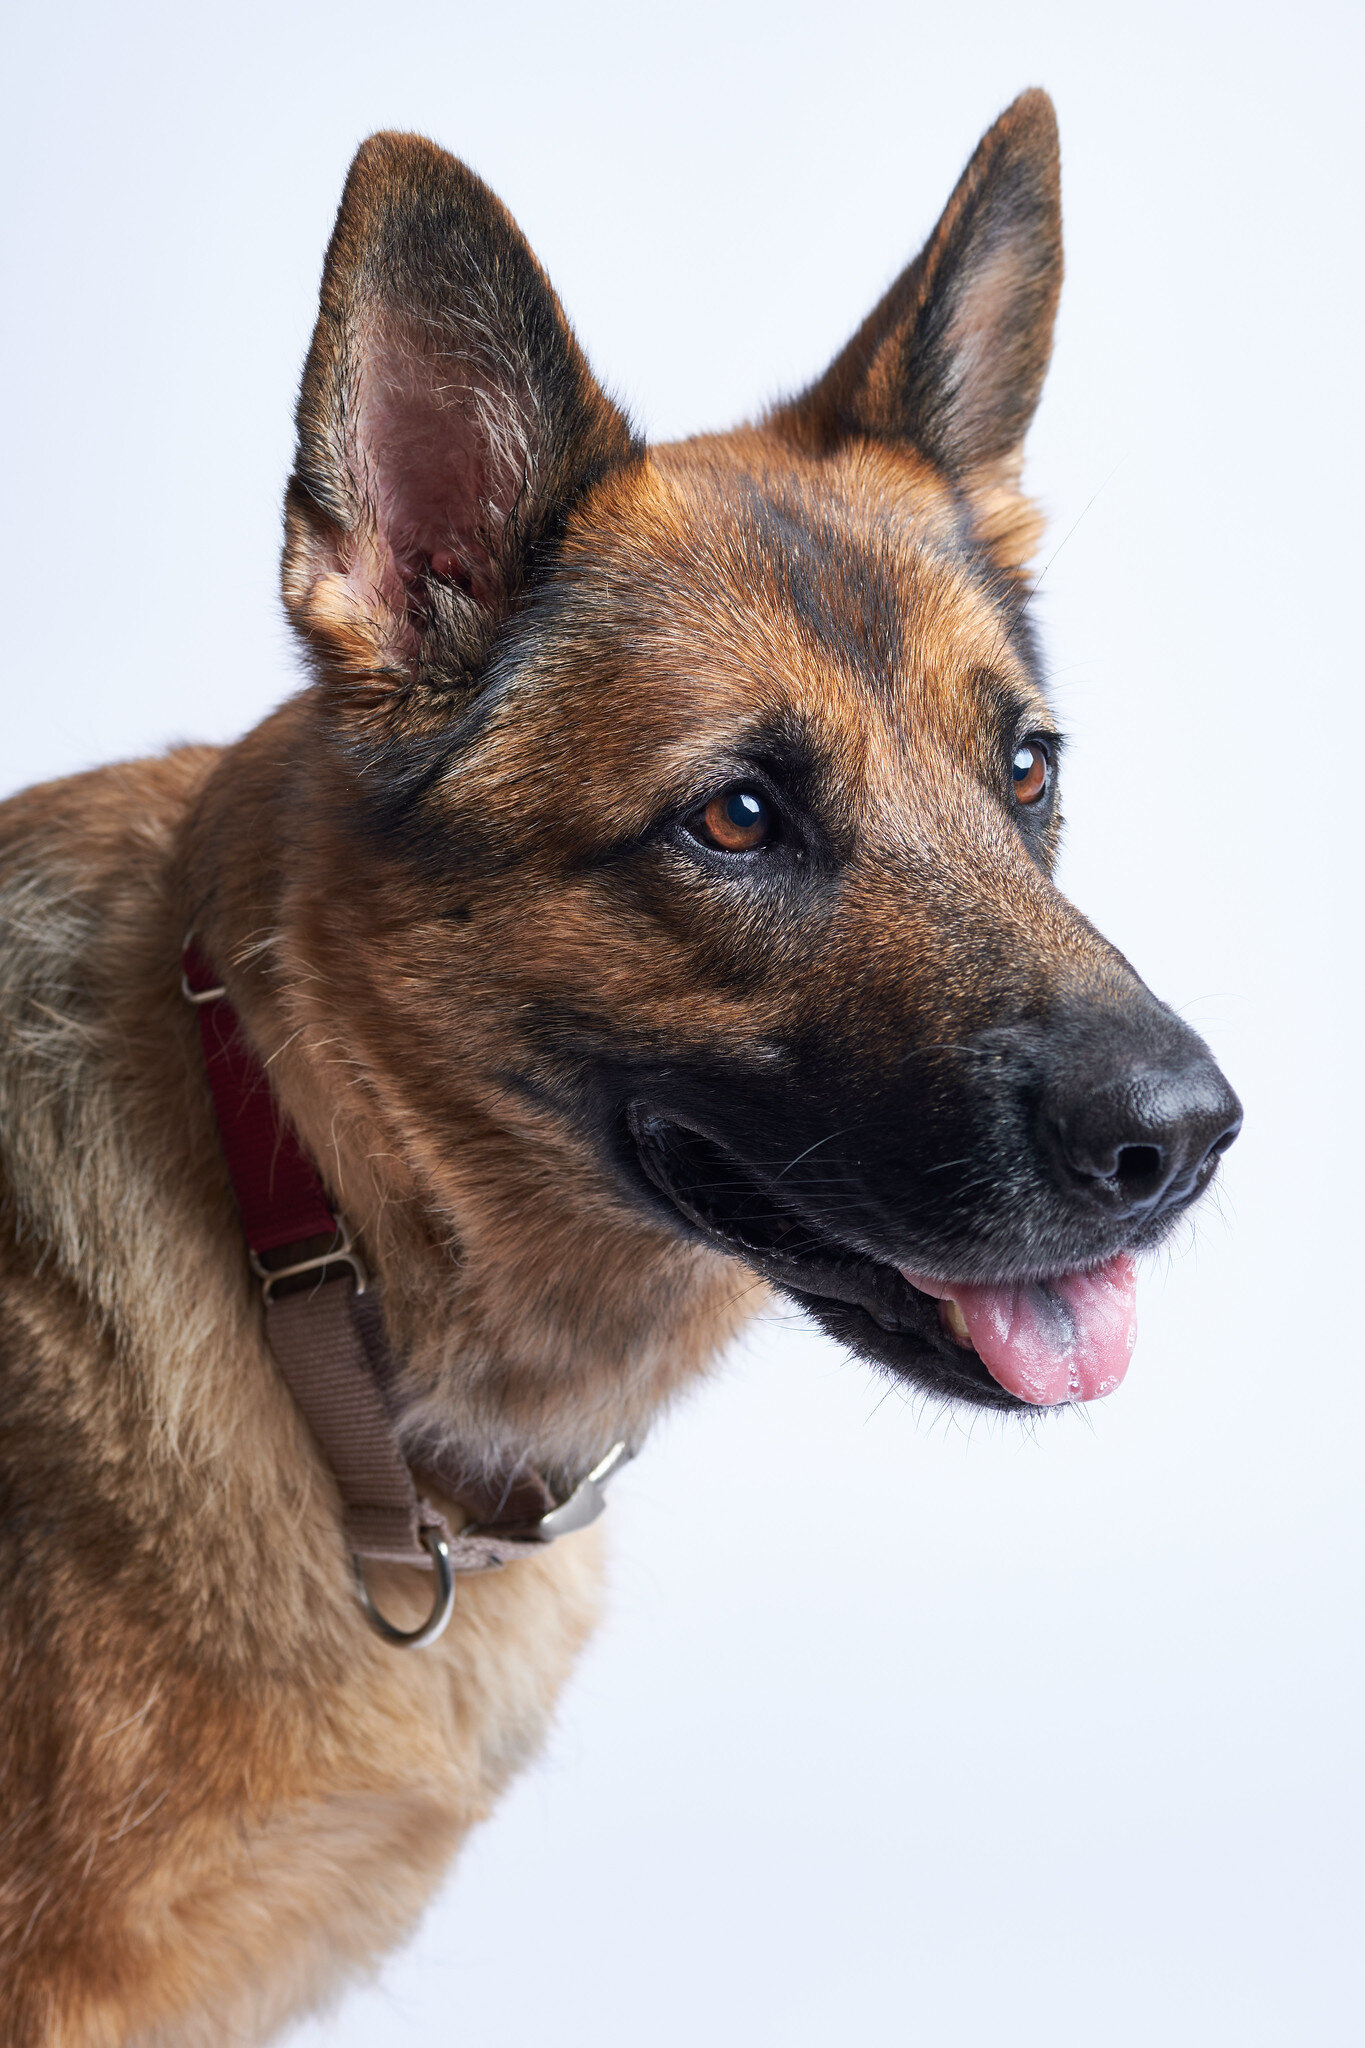
A 9 foot roll of paper on two stands serves as my photo studio. Everything in the living room serves a purpose for either work or photography, with the newest addition being Miah’s bed where the vacuum is in this photo. The closet is absolutely filled to the brim with photography gear, and I can’t really see it serving any other purpose anytime soon.
I’m currently sitting here in my new apartment in Mankato, finally going down the path I set my eyes on years ago. I’ll be graduating in two years with two degrees, Multimedia Technology, and Interdisciplinary Studies. I tacked on the Bachelor’s of Science in Interdisciplinary Studies because, financially, it made the most sense since it would make me a “full time” student, and that helps a ton with grants and scholarship money.
I’ve got to say, while I’m glad I waited to go back to school full time, it’s incredibly strange being back in Mankato. The last time I was living here, I was in the midst of one of the deepest depressions I’ve ever been in, and my biggest fear of living here is falling back into that state.
Everyone I knew and was friends with when I lived here originally is long gone, so the only one I really have around is Miah. She has certainly kept me occupied, going on 4+ hikes or walks a day around the neighborhood or at one of the local parks. So far she has kept me very well grounded, and I am so glad I brought her with me, as I don’t think I would be able to do this without her.
Since she’s the one I’m constantly around, of course she was the first subject I had using my new photo studio I built out in this small, one bedroom apartment.
The yoga mats originally served as Miah’s resting place before I brought her bed over, and when we did our little test shoot they made the paper crunch under her weight, which she did not like at all. I’ve since moved them, and can move around everything else as needed. The biggest issue I have with the photo studio is having to turn the A/C off when I’m using it, which makes the apartment hot very quickly. Thankfully it will be fall soon and that won’t be as much as an issue shortly.
All in all, I’m really happy to be finally started on this journey, and the end of the new beginning is already in sight.

Light Painting 101
I took the time the past two weeks to take a shallow dive into what light painting is, what it’s used for, the pros and cons of using it, and why you should learn how to use light painting to advance your photography!
I took the time the past two weeks to take a shallow dive into what light painting is, what it’s used for, the pros and cons of using it, and why you should learn how to use light painting to advance your photography!

How I Plan, Shoot, and Edit Light Painting Images!
How I begin the process of shooting pictures of different objects with light painting.
A short video showing my process from start to finish of an image using light painting!

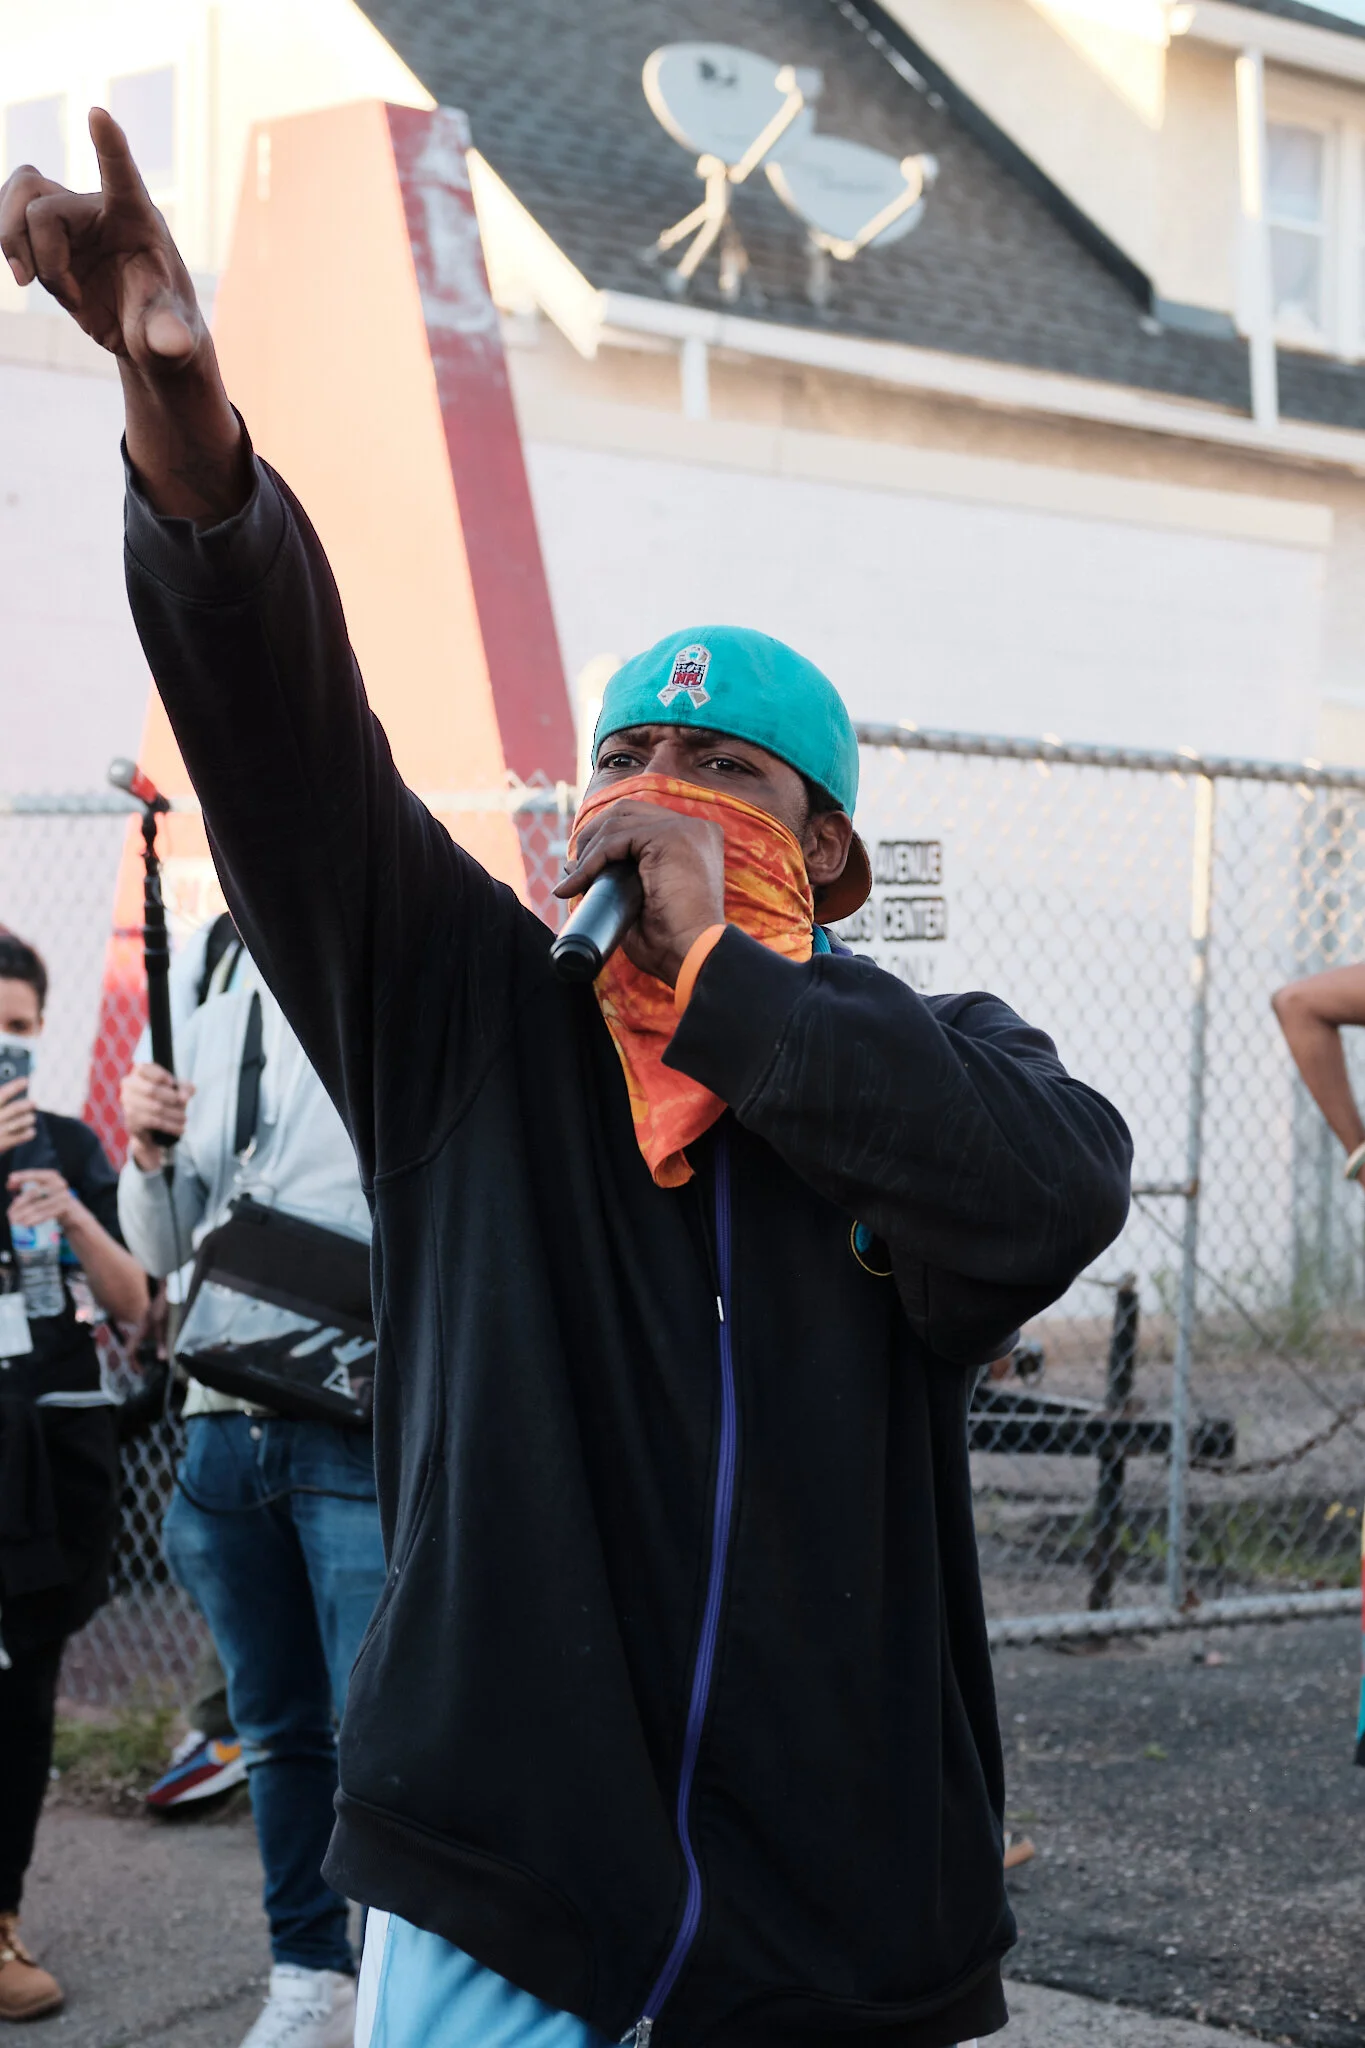
Minneapolis Protests of May 29th, 2020
Photos taken during the protests in Minneapolis, Minnesota on May 29th, 2020.

I’m just going to let the photos speak for themselves and let them be heard.