How Black Swan Living Cornered the Housing Market
The story of how Black Swan Living/Black Swan Real Estate cornered the housing market in Rochester, Minnesota.
Rochester, Minnesota has experienced quite the boom since the Mayo Clinic announced their plans for Destination Medical Center in 2013, with many rental companies experiencing increased opportunities as an influx of renters entered the area. As Rochester’s population increased, home building ramped up to ensure the new flock of residents and doctors coming to work at Mayo had nicer places to live, and many people, in what we would consider “starter homes,” began to upgrade. Many of these homes became open to people looking to buy their first homes, and for a while, they were actually affordable. According to the Maxfield Research study Rochester had conducted in 2014 (which they followed up with again in 2020 and 2025), Rochester had a 1.2% vacancy rate in “affordable rental apartments.” 5% is considered a healthy amount, anything less showing that there is additional demand. Because of the lack of affordable rental housing available, many people decided buying a small house was a much more feasible option. At the time this article was written, Rochester was described as being “on the verge of a housing crisis.” Enter Black Swan.
The story of Black Swan Living as we know it starts back in 2016 (though they started it in 2011), when Nick and Dr. Elaine Stageberg moved to Rochester, Minnesota and purchased their first home in the area, the first of many in Olmsted County. Coming from humble beginnings, Nick’s fast moving domination of housing in Rochester and the surrounding area showcases how greed affects the lives of thousands of others. As a property management company, they manage well over 200 properties in Rochester. A benefit of controlling so much of the single family home rental market means setting your own prices, driving up prices for everyone in the area, allowing you to label it as “market rate.”
Nick and Elaine don’t only own Black Swan Living, they also own Black Swan Real Estate. This company is the driving force behind acquisitions of properties, and the company investors will interact with when looking to work with a private equity firm. They focus on something called the “Blue Ocean Strategy” which, directly from their website, says “We favor investing in blue ocean markets that are yet to be fully explored and exploit the opportunities that come with it.” They recognized the opportunity that comes with a market that has a lack of competitors, and while many rental companies in Rochester and the area do own their own properties that they use for passive income, Black Swan Real Estate has been the most brazen and aggressive about it.
At the time of posting, entry into their private equity investment funds requires a $25,000 investment, down from the $100,000 requirement originally. They have also been smart enough to put their “deal decks” for their most recent funding campaign, the Secure Freedom Fund, behind a pop-up form to access. These deal decks show what they plan on buying, what they have already bought, and details the types of properties they are interested in. The Secure Freedom Fund originally closed on March 30th of 2025, but has since reopened, something that may be attributed to the USDA loan they applied for to purchase the Villages at Essex Park being pushed back due to the government shutdown that started on October 1st.

With the Secure Freedom Fund originally, they were looking to fund purchases of three apartment complexes and additional single family homes in the Rochester area.
With most of their funds requiring a minimum of a $100,000 buy-in, they have millions of dollars ready to go at a moment’s notice, usually being utilized to buy single family homes they are interested in acquiring. I have heard and experienced multiple instances of friends, coworkers, young couples, and others going to bid on a home, and their realtor telling them that Black Swan was also bidding on the home. When you have millions of dollars ready to go at any point in time, it’s quite easy to outbid first time home buyers who are stuck with a budget. Who cares if you pay $30,000 over asking price if it means you get another property to use in your portfolio?


For comparison purposes, Dwell Capital/Harbor Realty & Management Group (formerly Dwell Property Management) has a very similar game plan when it comes to acquiring property, with all four owners (photos pictured above) owning single family homes to some capacity, but mostly multi-family buildings. They are also acquiring properties throughout Minnesota and Iowa, with four different investment offerings being closed at this current moment. All four of those listed on their website are for apartment buildings, and it doesn’t seem like they are currently looking to acquire additional single family homes outside of their own individual portfolios.
Unlike Dwell, Black Swan is currently taking investors money to acquire single family homes. And while these maps are not up to date (November of 2024), many of their single family homes are condensed near the center of Rochester, and when looking at what apartment complexes they own, the problem is even worse. At what point do you call a monopoly a monopoly? (compared to what? A lot of red dots, but you’re only showing one color)


What’s even harder to show is how truly condensed their apartments are in the downtown area. With 15 apartments less than half a mile from either of the Mayo Clinic campuses, it’s easy to see what demographic they have targeted, both for tenants and their investors.

The parking lot seen just south of the 502 4th Avenue SW home, part of the outdoor parking for Residence at Discovery Square, was once a 5 bedroom home, that was torn down to create said parking lot.
To date, Black Swan has supposedly acquired over 1,300 properties in total, many of them amassed in Rochester, but also the southeastern Minnesota area. They have recently acquired property in Anoka, Minnesota, as well as Tacoma, Washington, which they also call a “blue ocean market.” As their reach of acquired properties spreads, so too do their employees, meaning issues experienced by tenants are typically dealt with less than immediately. Multiple tenants have had issues with their refrigerators not working for weeks at a time, gaping holes left in ceilings above a shower for over a month, and even disasters such as my building (Nicholas Apartments) being filled with carbon monoxide, and Black Swan not responding to multiple points of contact well before the carbon monoxide alarms started going off. If you’d like to hear that story, you can go watch my video on it here. And fun fact, the same thing happened at another one of their properties (Nue 52) that same month.
Black Swan’s initial idea behind acquiring these properties themselves was an honorable thought, though it quickly devolved. The original idea, the one that I was sold and bought into, was that because they own these rental properties, they want to take great care of them, make great renovations that last a long time, and make sure their tenant’s experiences match the ones they wish they had when they had moved to Rochester in 2016.
When I moved into one of their properties with my sister in August of 2023, I came to face the realization that not only were they just like every other property management company I had ever rented from, they were also pushy for positive reviews, slow to communicate, and dismissive of issues when they were brought up. Renovations were done cheaply, with our entire countertop in the kitchen not properly seated, and able to be fully picked up and moved. Cheap drywall and paint adorned the apartment, peeling any and all paint and paper off the walls while using “non-destructive” command strips to hang things on our walls.

From the beginning of 2021, to the end of 2023, Black Swan acquired 59 additional properties in Rochester, Minnesota, 41 of which were single family homes.
Some may say that I’m a little jaded from my experience renting from Black Swan, and to that I say, “Of course. Who wouldn’t be?” They changed financial agreements outside of those stated in our lease, they filled our building with carbon monoxide and refused to take accountability, they left people without a way to have fresh food in their apartments for weeks at a time, failed to answer the emergency phone line, failed to make repairs in a timely manner, and so on and so on. In what world are any of these actions okay? As a tenant, I’d stay as far away from Black Swan as I possibly could.
While Black Swan Living is the manager of all of these rental properties, Black Swan Real Estate (and their couple dozen subsidiaries and DBA’s) act as the buyer and owner of all of these properties. As an investor, I’d say the same as I said for tenants, stay FAR AWAY. Whispers from realtors around Rochester have told me that fewer and fewer people are willing to work with them, and are actively trying to distance themselves from Black Swan and what they’re doing in our community. The Black Swan name is slowly becoming tainted, and it’s beginning to rot from the inside out. And with coming housing legislation in Minnesota, their business plan is at further risk of collapsing under its own weight, offering nothing to investors but the forfeiture of funds and contributing to the housing crisis in our community, both with rental price increases and lack of available affordable housing for first time home buyers.
With a name like Black Swan (see definition: an unpredictable or unforeseen event, typically one with extreme consequences), the collapse of Black Swan seems almost inevitable.
If they truly want to contribute to our community, and make it a more fair and equitable place to live for everyone, they need to focus on building new properties like they did with the Stonehaven Apartments and Townhomes in Byron, Minnesota. A change of tune in this direction could save this company, allow investors to actually help the communities Black Swan operates in, and contribute to a better society where people can actually afford housing once again.
As Rochester city councilman, Nick Miller, said to me, “the most affordable homes have already been built.” Divestment from these single family homes will allow people to make life changing choices at an affordable price, truly become a part of the community, their neighborhoods, their streets, and escape the endless cycle of renting when they’re ready. We can’t do that when every opportunity to buy a home is overtaken by a company paying cash, driving the average cost of a home up, and limiting supply of available homes to purchase.
If you’d like to know more about housing needs and analysis in Rochester, please check out the 2025 Maxfield Study that was conducted.
FINALLY Made a Video During the COVID-19 Pandemic!
Well, the day finally came. After shooting dozens of videos for the videos I was originally going to create, I scrapped the whole idea and decided to start much, much simpler. The following video is essentially a slideshow of my favorite photos I’ve taken the last few years, with a little video of me at the beginning to describe what you’re about to see.
Well, the day finally came. After shooting dozens of videos for the videos I was originally going to create, I scrapped the whole idea and decided to start much, much simpler. The following video is essentially a slideshow of my favorite photos I’ve taken the last few years, with a little video of me at the beginning to describe what you’re about to see.
Once I’ve shot a few more rolls of film through my newly acquired Leica M3, I’ll post a video review of the camera in general and some of the photos I’ve taken with it!
In the meantime, please feel free to leave some advice about what I could do better or videos you’d like to see in the future!

COVID-19 and Some Goals pt. 2!!!
Today is the last day of working 14 days in a row straight, and I am so excited to get started on the goals I had outlined in my last post here. BUT - I completely forgot that I finally got my Leica back from being serviced. I sent the damn thing off in August of 2018, and got it in the mail on Thursday.

Today is the last day of working 14 days in a row straight, and I am so excited to get started on the goals I had outlined in my last post here. BUT - I completely forgot that I finally got my Leica back from being serviced. I sent the damn thing off in August of 2018, and got it in the mail on Thursday.
It’s a Leica M3 Double Stroke from 1958/1959, with a 90mm Elmarit f/2.8 attached. It’s a thing of pure beauty and I can’t wait to finally use it.
So, in addition to learning to shoot and edit videos, I’ll be typing up a short review of the camera after running a roll or two through it. My goal for a video will be something along the lines of shooting with the Leica, showing the use of the camera, followed by the process of developing, drying, and scanning the film, and finish off with the end product. I have absolutely no idea how to input photos into videos so it should be a very interesting week to say the least.
Until I get started on all of that, enjoy some photos of this late 1950’s feat of German engineering.


Shout out to the moron that carved a serial number into this.

COVID-19 and Some Goals
The last two weeks have been absolutely insane, and I have no doubt in my mind that this will be our new normal for at least a few months. As of writing this sentence, the total number of documented cases of COVID-19 in the United States is just under 45 thousand.

The last two weeks have been absolutely insane, and I have no doubt in my mind that this will be our new normal for at least a few months. As of writing this sentence, the total number of documented cases of COVID-19 in the United States is just under 45 thousand.
Last Tuesday (3/17) I got the news that Mayo Clinic would be cancelling all elective surgeries and appointments that weren’t absolutely necessary, so I wasn’t sure I would have a job this week. As of writing, my position at Mayo has completely changed from rooming patients and scheduling appointments, to screening patients and employees as they walk in the building. Temperature checks have begun on every person coming in, with multiple screening questions asked before we determine if they can go to their appointment, or need to go be tested for the coronavirus.
Throughout the last week, I volunteered for multiple different positions dealing with the outbreak, and Thursday (3/19) around 3:45pm, I was told I would be working 12pm-7pm screening patients every day for the foreseeable future. This started the next day. Every day, and damn near every hour, protocols for screening have changed. I currently have been working since Monday the 16th, and will continue to work my 12-7 shift until the 29th. Thankfully they added in a rotation, so I will luckily have 7 days off after the 29th, and have a weekly rotation start after that. That 7 days on, 7 days off rotation is where these goals come into play.
I’m going to try and be as productive as possible with those days off, but after working 14 days straight, I imagine I’ll be sleeping a lot on that first day just trying to recover from the total exhaustion I’m experiencing now.
My biggest goal during the time off will be learning how to shoot and edit video. There are tons of free programs available for video editing. I’m excited to dive in, but also a little overwhelmed with everything that’s going on in the world, as I’m sure everyone else is. Besides my goal of learning how to shoot and edit video, my other goals are to catch up on sleep, learn some different lighting techniques (pictured above), tire Miah out, and get out to shoot some possible content for these videos.
If anyone has any requests for content, please comment below and I’ll see what I can do! One idea I have at the moment is developing film, and showing the process I go through, but that might be towards the end of my 7 days as I learn to cut together video. Otherwise, l’ll probably take some video of me and Miah doing some training, or random hiking around Minnesota.
Hopefully everyone is getting through this as best as they can, and starting to adapt to our new normal. I’ll update as often as possible, and until then, everyone stay safe and wash your damn hands.
Old Photos
DISCLAIMER: I wrote this at the end of February, so before all of the insanity of COVID-19 was around.
For the past couple months, I’ve been thinking about going through and editing old photos to bring them up to my current standards and editing style. For the first couple of years with my digital camera, I was exporting images in the wrong color profile, which would wash out the colors, making them look dull and lifeless.
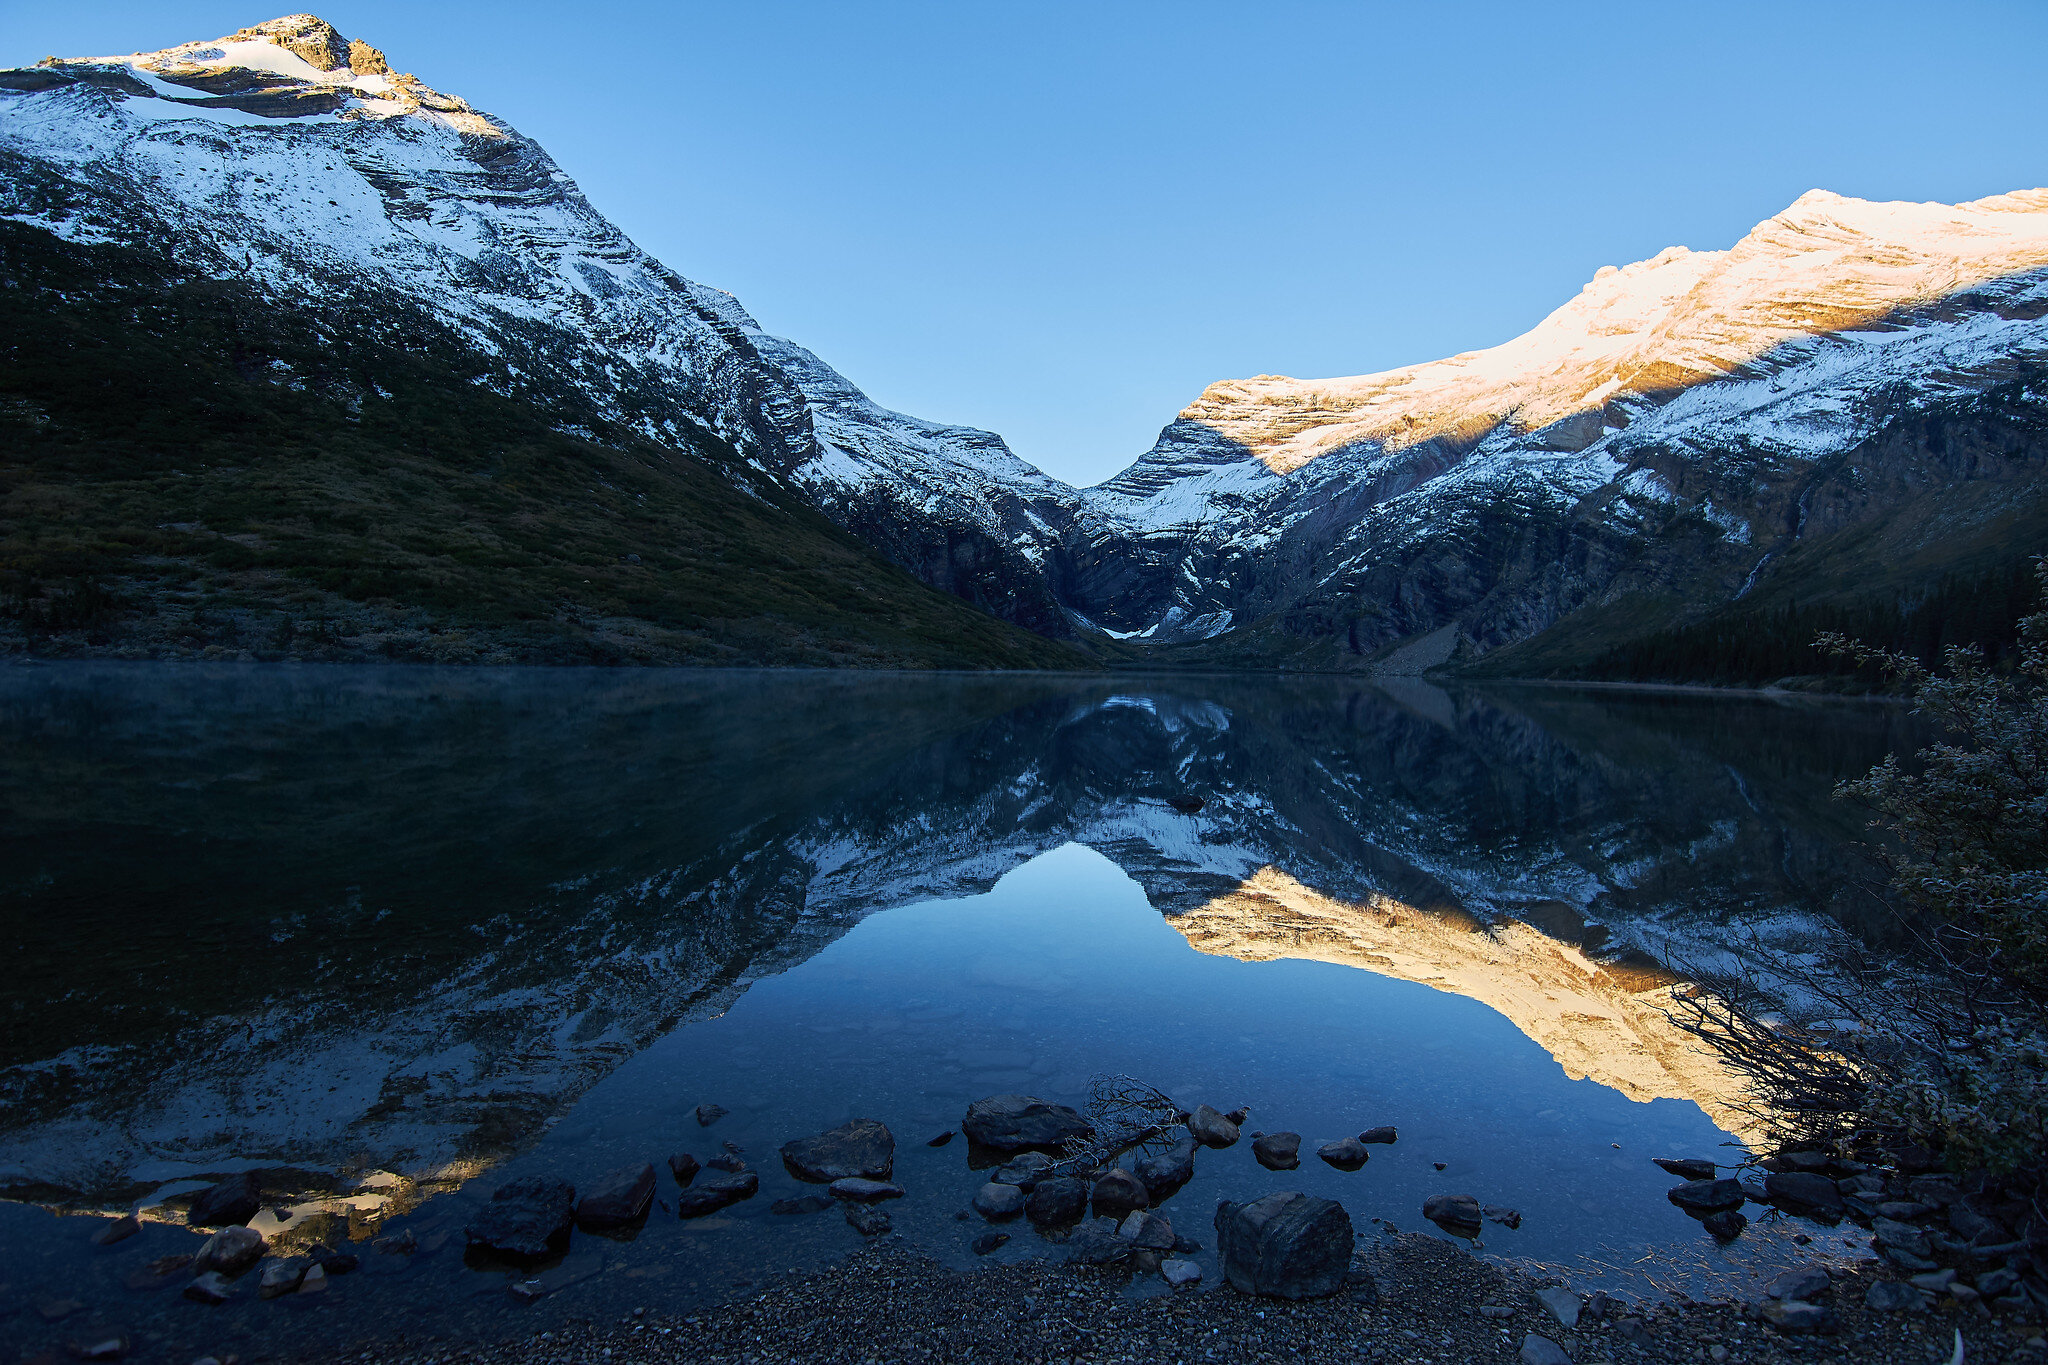
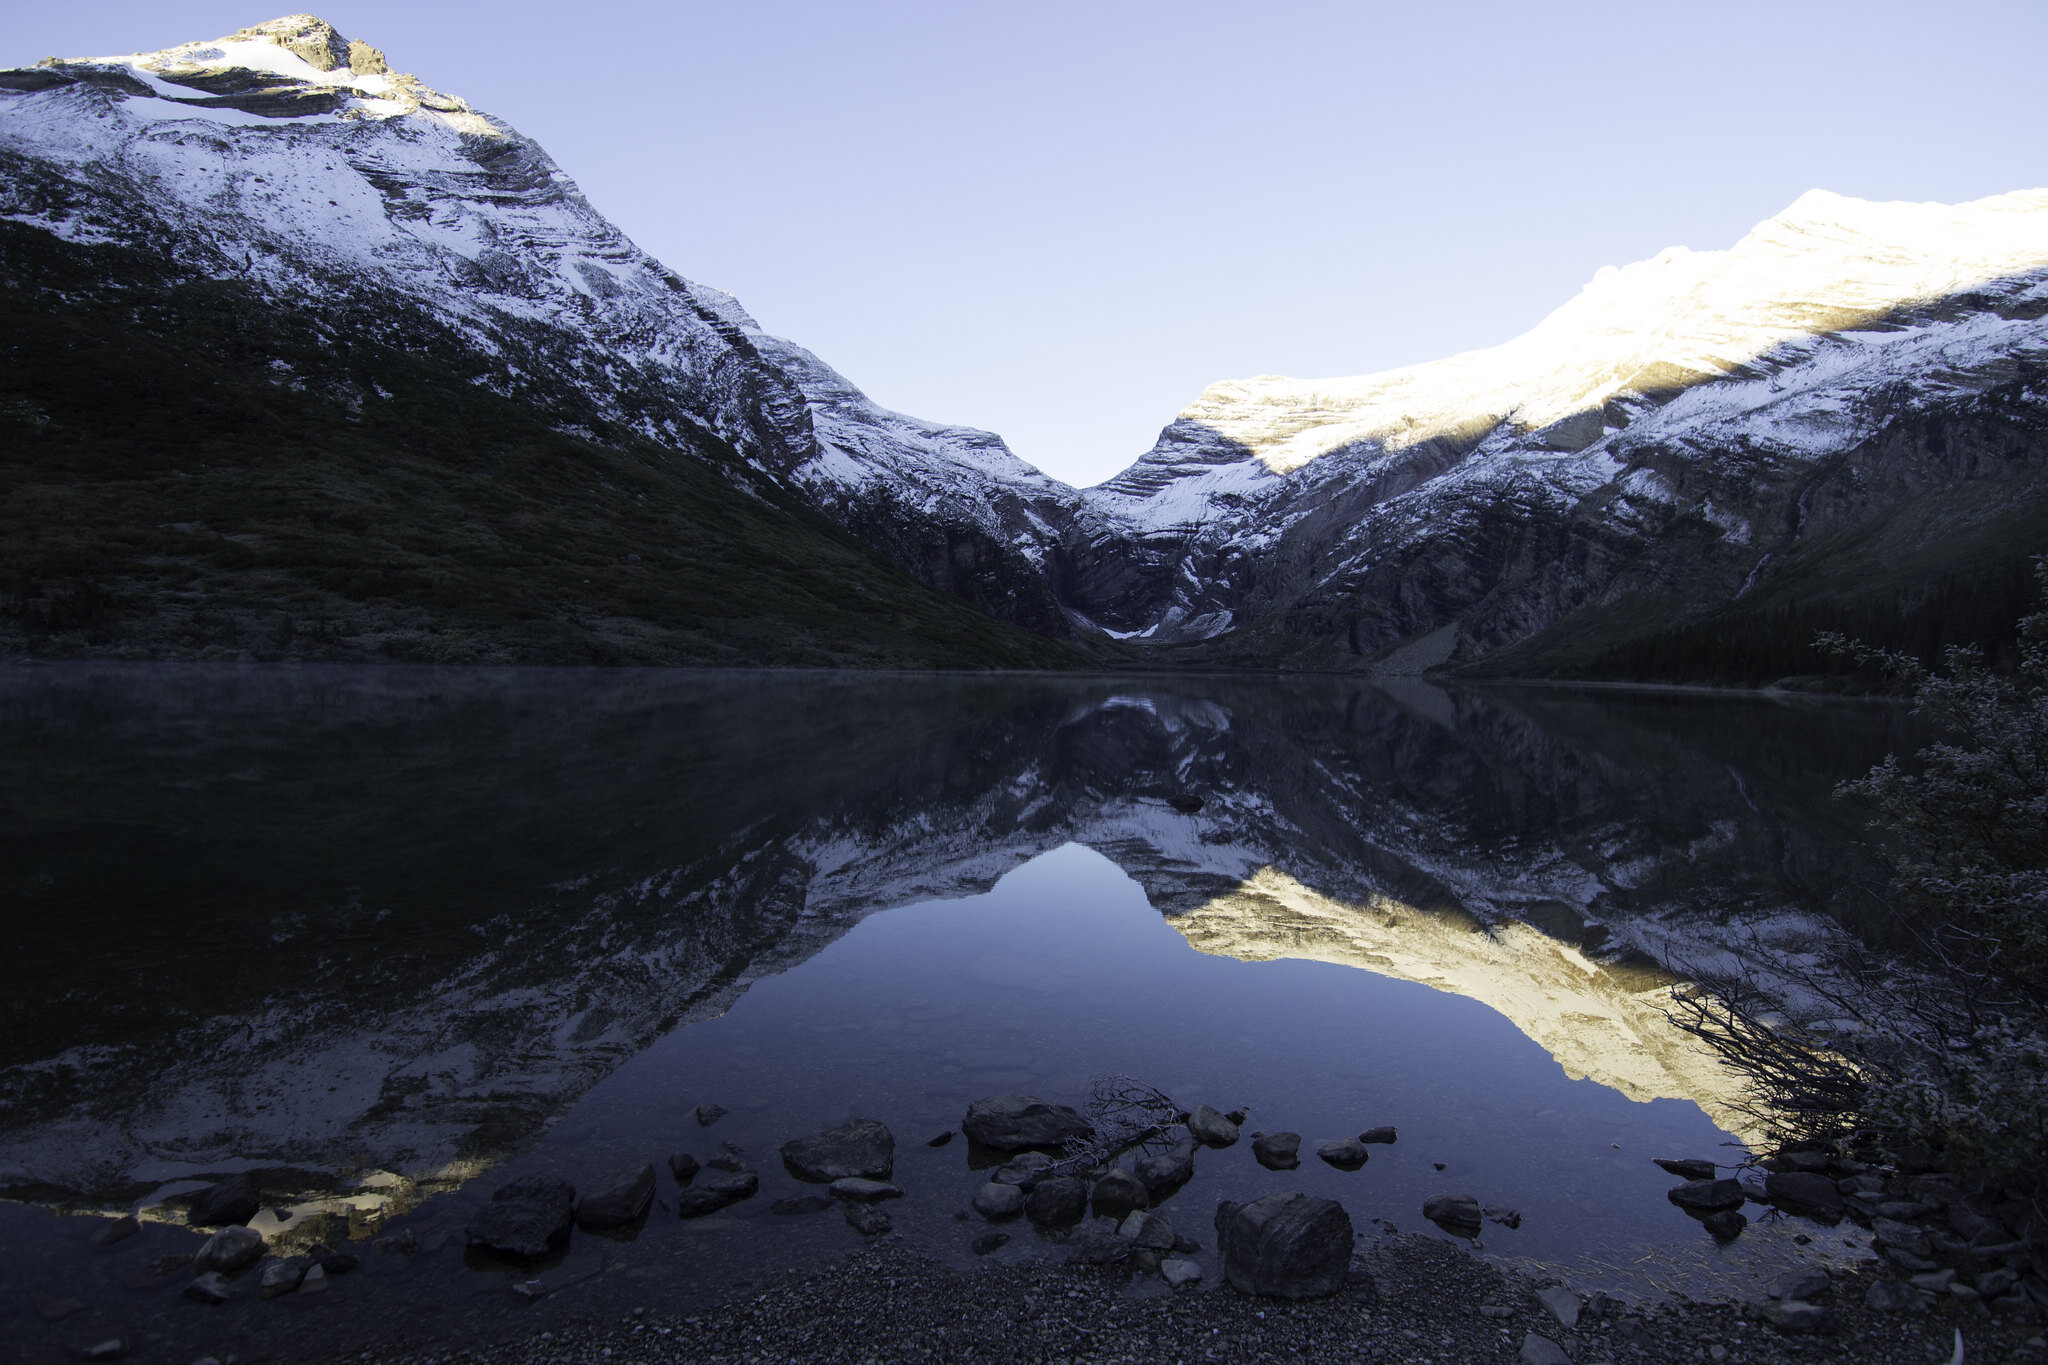
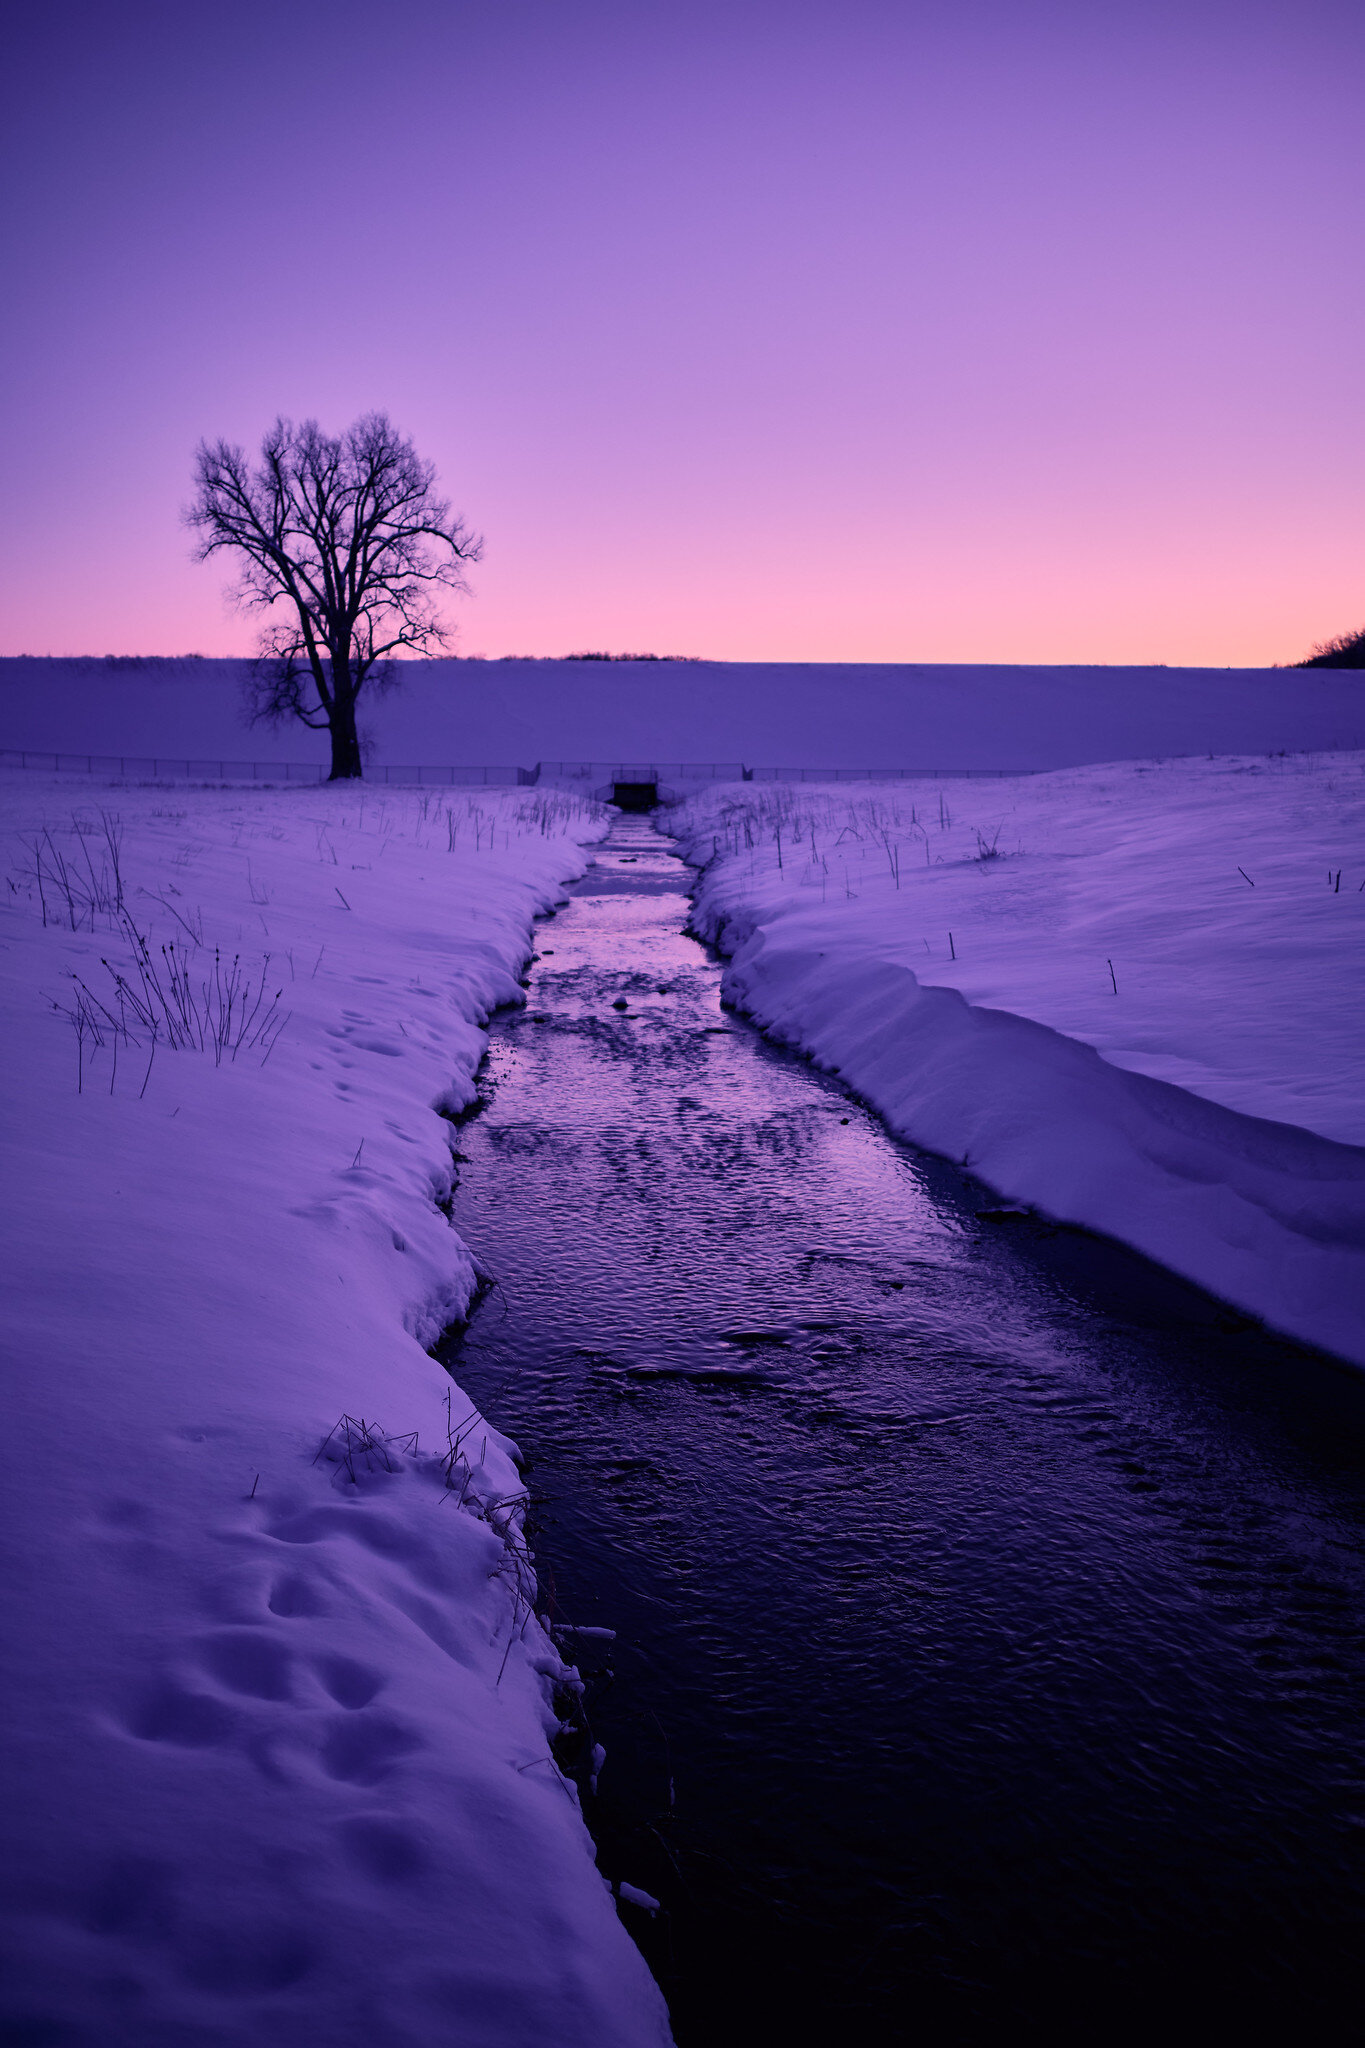
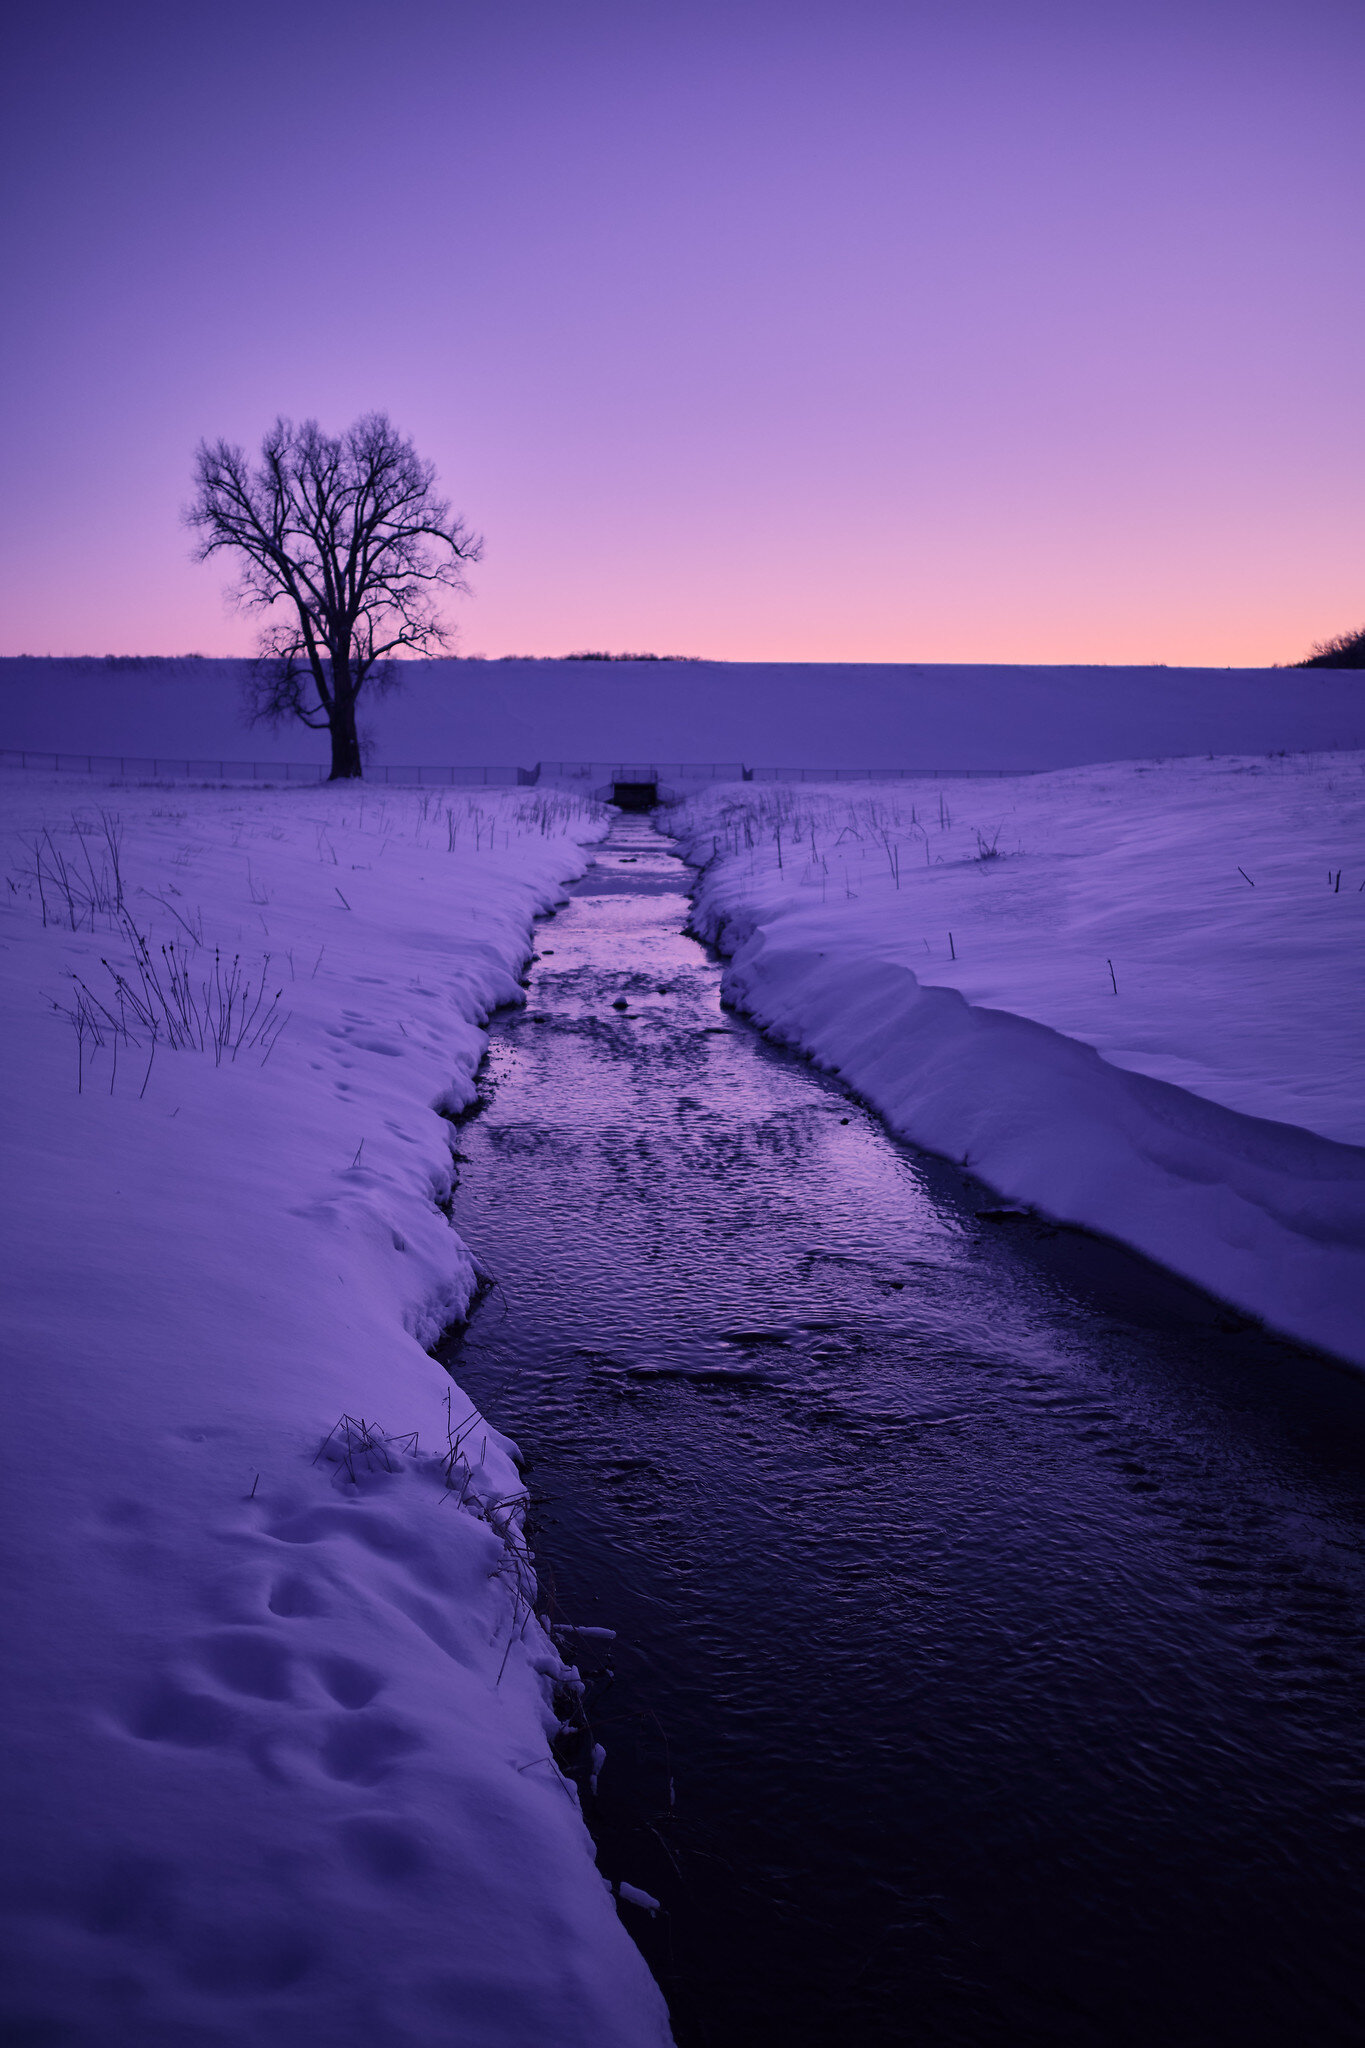
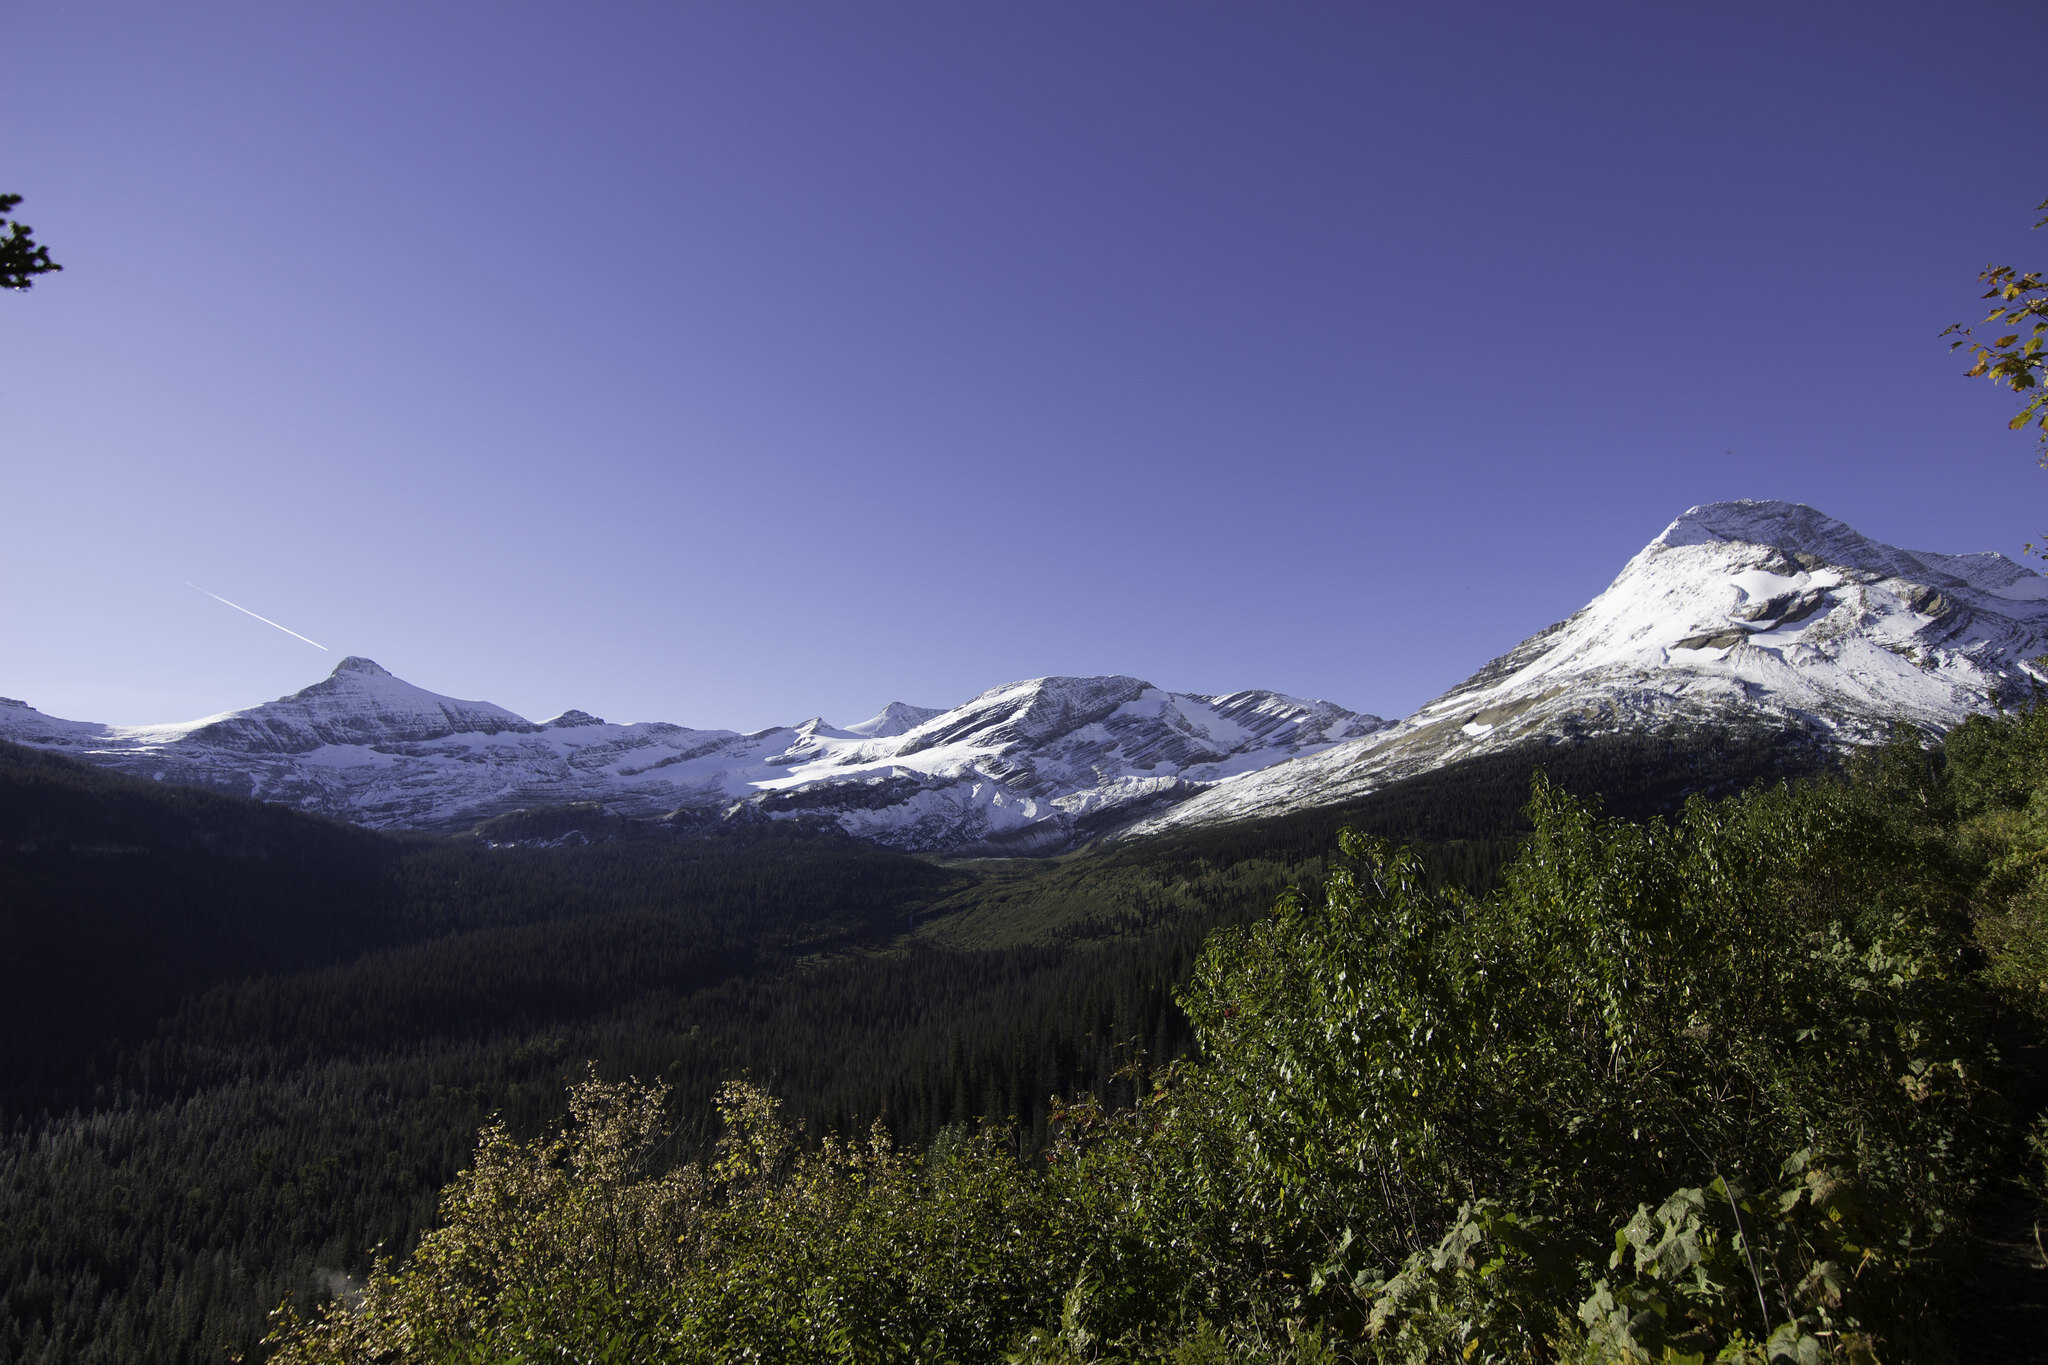
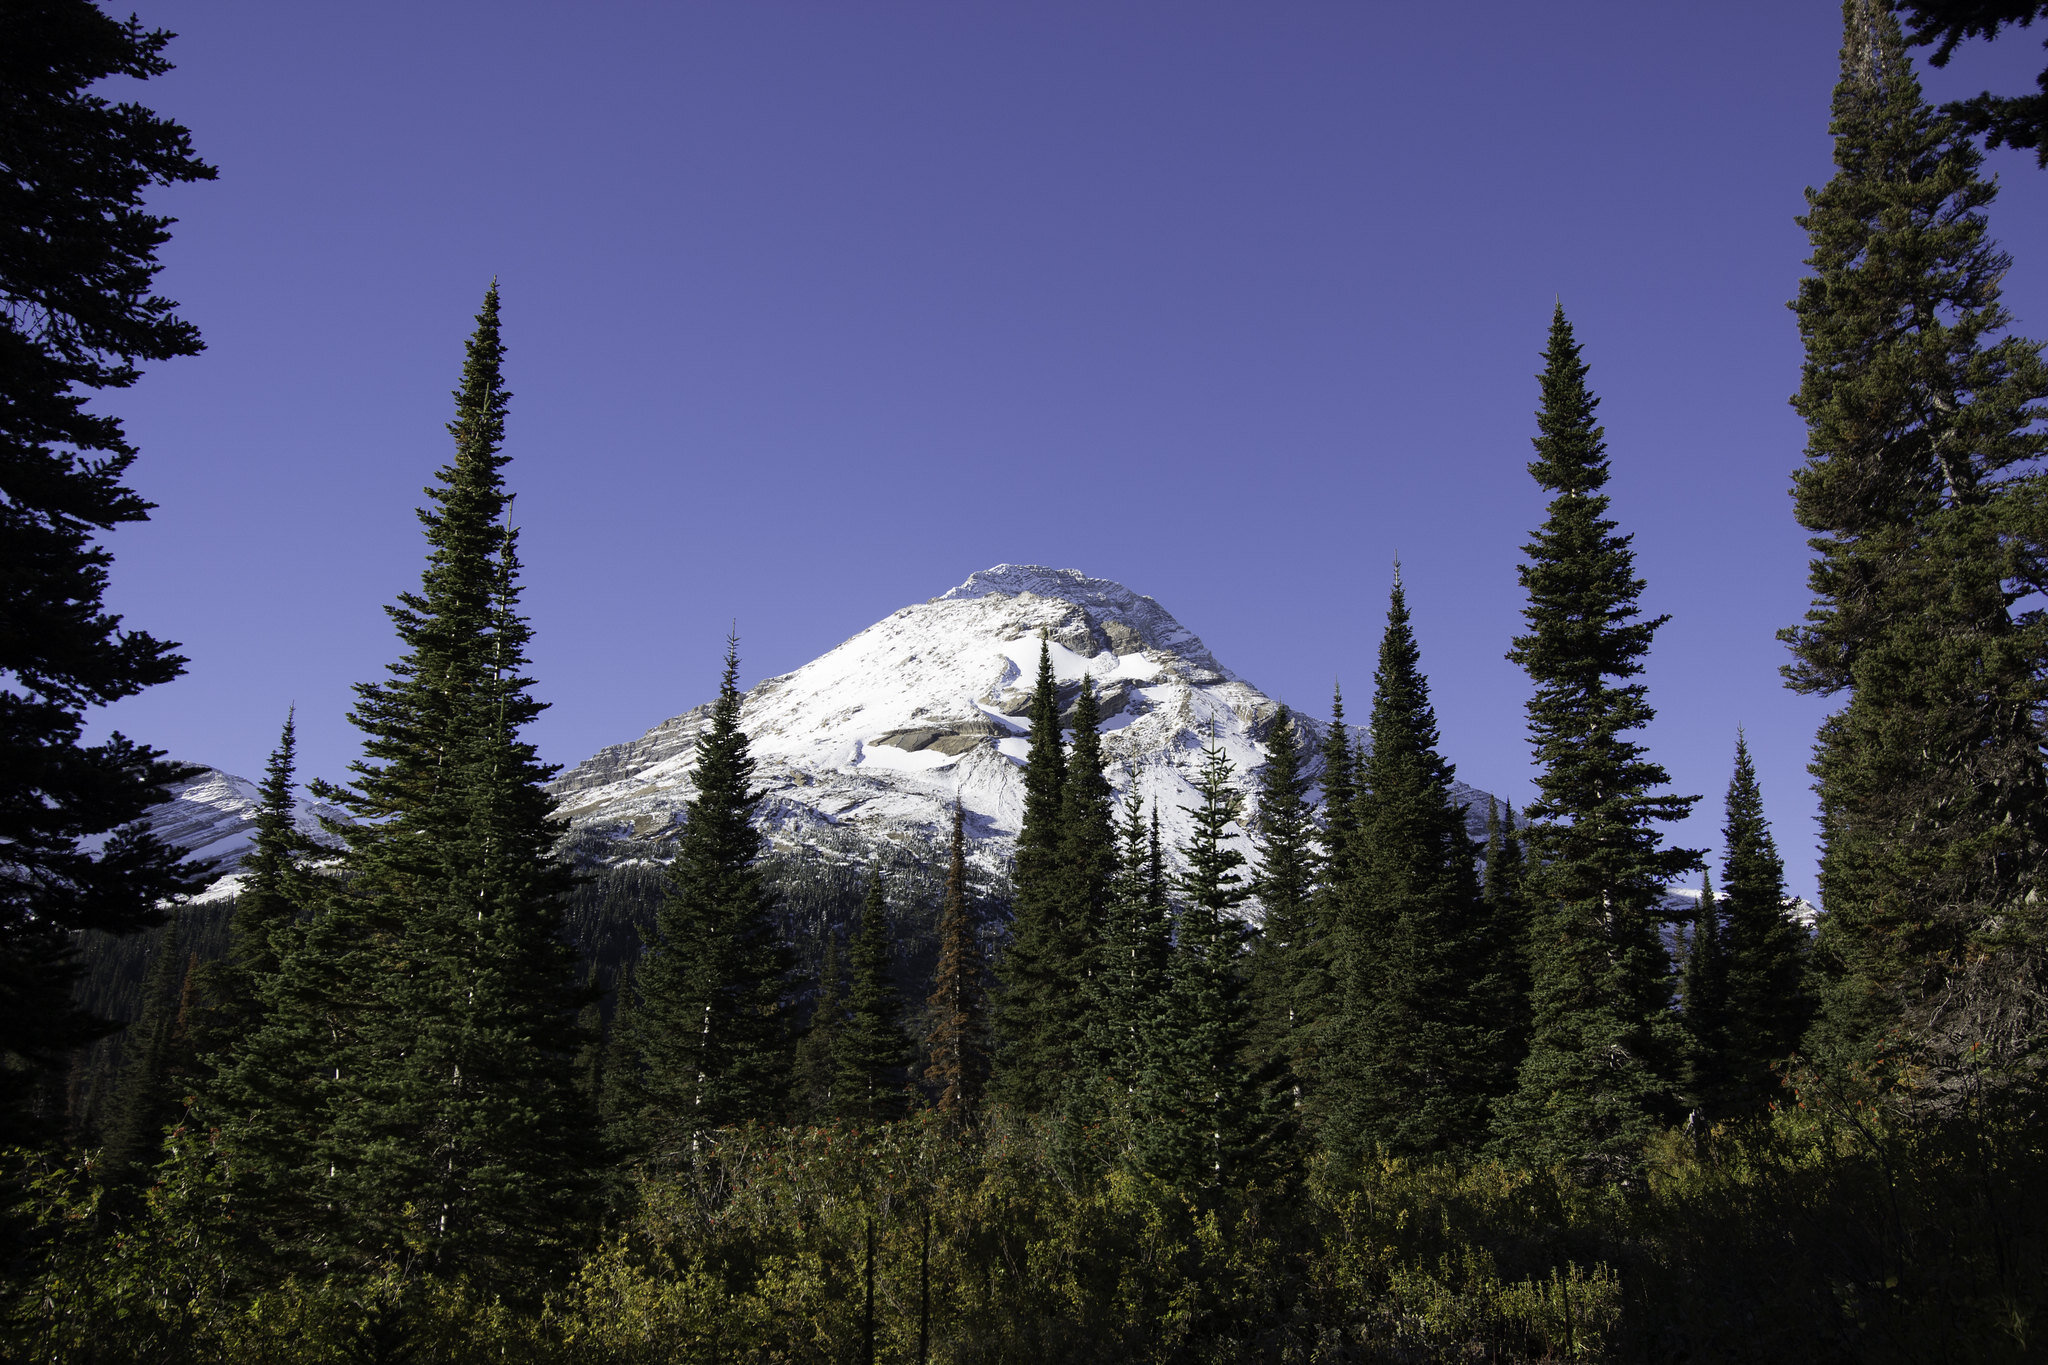
P.S.A - There will be a much larger difference between photos if you look at them on a mobile device compared to a computer. sRGB photos will be on the left/top, and ProPhoto/AdobeRGB with be on the right/bottom.
Now, not to go too much into it, but the world, for the most part, uses sRGB; it’s the standard. Tablets, phones, laptops, and any other mobile device, is able to see the sRGB color spectrum, with computers typically showing a bit more into the other color spectrums.
There are many different color spectrums you can physically work in, but there are three main ones; ProPhoto RGB, AdobeRGB, and sRGB. ProPhoto gives you the widest range of colors, sRGB gives you the least, and AdobeRGB is smack dab in the middle.

Because I was editing and exporting photos in ProPhoto RGB, most of my photos ended up looking washed out on mobile devices, but fine on my laptop at the time. For nearly two years, I dealt with whatever strange phenomenon was happening to my photos. I’d bring the photo into Instagram to post it, and all of a sudden the colors were absolute trash. I’d have to re-saturate the colors, boost the contrast, and hope I was close to what I had edited it like beforehand.


Now that I’m on one of my infamous social media breaks, I’ve actually had the mental energy and time to go through and find those old photos, and edit them like I would today. And more importantly, export them in the right fucking color space. I dug out my old hard drives, plugged them into my computer, and got incredibly lucky when they still worked. All good, photos weren’t gone, but I did have to go through and find the damn things.
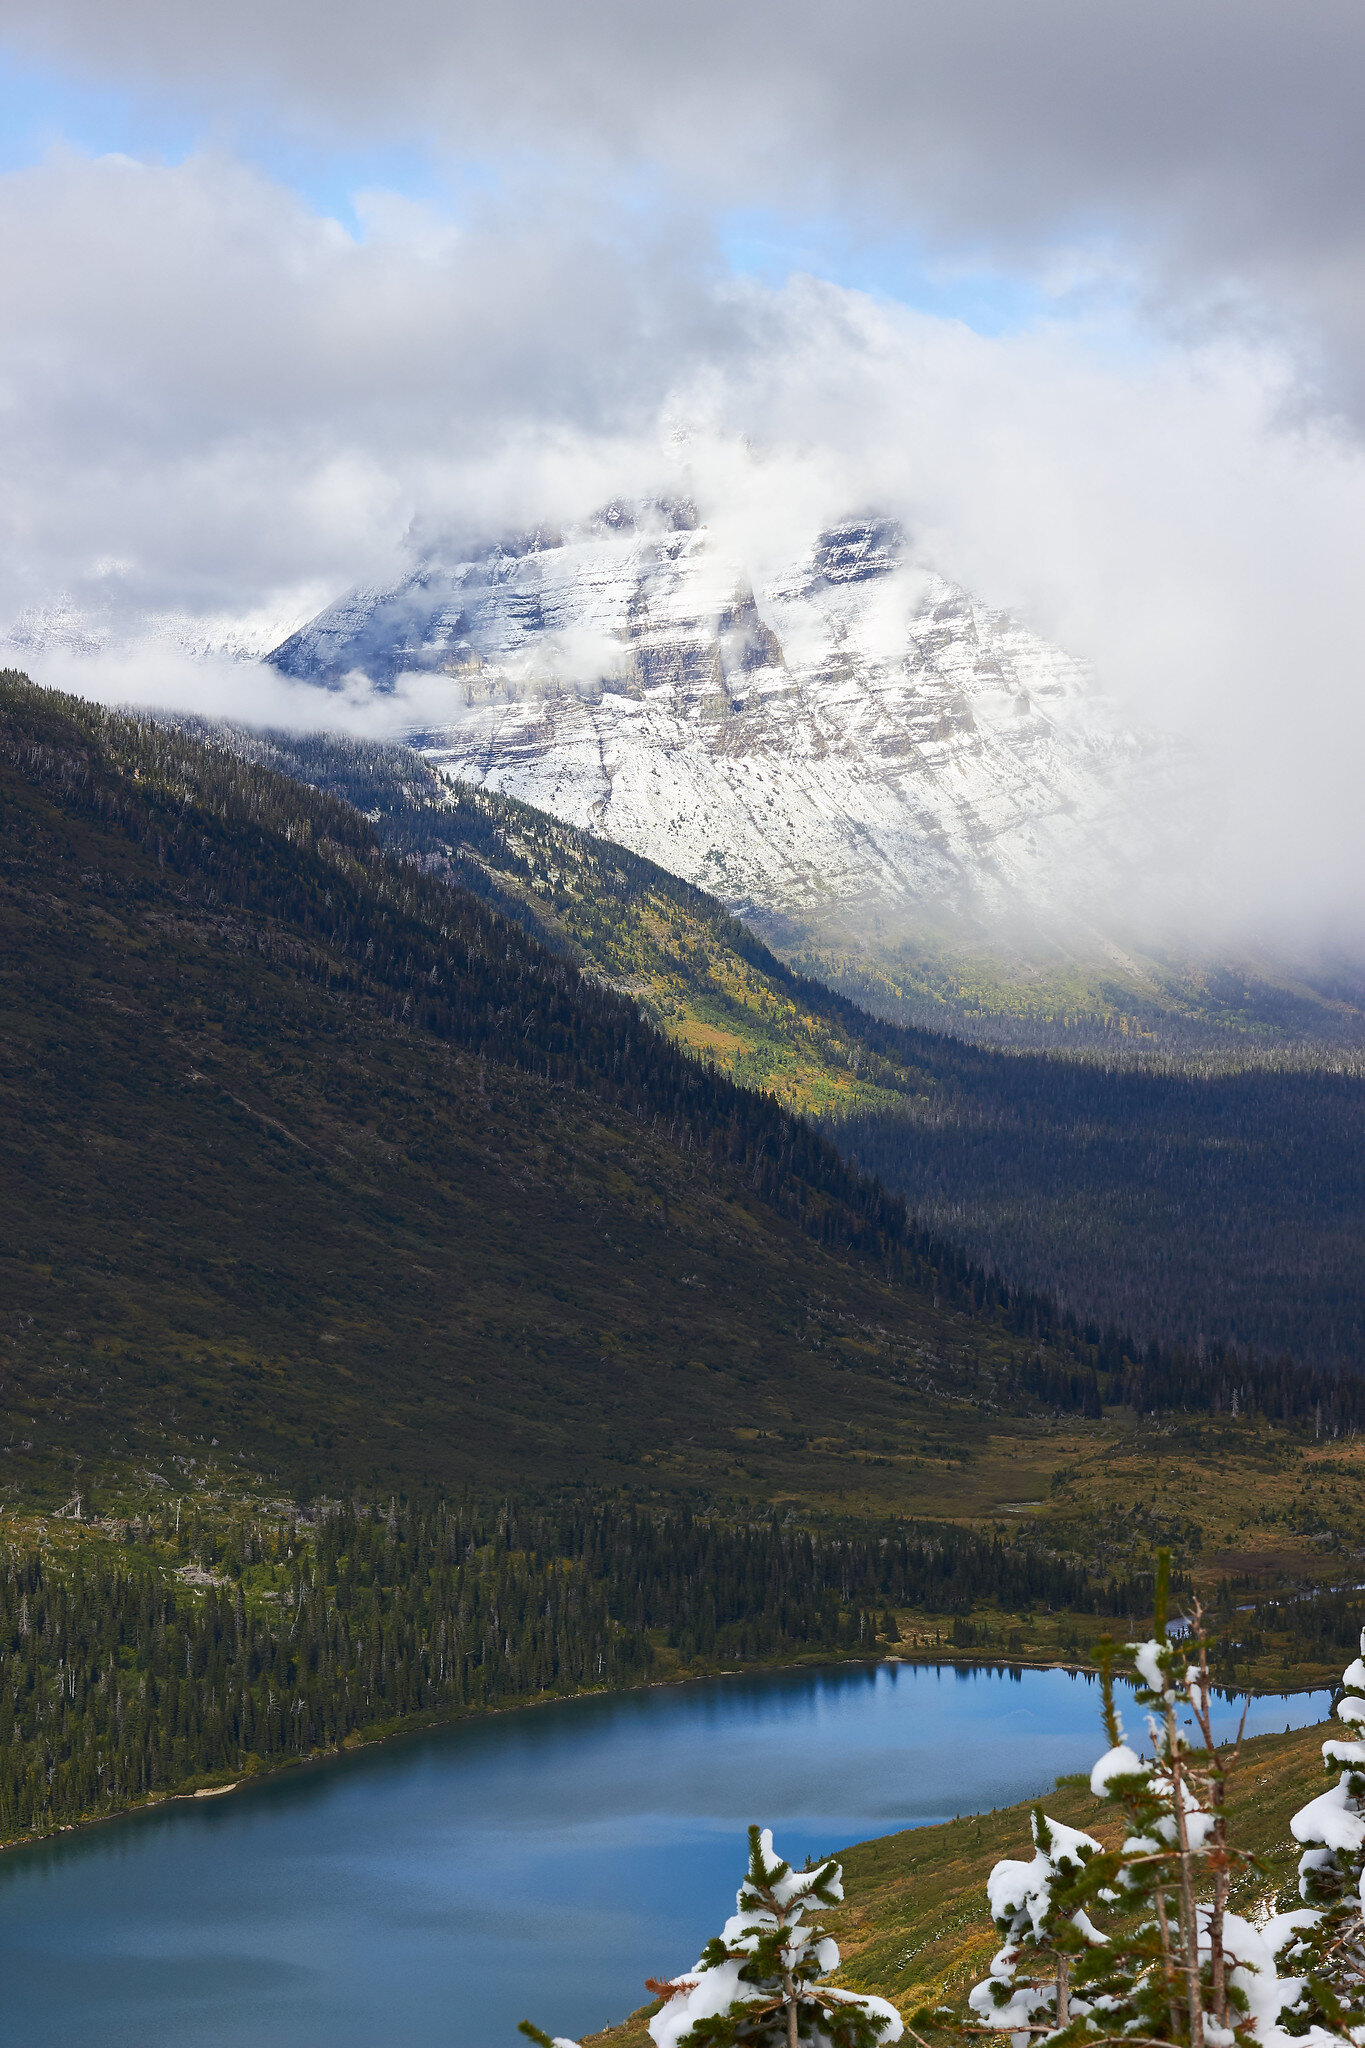

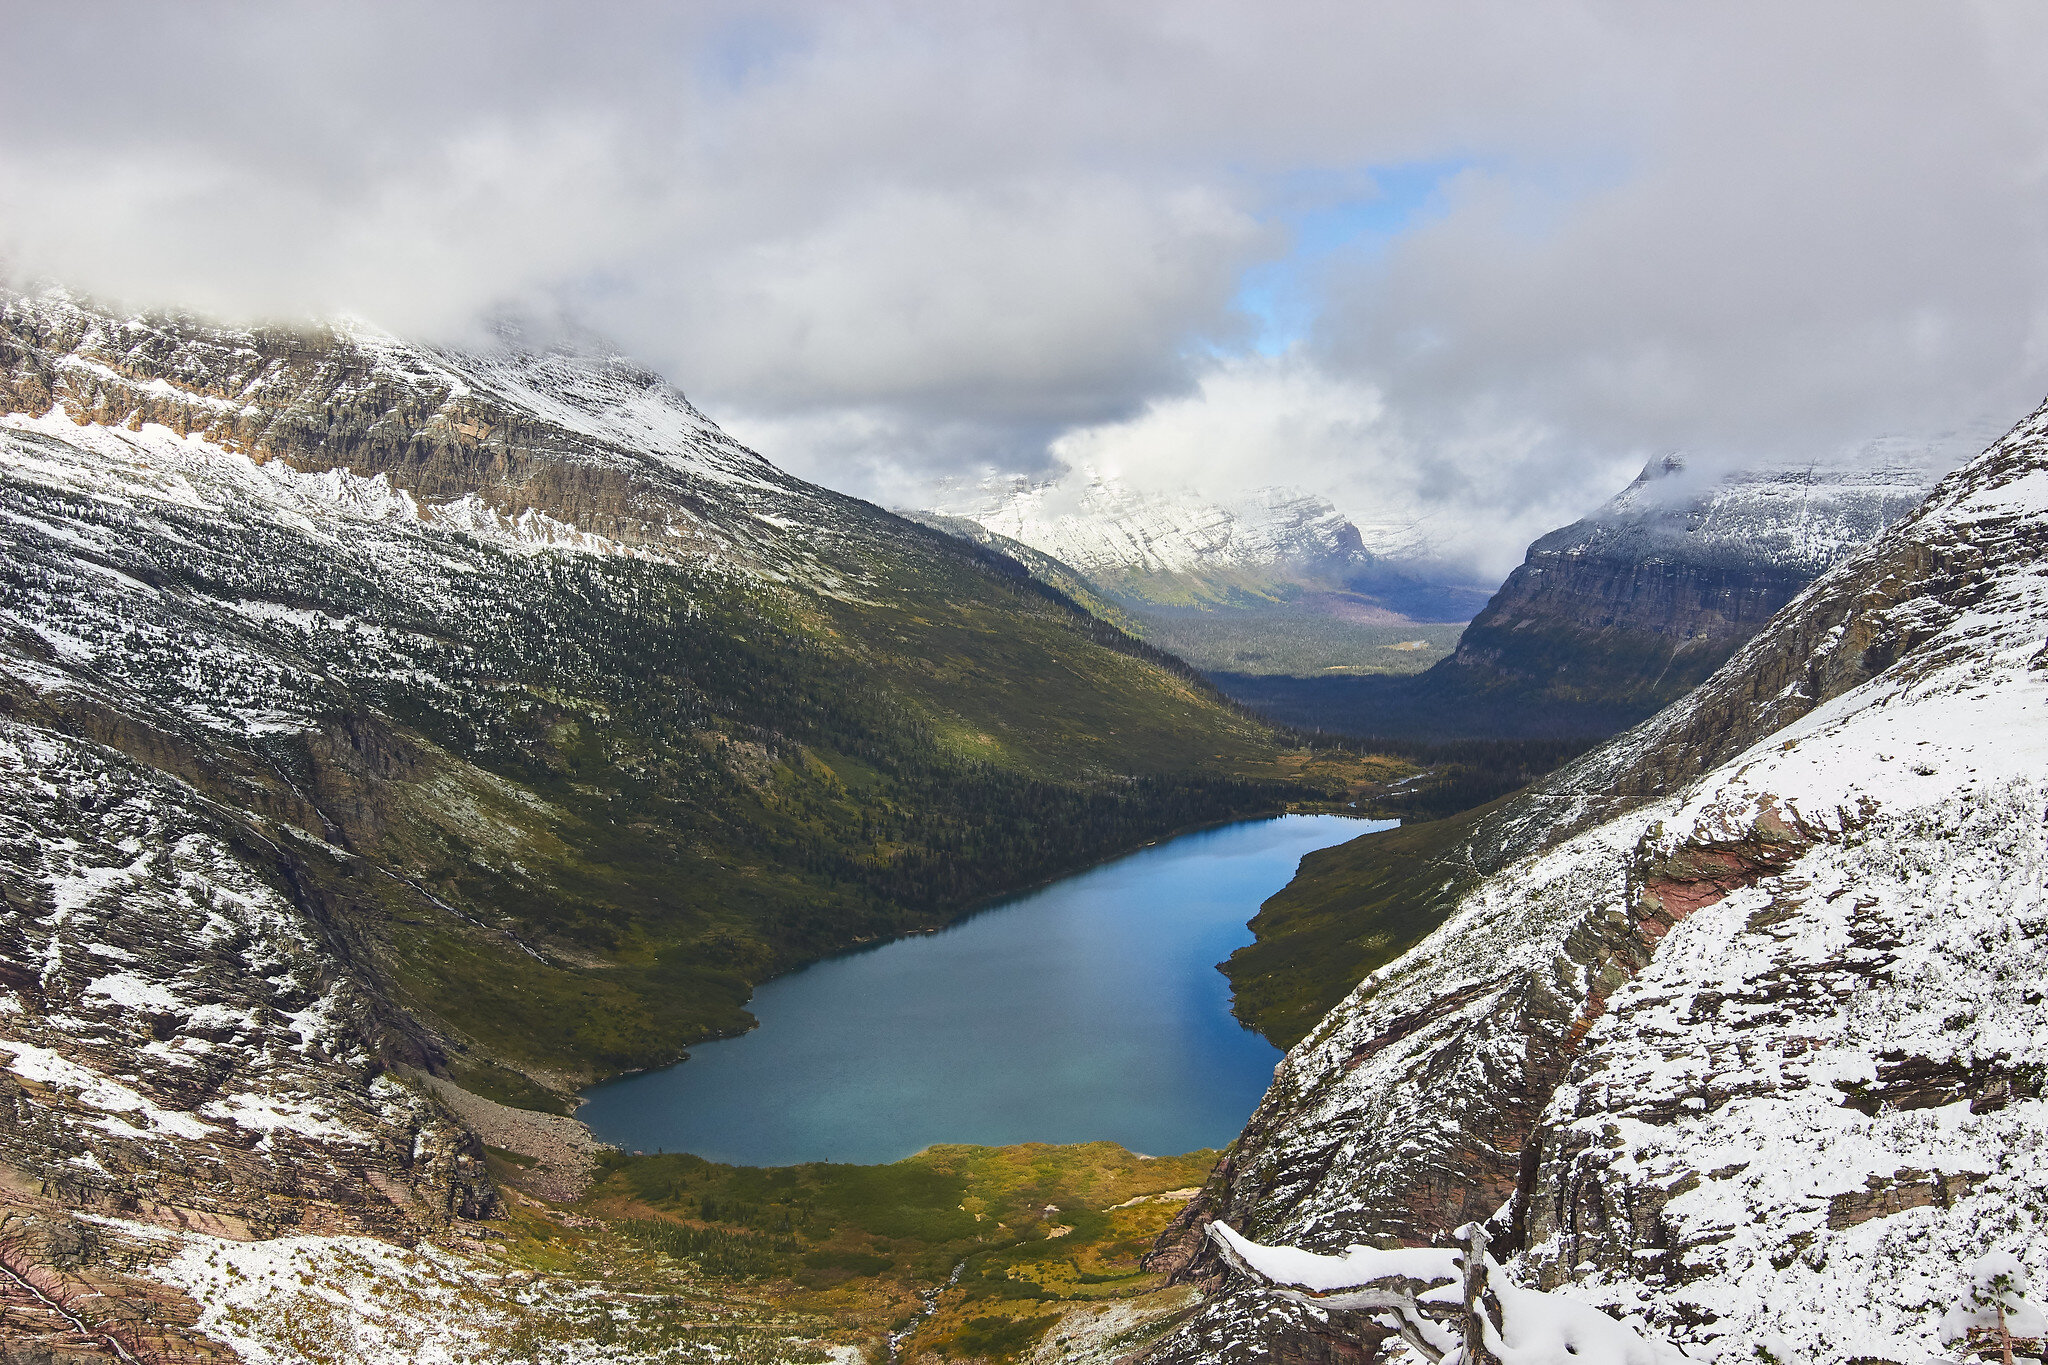
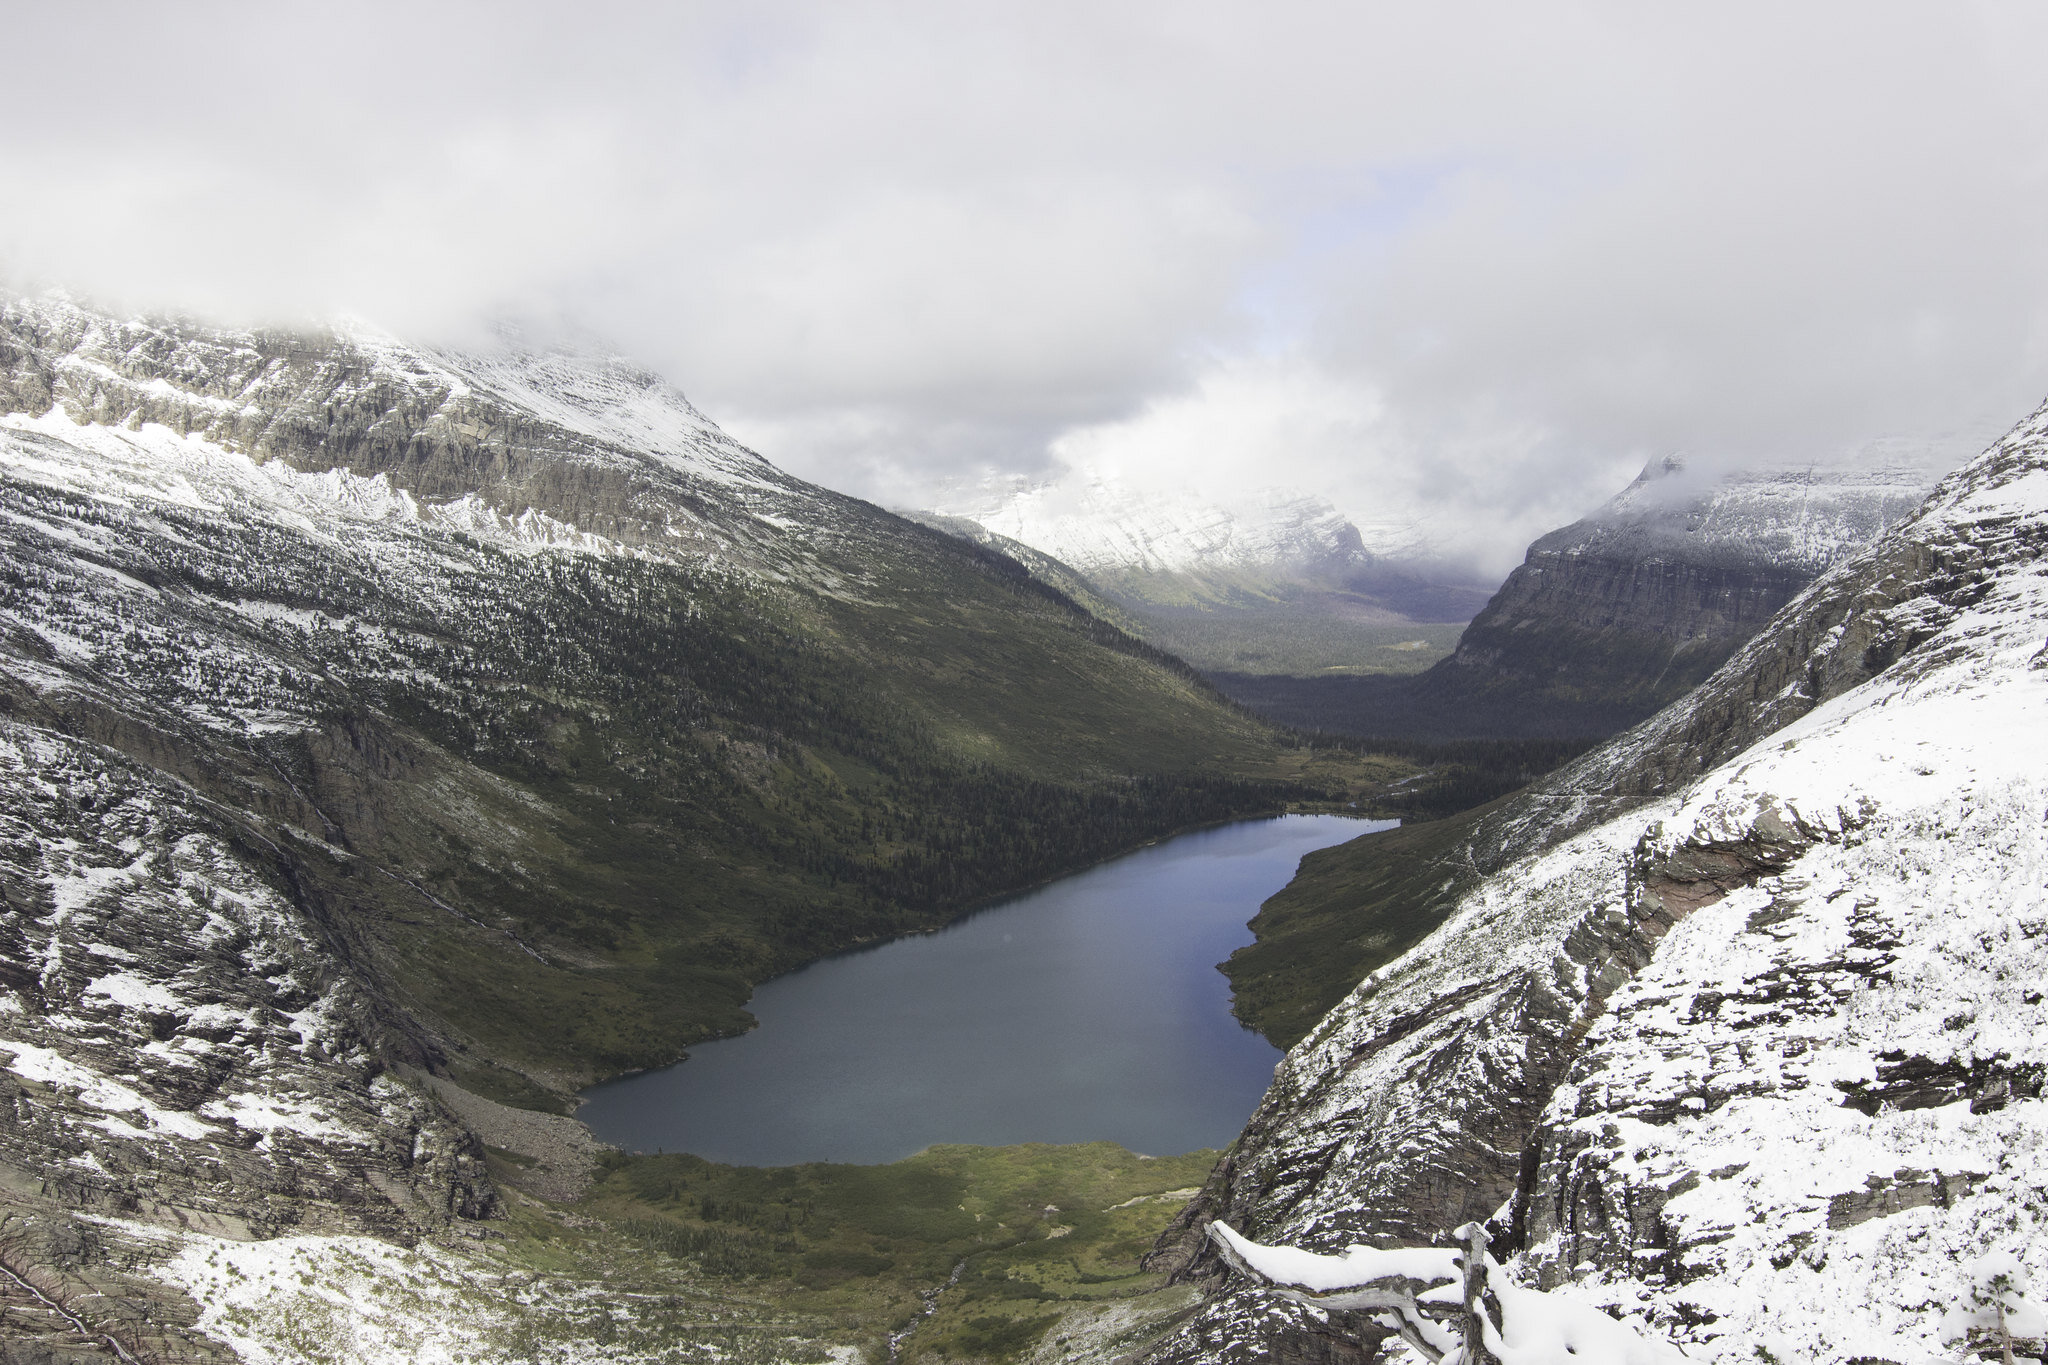
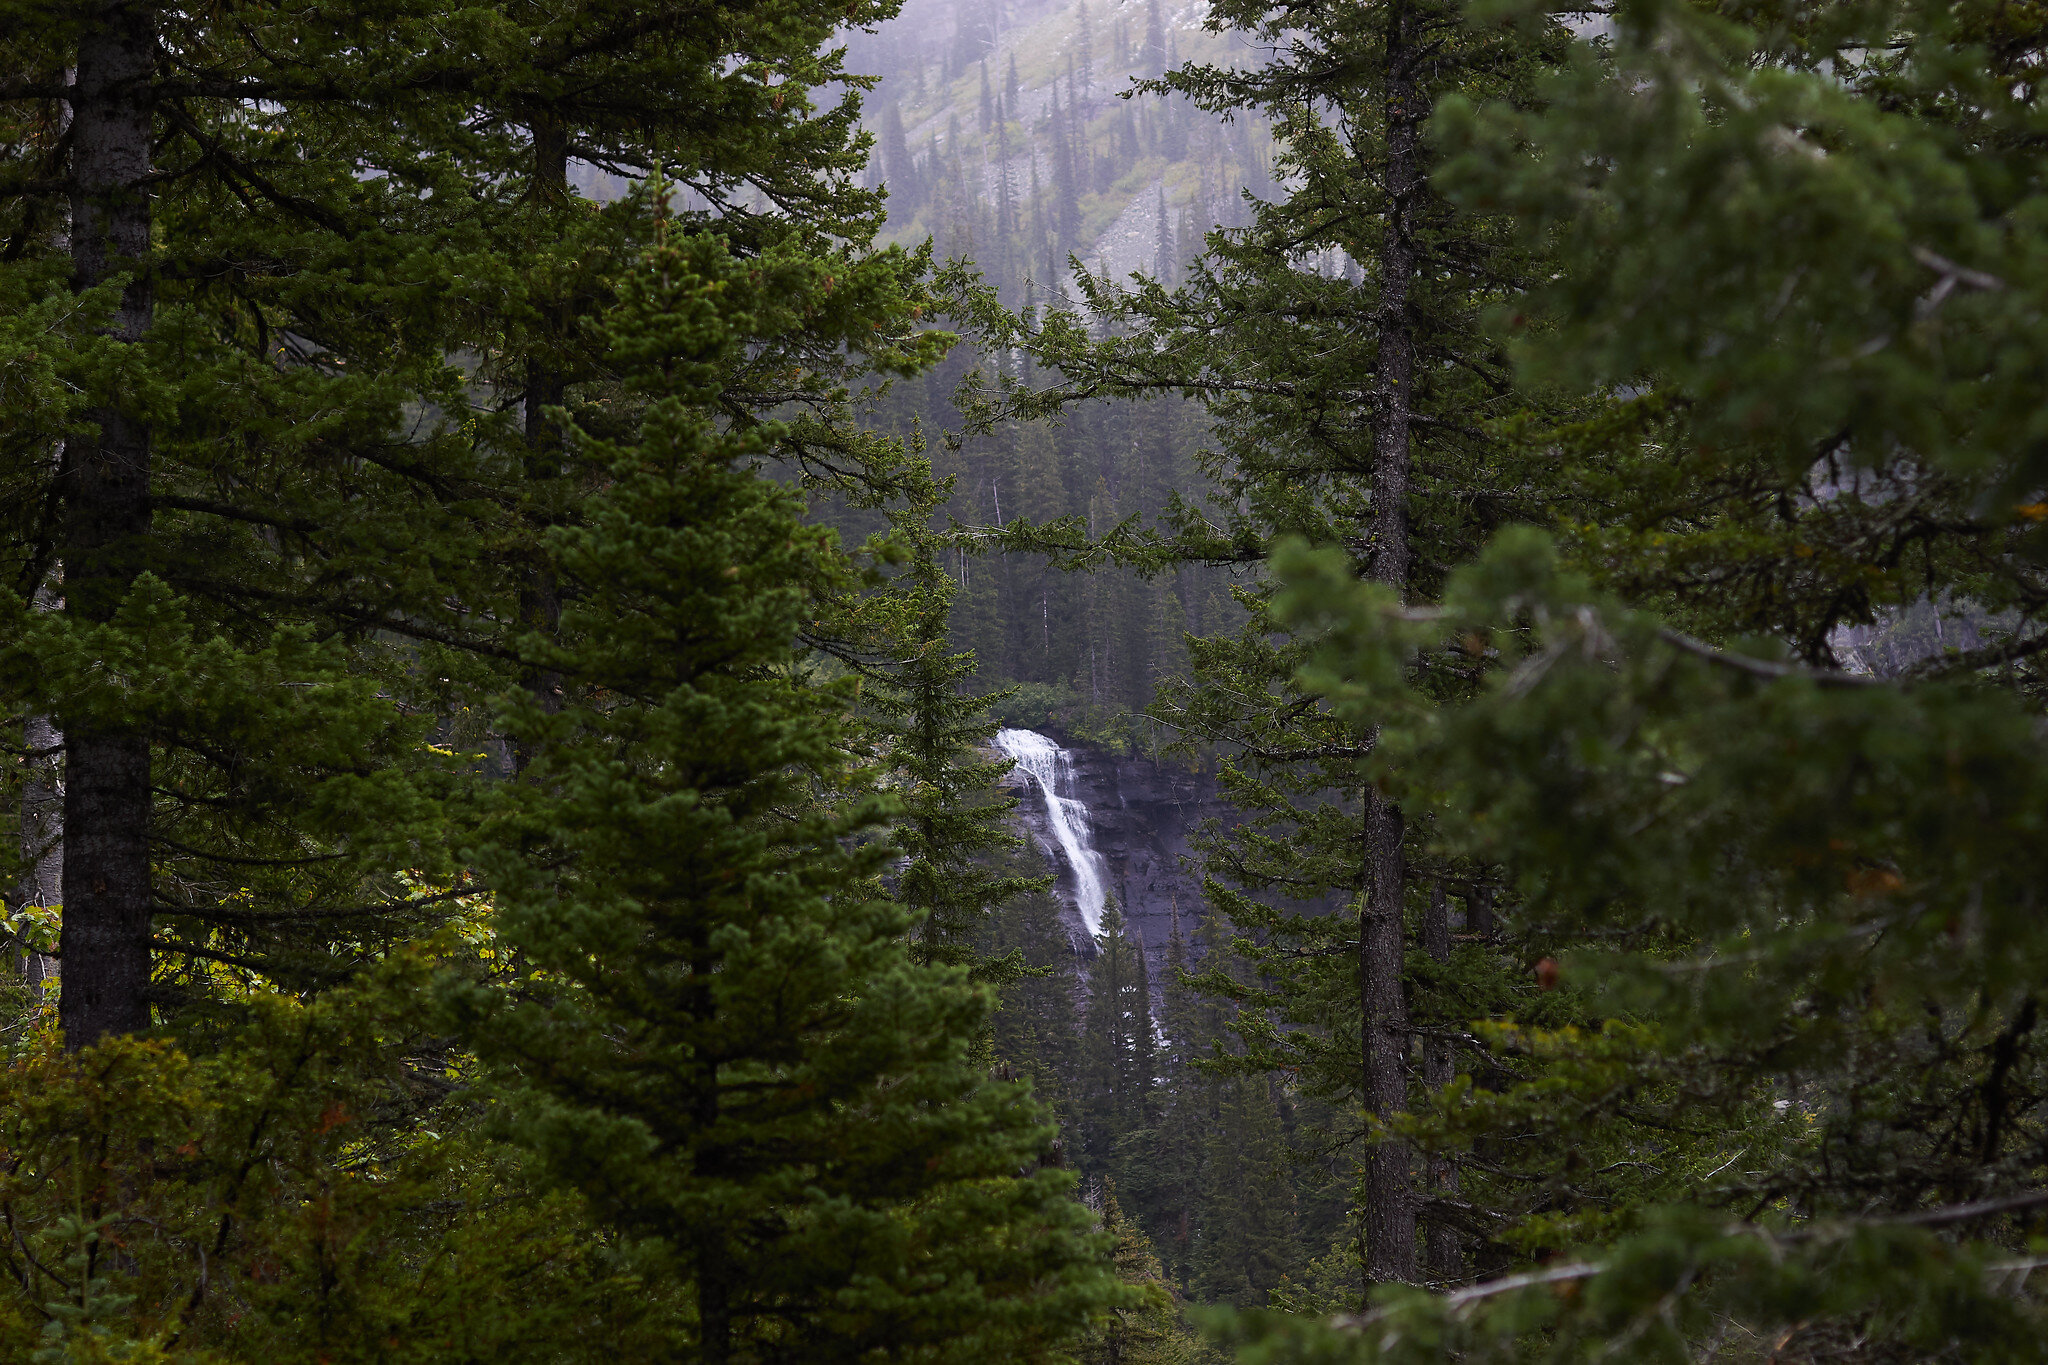
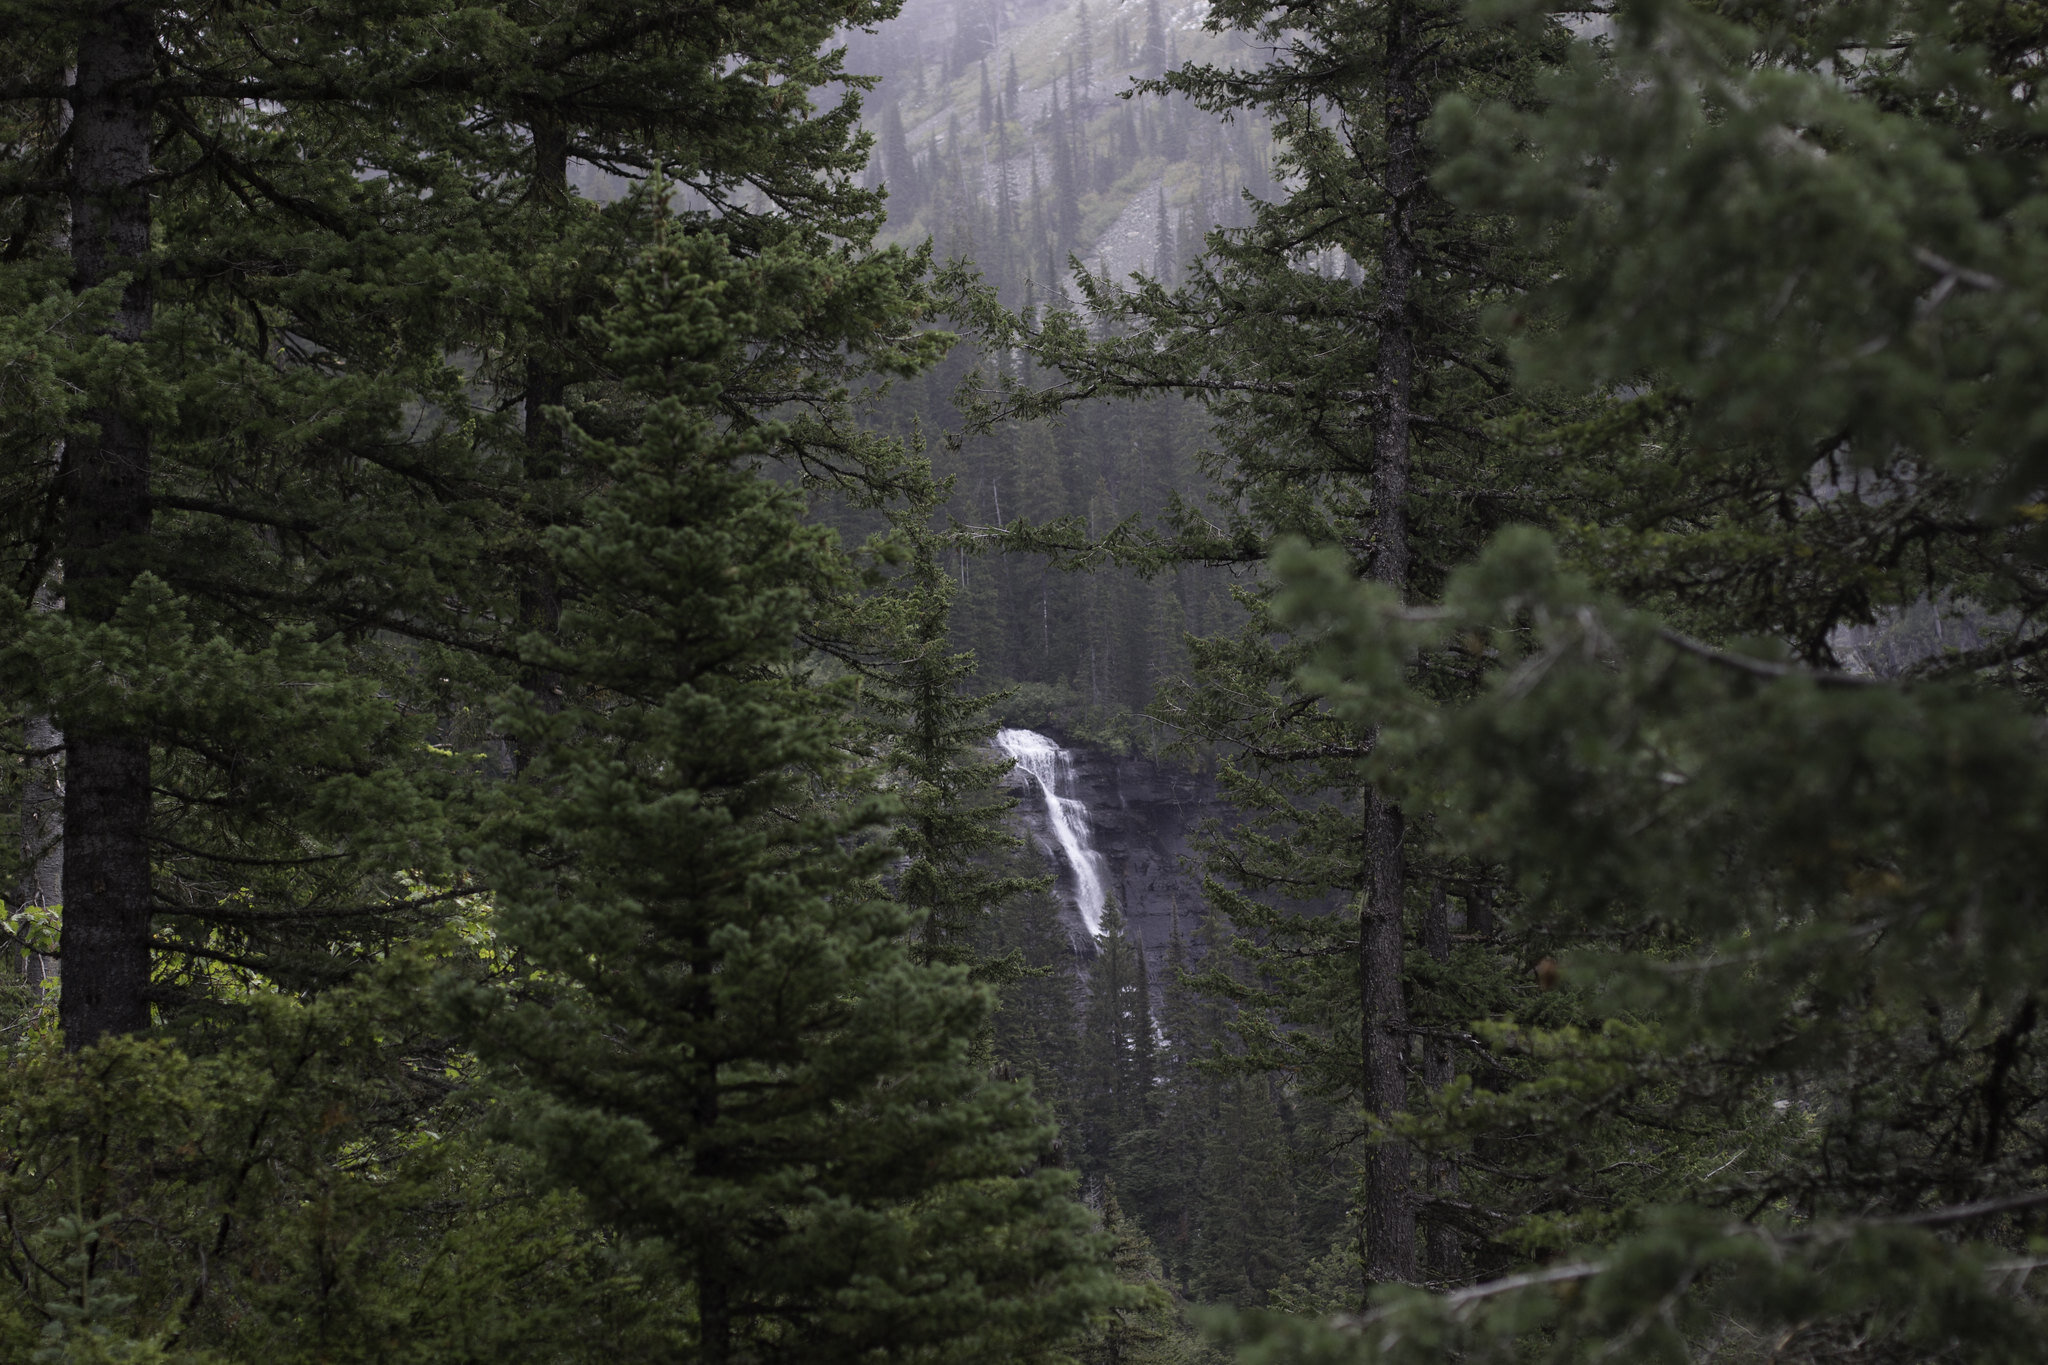
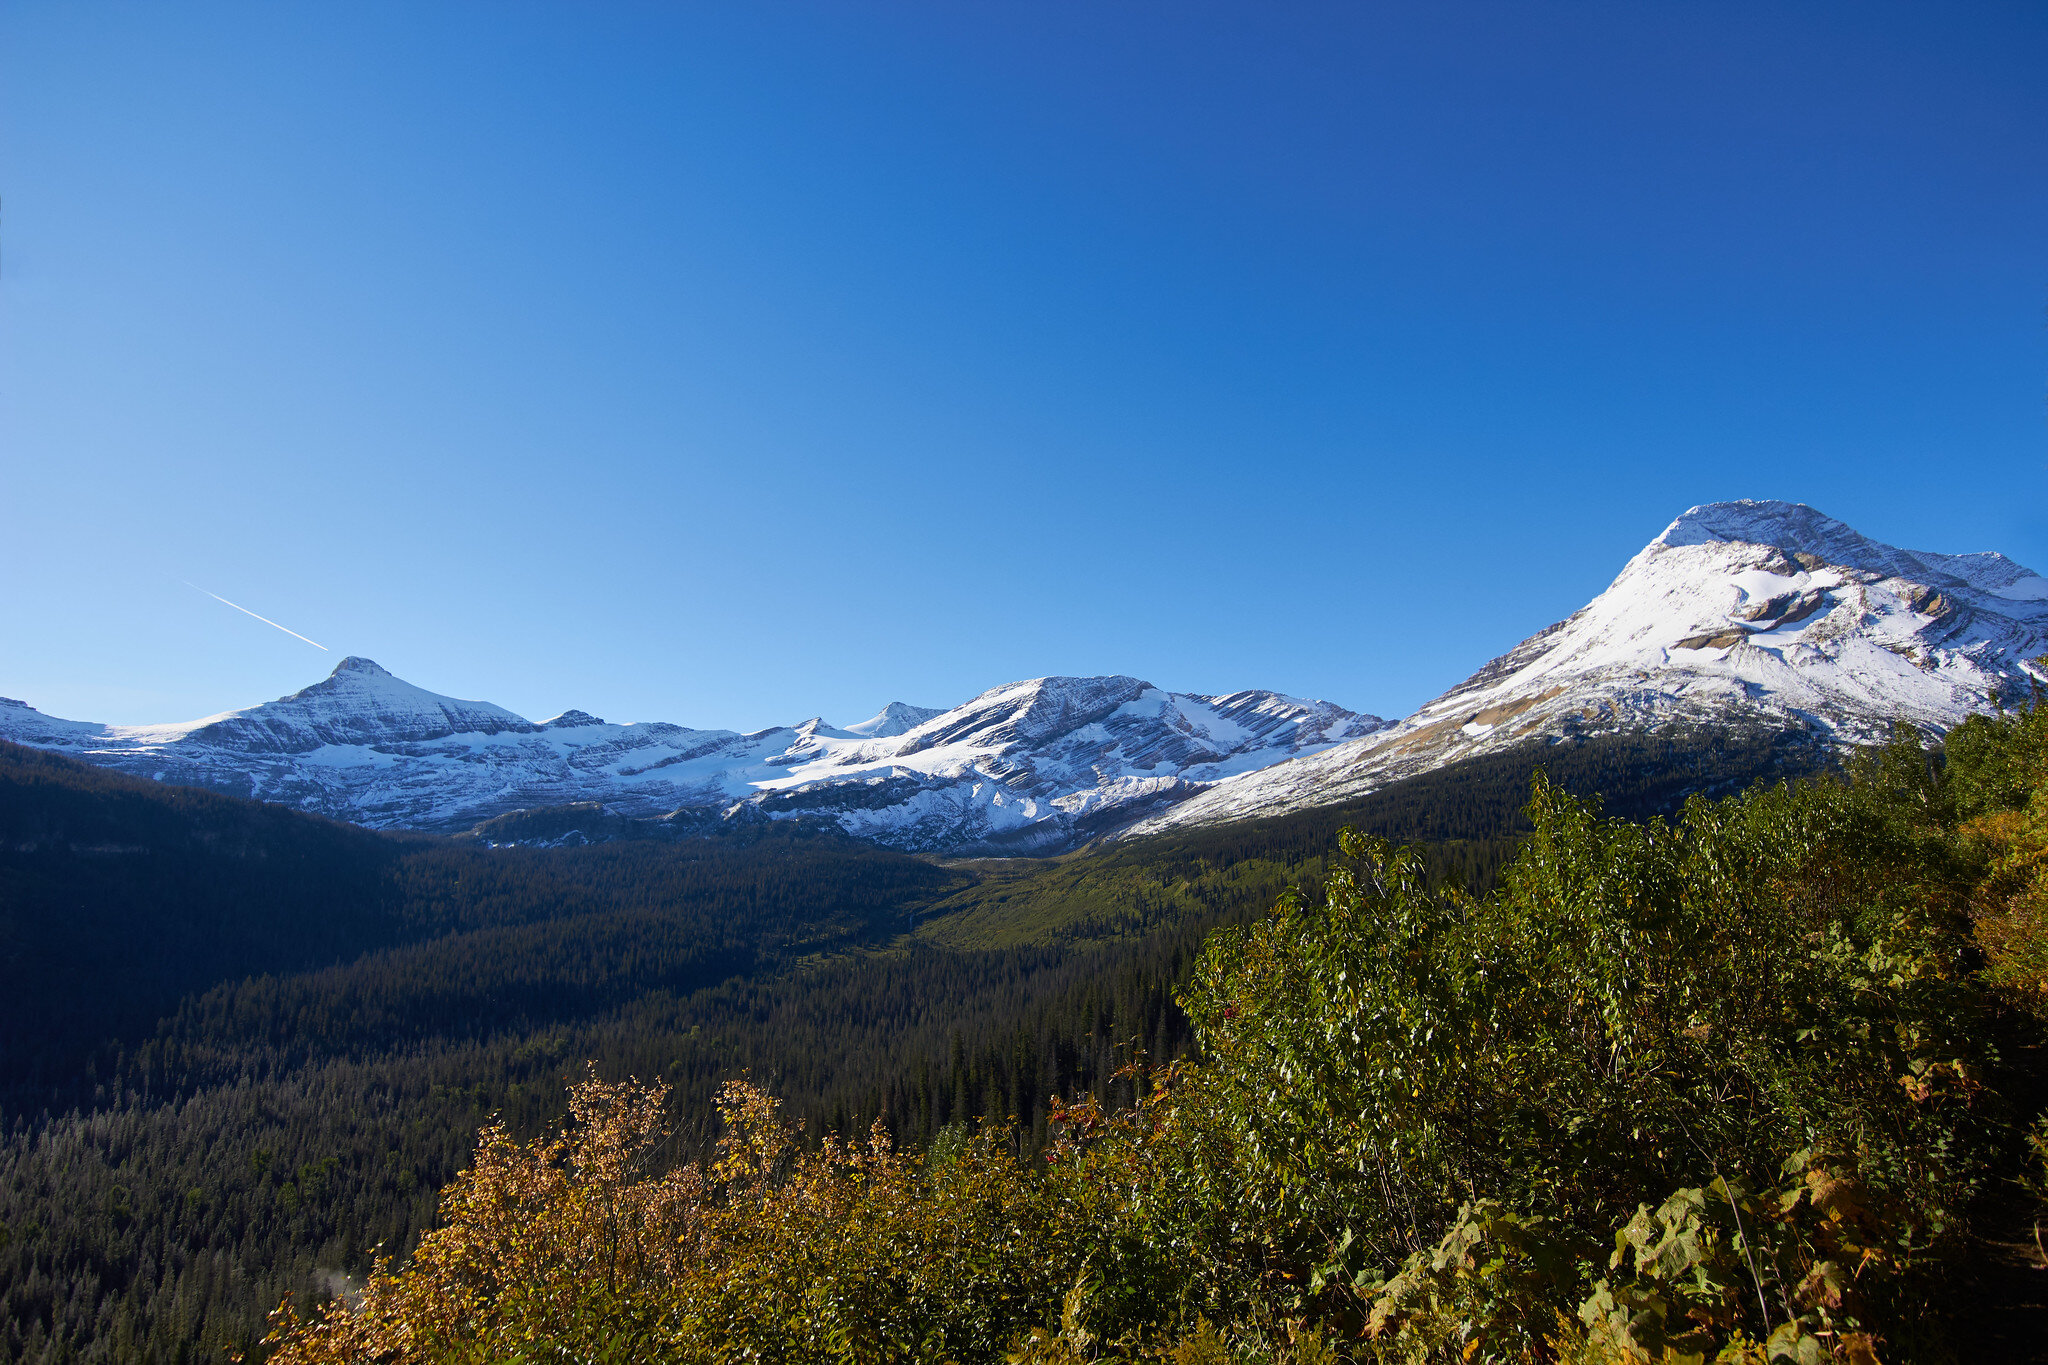
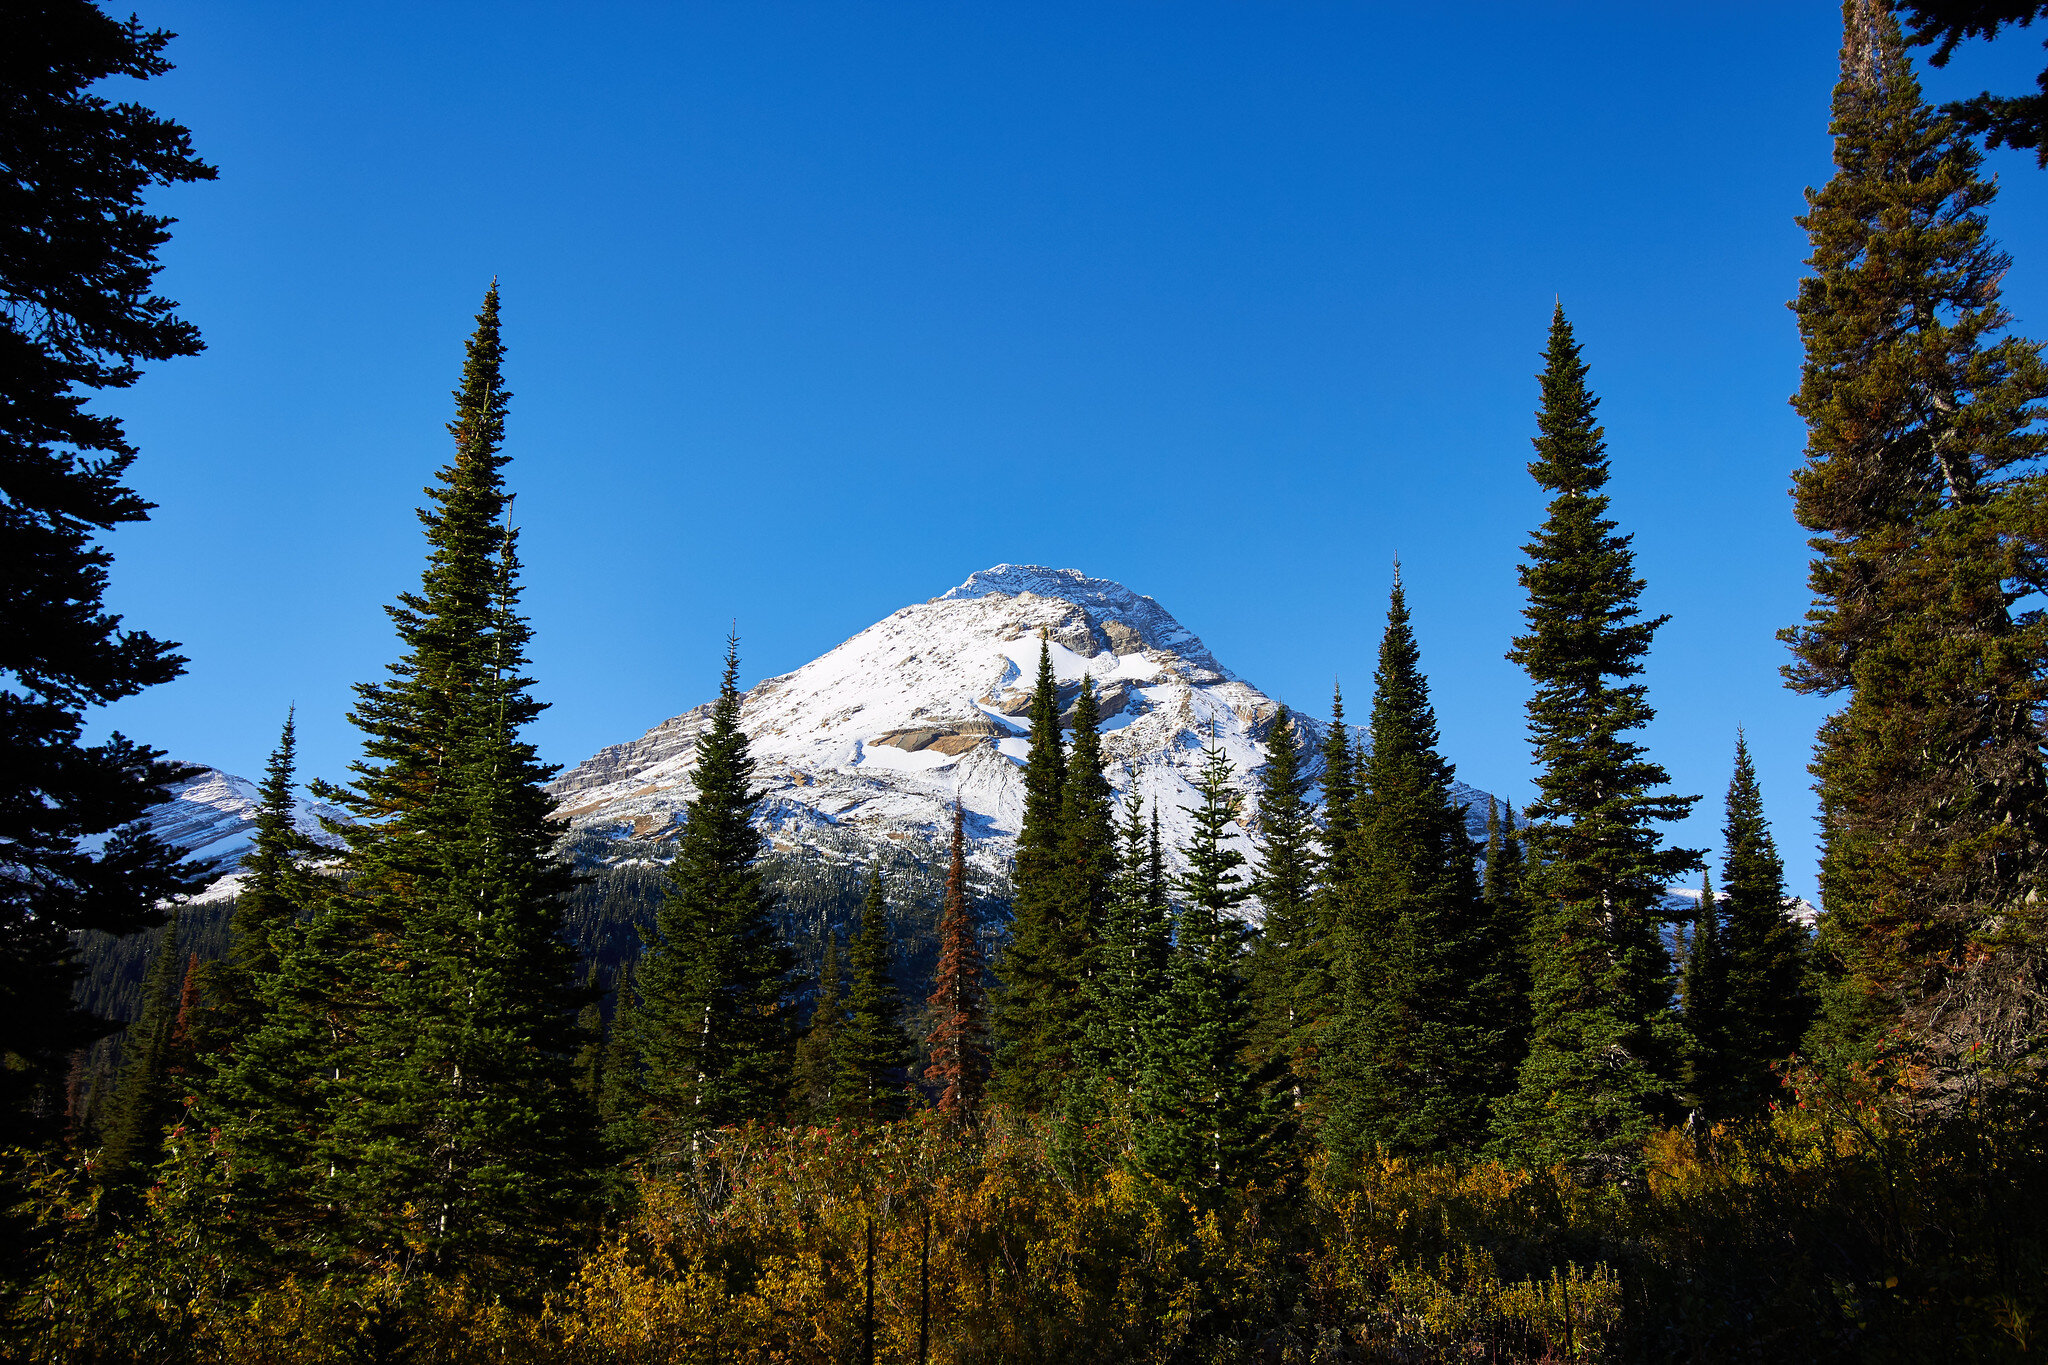
I sucked at color back then, but I was abysmal at sorting my photos. It took me about 30 minutes to actually find the photos I wanted to go through. I knew the month and the year of taking the photos, but ended up combing through every single folder on the drives to find them. I had two specific trips I wanted to re-edit; my trip to Glacier National Park, and the trip we took to Canada for Miah’s first birthday.


Each of those trips had hundreds of photos, so I restarted the culling process (think picking and choosing photos to work on) and found some keepers I had for some reason ignored back then. I went through the Montana pictures, and honestly, I have no idea how I walked away with any keepers at all from that trip. I had absolutely no idea what I was doing, and missed focus on multiple shots that would have been amazing. How do you miss focus on a mountain? I have no clue how, but I somehow did on at least a quarter of my shots. That was disappointing, but I’ll just chalk that down to being young and ignorant. It doesn’t happen that much anymore.
So, even after missing focus on a ton of shots, I then ruined the good ones by exporting them incorrectly. I have known for years, what kind of potential the photos had, but was either too busy or too lazy to really try and tackle the issue. I’ll admit, it did take a lot of work. I spent a good 10 hours over the weekend editing the photos again, but I’m glad I did. I no longer cringe at photos whenever I see them.
This whole process has taught me a couple different things:
I’ve come a long way in what I know, and what I’m capable of doing with a camera,
Proper storage and organization of photos can be incredibly helpful if and when you need to go back to find them,
And lastly, editing photos with a fresh eye can help find those photos that you once glanced over.

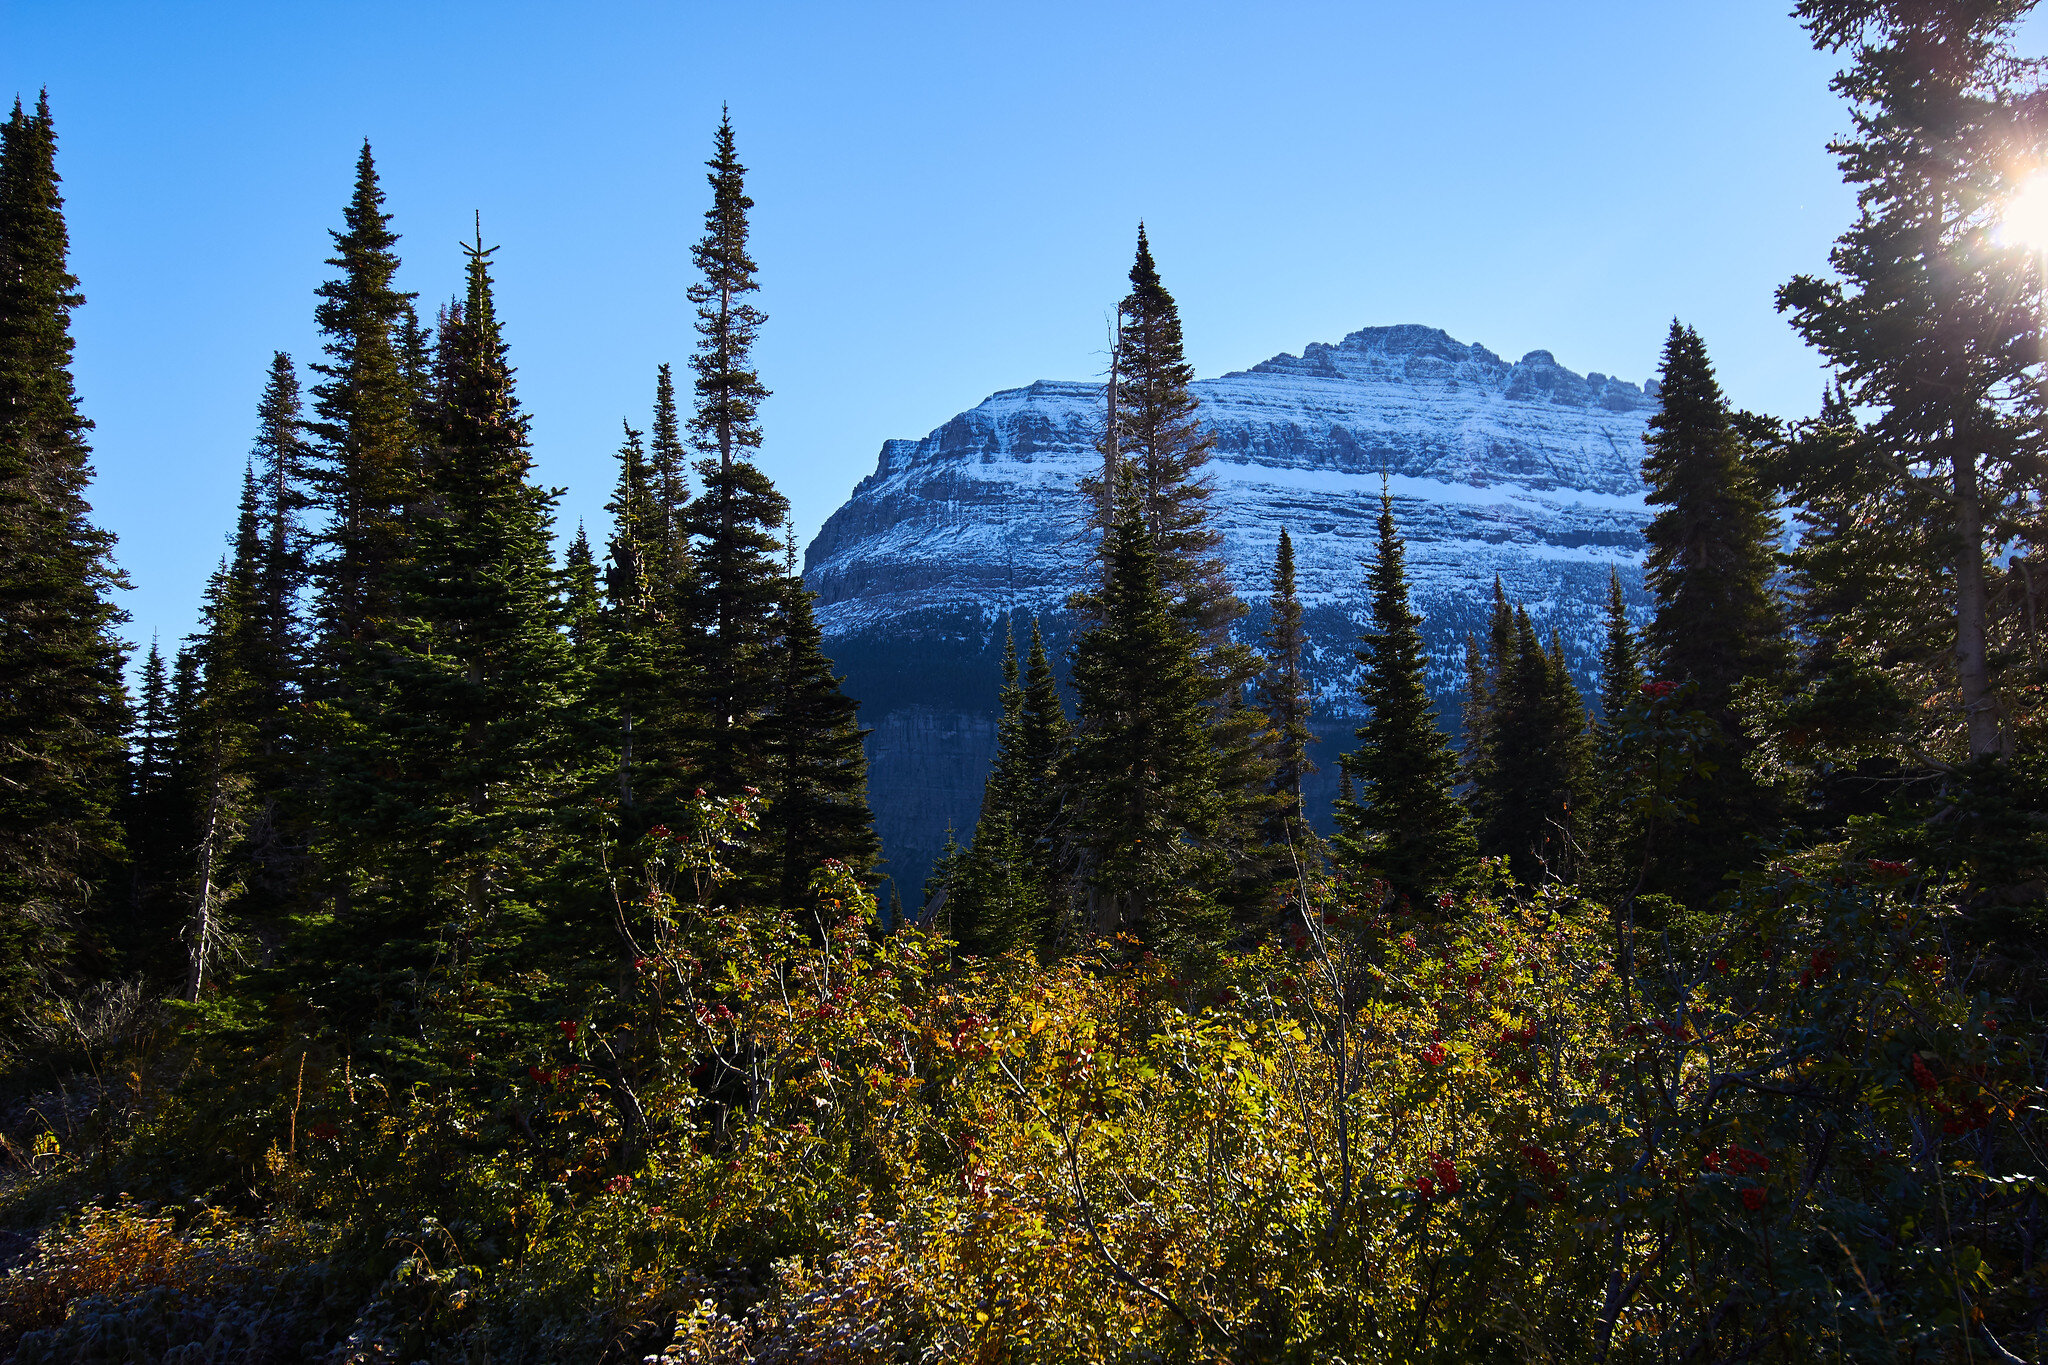
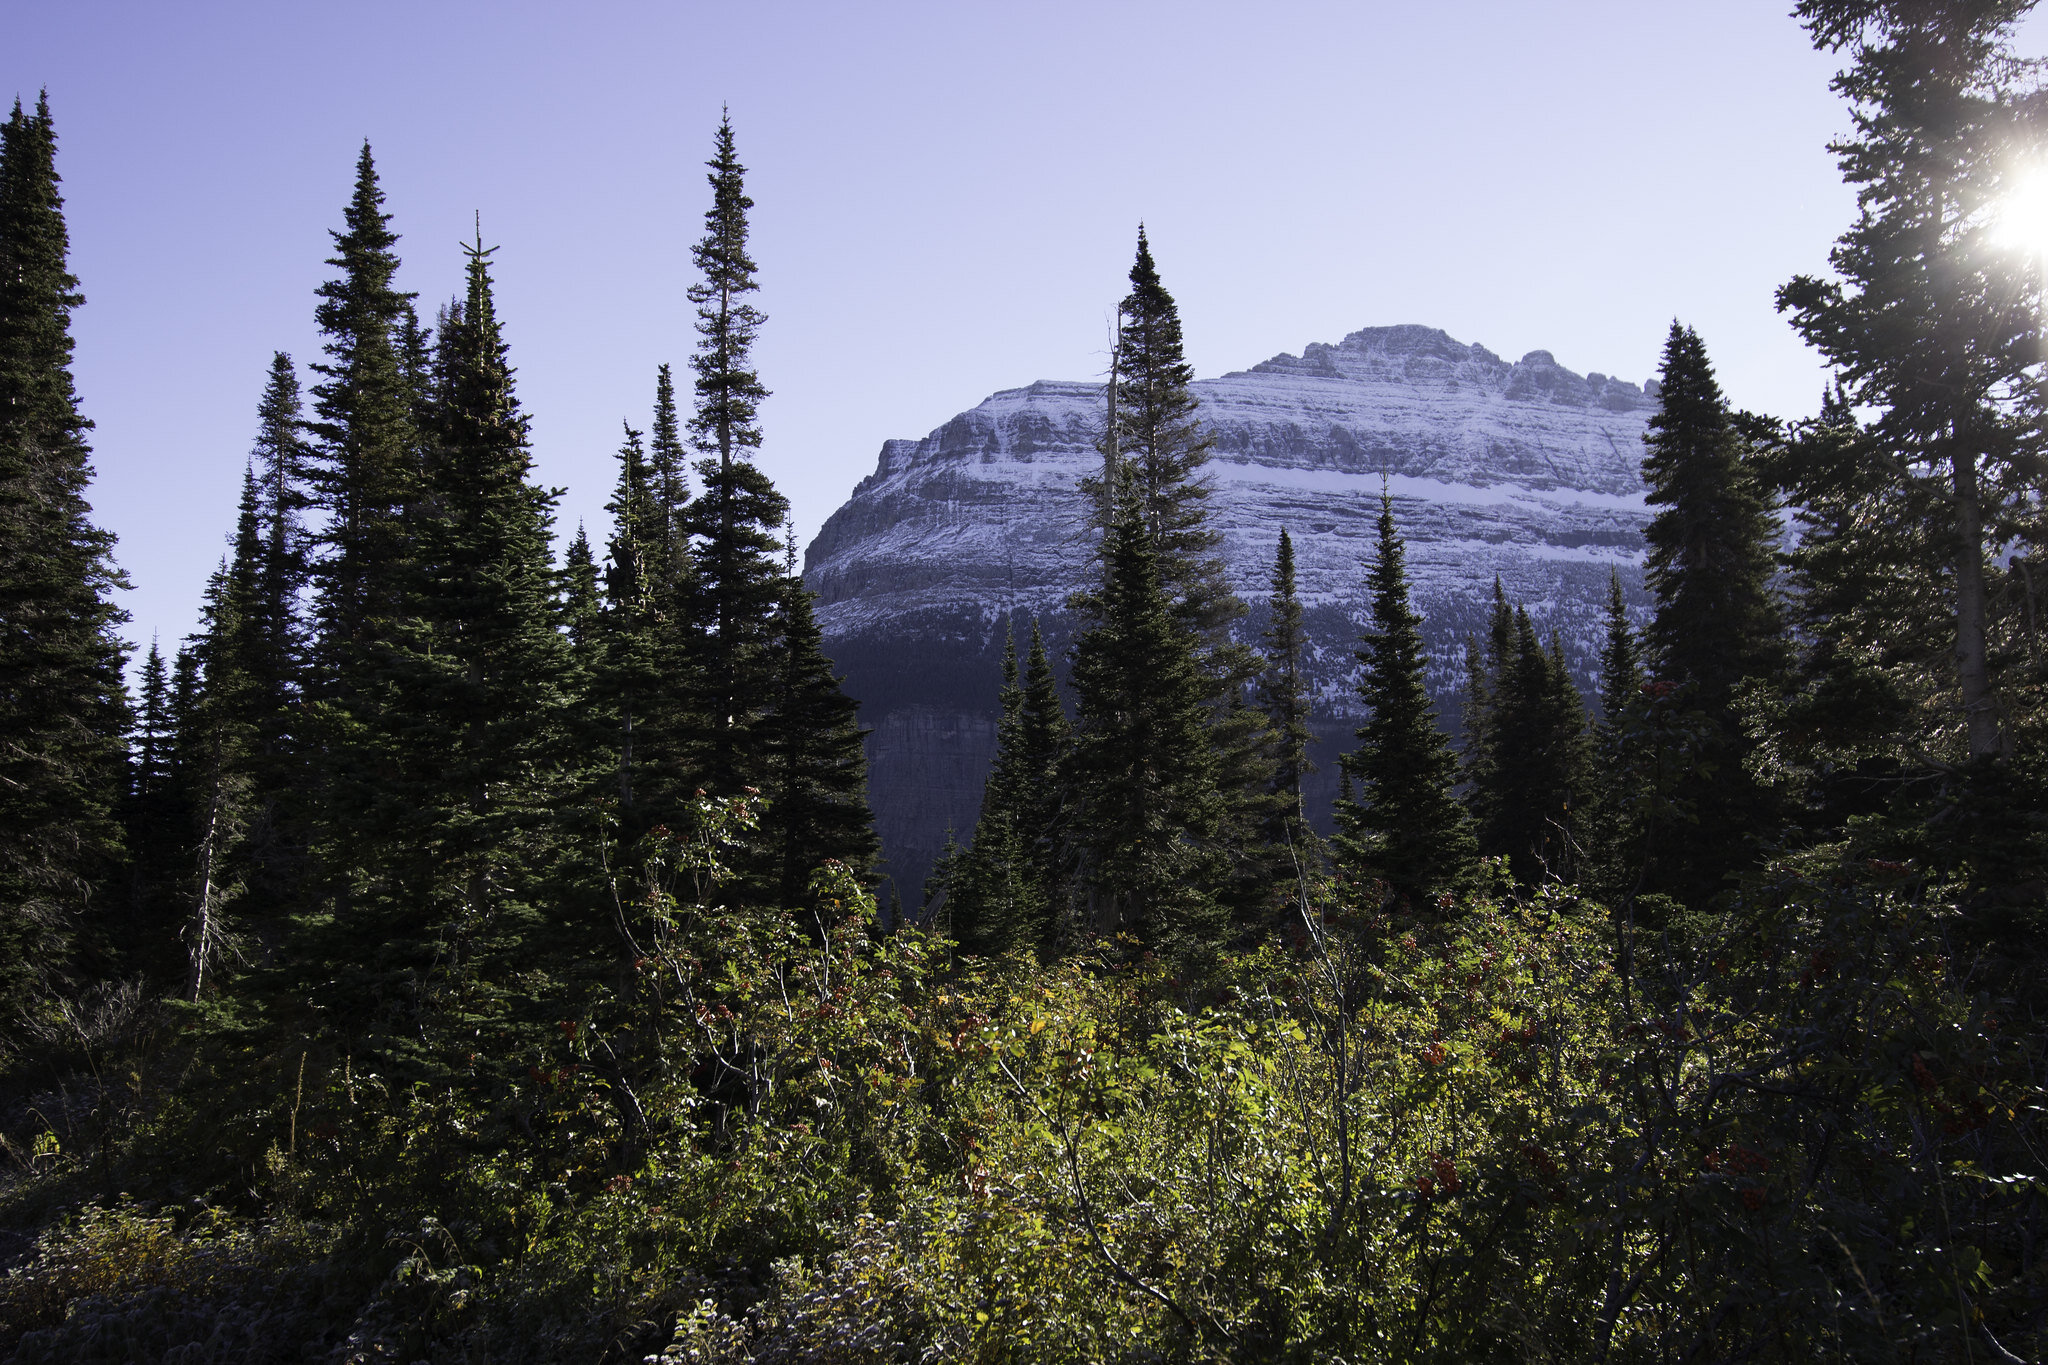
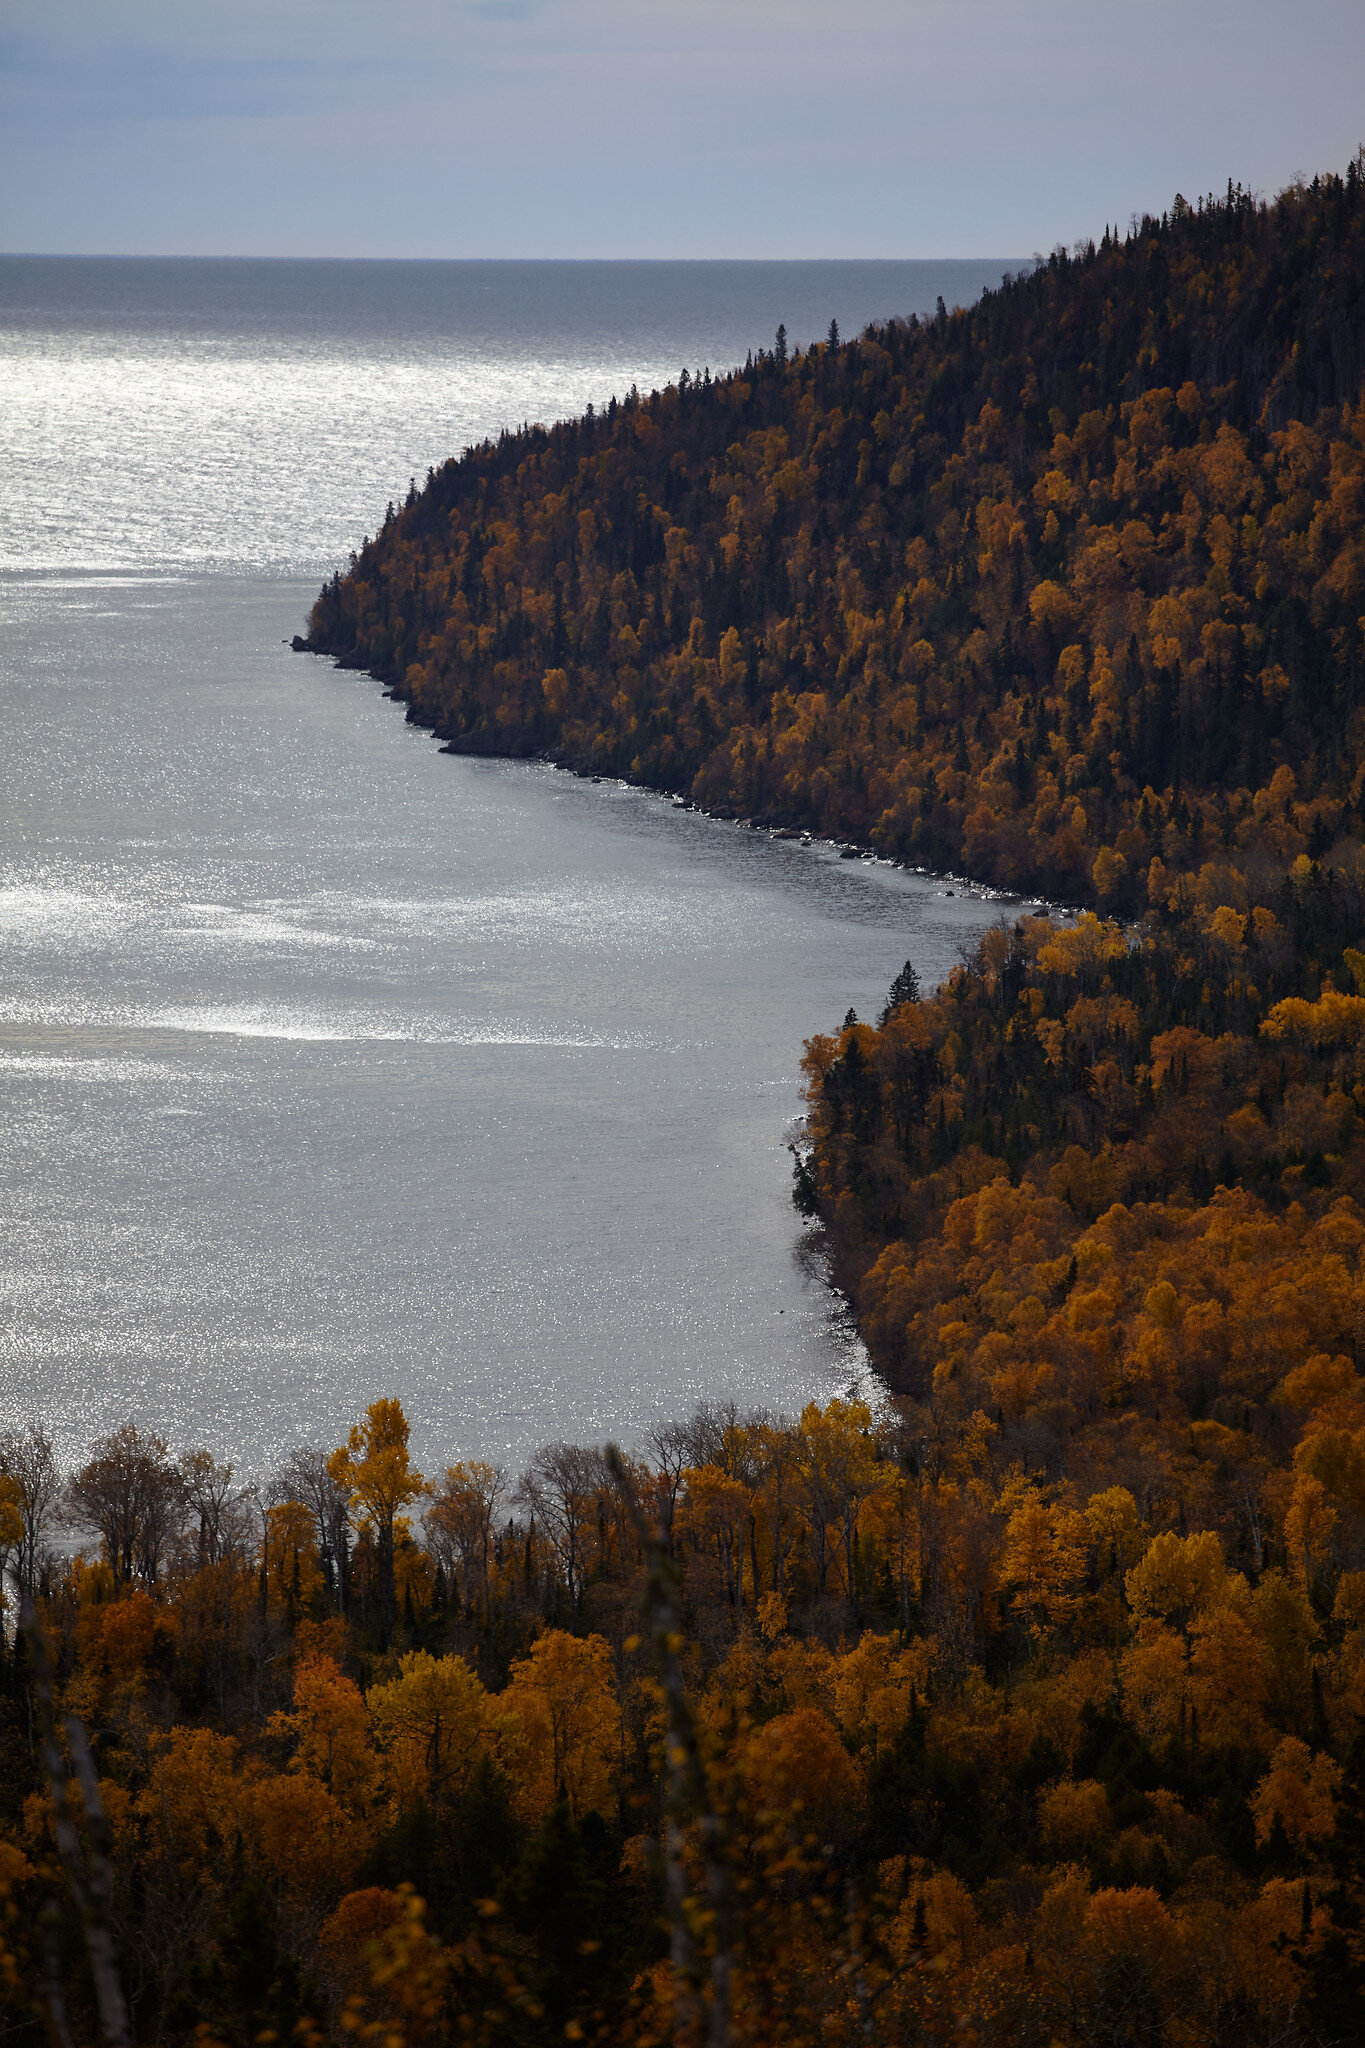
A photo I glossed over from Miah’s birthday trip to Canada.

A photo I edited with newly learned skills to improve the original, which I had cropped significantly to get rid of unwanted things in the frame.
That’s pretty much all I’ve got to say about this whole matter, so I’ll just throw a bunch of other comparison photos for the rest of this and hope whoever is reading this can learn from my mistakes.