

COVID-19 and Some Goals pt. 2!!!
Today is the last day of working 14 days in a row straight, and I am so excited to get started on the goals I had outlined in my last post here. BUT - I completely forgot that I finally got my Leica back from being serviced. I sent the damn thing off in August of 2018, and got it in the mail on Thursday.

Today is the last day of working 14 days in a row straight, and I am so excited to get started on the goals I had outlined in my last post here. BUT - I completely forgot that I finally got my Leica back from being serviced. I sent the damn thing off in August of 2018, and got it in the mail on Thursday.
It’s a Leica M3 Double Stroke from 1958/1959, with a 90mm Elmarit f/2.8 attached. It’s a thing of pure beauty and I can’t wait to finally use it.
So, in addition to learning to shoot and edit videos, I’ll be typing up a short review of the camera after running a roll or two through it. My goal for a video will be something along the lines of shooting with the Leica, showing the use of the camera, followed by the process of developing, drying, and scanning the film, and finish off with the end product. I have absolutely no idea how to input photos into videos so it should be a very interesting week to say the least.
Until I get started on all of that, enjoy some photos of this late 1950’s feat of German engineering.


Shout out to the moron that carved a serial number into this.

A Year (almost) With the Fujifilm X-Pro 2
This is going to be my first foray into reviewing a digital camera, as I’ve mostly shot film for the last two years. Specs will come first, because anybody can simply look them up their own, so I’ll keep it quick and easy.

This is going to be my first foray into reviewing a digital camera, as I’ve mostly shot film for the last two years. Specs will come first, because anybody can simply look them up their own, so I’ll keep it quick and easy.
I will be drawing comparisons between the Fuji and my old Canon 5D Mark II throughout the review since it’s the only other digital camera I have used.

Fujifilm X-Pro 2 + 23mm f/2 WR.
Specs
24 Megapixel X-Trans III ASP-C Sensor (1.5x Crop)
Weather Sealed
Mirrorless
Hybrid Optical Viewfinder + Electronic View Finder (OVF/EVF)
Dual Card Slots - One UHS II compatible
Well, that’s enough of that nonsense.

Canon 5D Mark II + Fujifilm X-Pro 2
Handling & Useability
Coming from a Canon DSLR was a weird transition. Canon is renowned for their phenomenal grips, something Fuji has only addressed in the X-H1, GFX 50S, and GFX 100S. Most of their cameras come with grips that are seriously lacking security while in the hand. I love the feeling of a solid grip, so I ended up buying a used grip from Fuji (pictured).
The grips on Fujis aren’t great by any means, but the feel of the camera in your hand is very reassuring to the build quality. It eeks quality the moment you pick it up, and people are always surprised how heavy it is.

Fuji has done a phenomenal job of putting everything you could possibly need, right on top of the camera. Aperture is controlled on the lens. Shutter speed, ISO, and exposure compensation are all on the top plate.
I do with that the aperture ring on the lenses were a tiny bit sturdier, as I’ve accidentally bumped it onto something else on numerous occasions. The shutter speed dial is solid and out of the way while taking photos, and locks when in A.

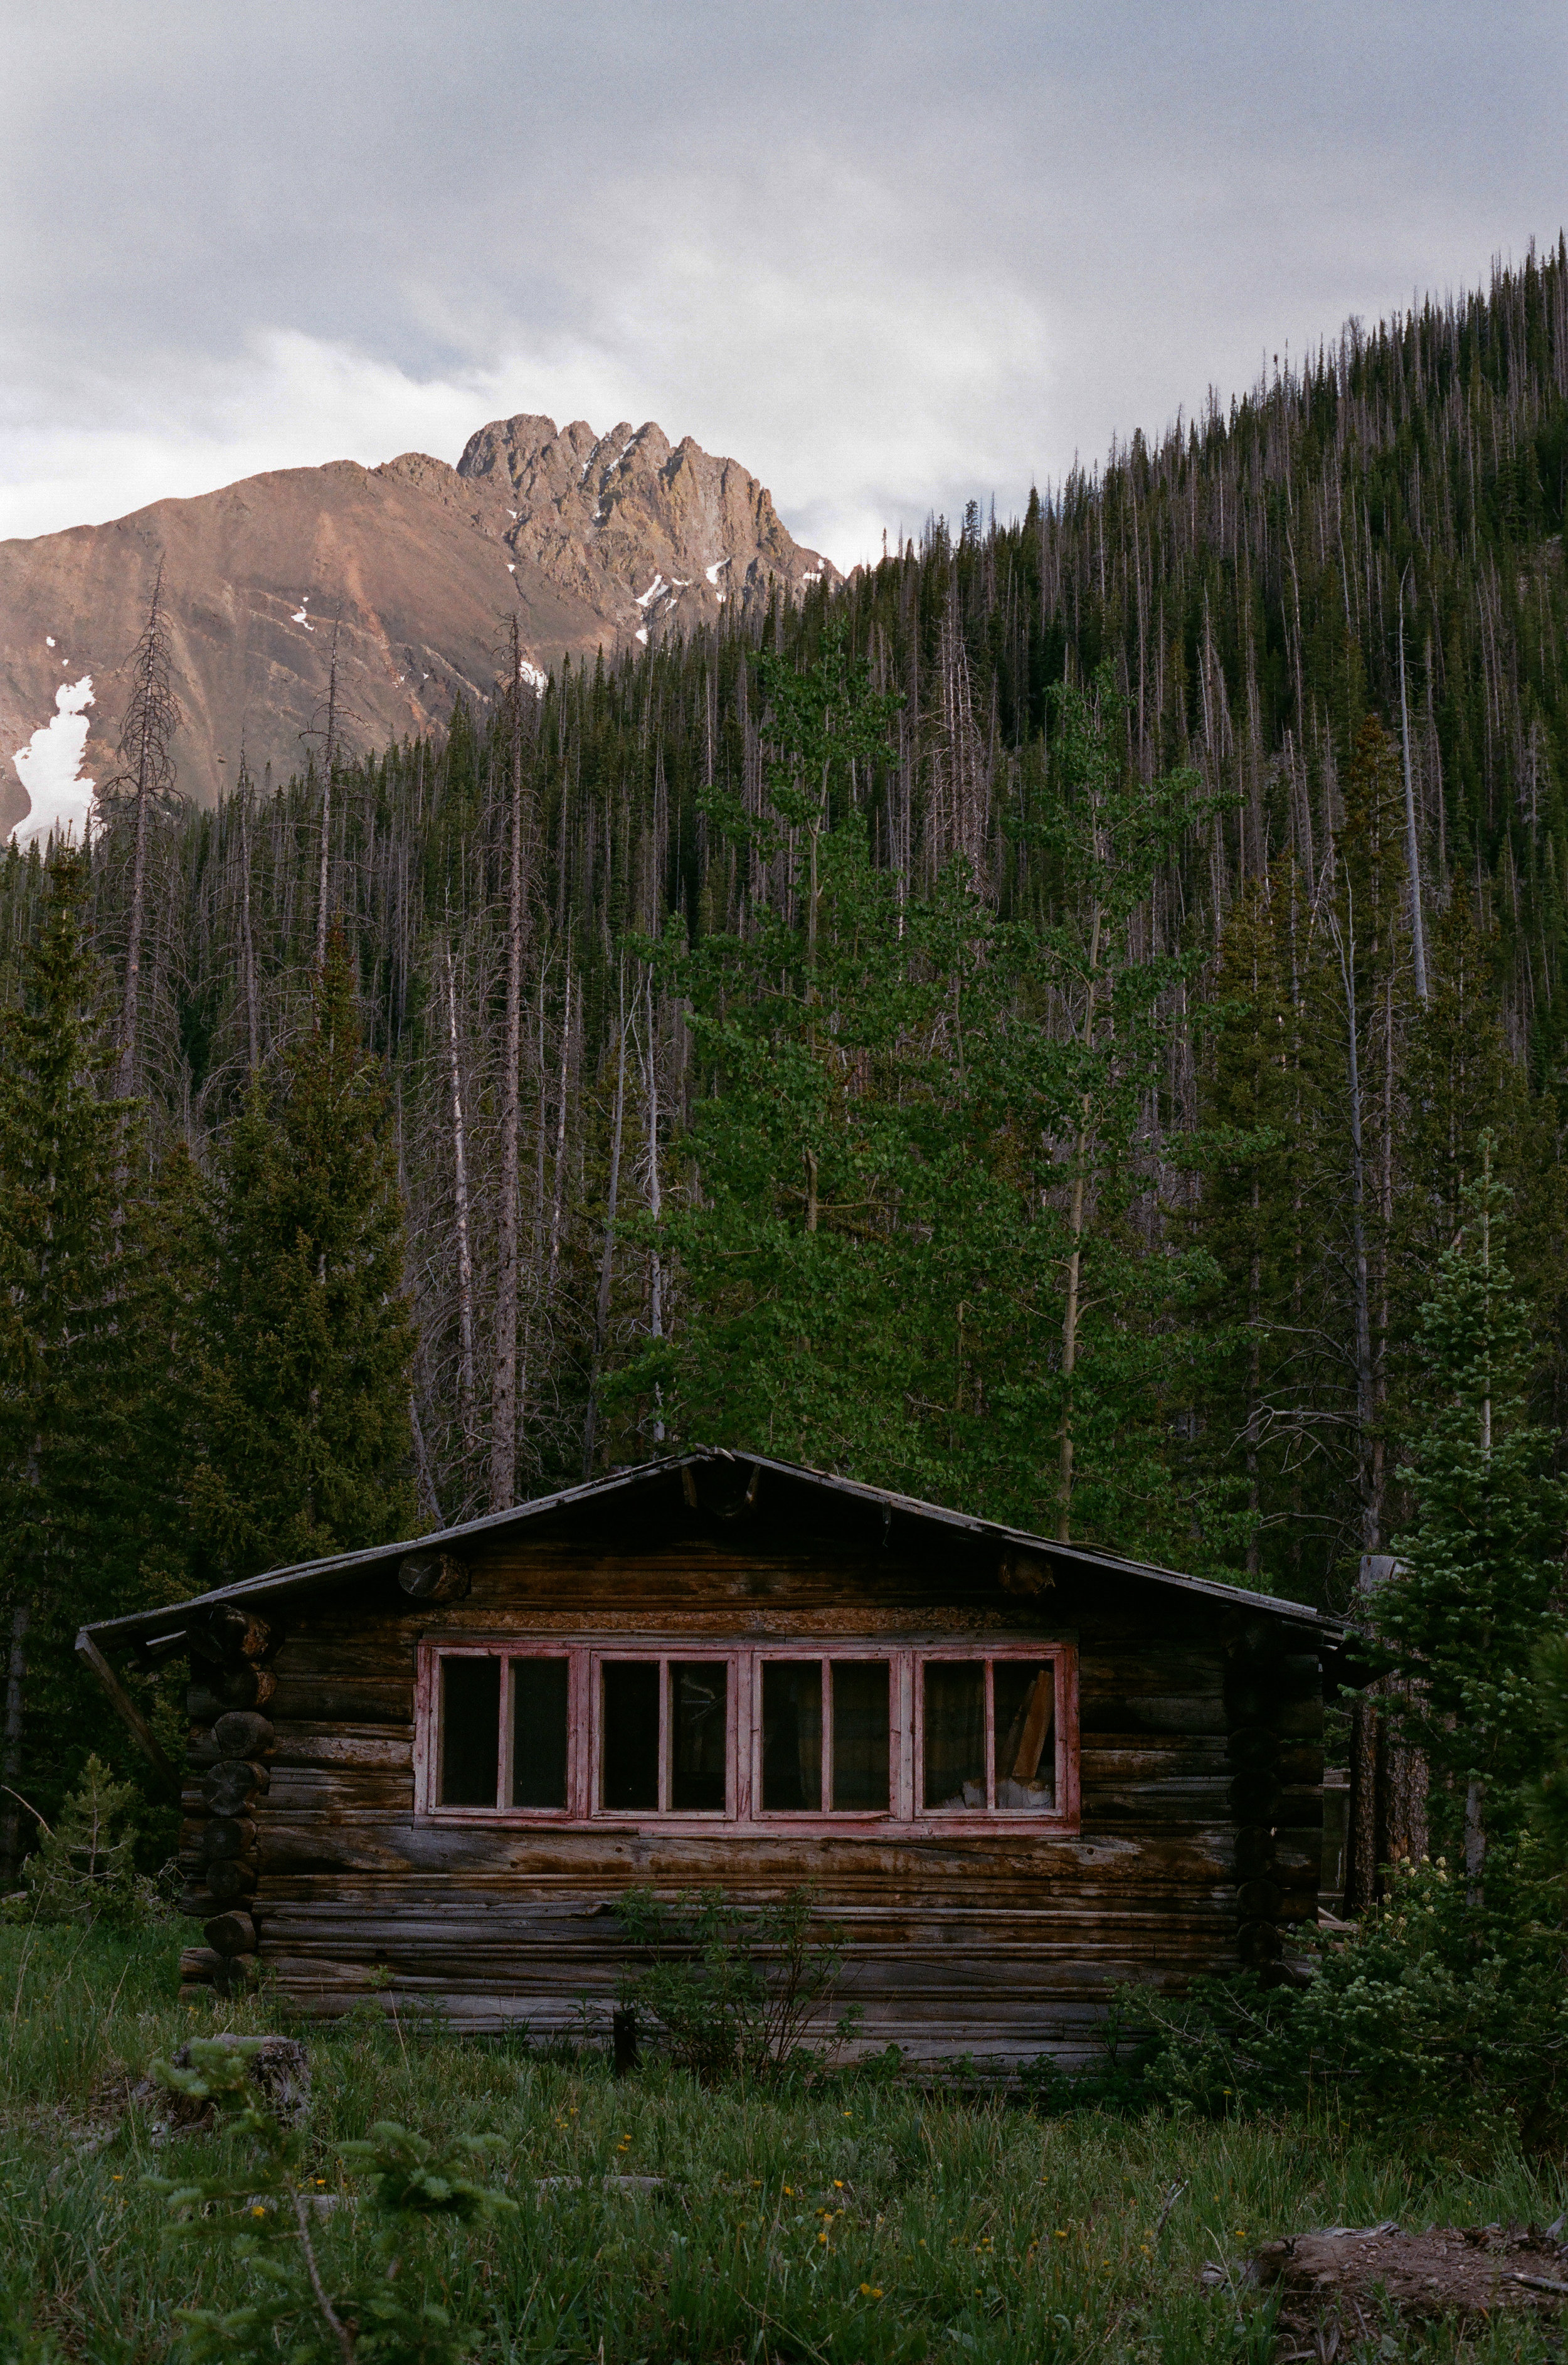
Colorado Springs, Colorado. My Harry Potter glasses are on the side of the road if anyone wants to go look for them.
The exposure compensation dial definitely needs to be more stiff, as I’m constantly bumping it and changing it. Fuji really needs to make it a locking dial, as it’s something I tend not to change while I’m shooting. It would also be advantageous for it to be recessed more into the body like the shutter speed dial. It’s a pain in the ass, but nowhere near as bad as the ISO dial.
Now, onto the infamous ISO dial. It’s supposed to be a throwback to the film cameras with a similar method of setting the ISO, though I’ve never personally had one like that. To change the ISO, you lift up on the collar around the shutter speed dial, and twist it. I shoot with my left eye in the viewfinder, so this is basically impossible to do with the camera up to my eye. I was hoping they would get rid of it on the X-Pro 3, but alas, it’s a no go.

Other than those gripes with the dials, the camera feels great in the hand, and it’s light and small enough that I can take it just about anywhere without a second thought.
The hybrid OVF/EVF is what most people are looking for when they purchase the X-Pro series. Both the OVF and EVF have their benefits and negatives, and I’ll cover the most blatantly obvious ones to me.
The Optical Viewfinder is nice and clear, provides frame lines for the associated lens, and shows whatever information (you pick it out in the menu) you want along the sides of the frame. That information is displayed pretty small, and not always the easiest to see in brighter conditions. You are able to see outside the frame lines, so capturing a moment should be easier since you can see things lining up. Manual focus isn’t possible with the OVF, as it’s the first thing I tried to do when I held the camera in store, though it’s super easy with the EVF and the focus assist turned on.

The Electronic Viewfinder is of decent quality. EVF’s benefit from the fact that you’re seeing exactly what the photo is going to look like when you click the shutter. Change any setting on your camera, and your EVF will show you how that changes the photo. The EVF inside the X-Pro 2 tends to have a lot of trouble with high contrast scenes, and doesn’t always show you the most true representation of what the sensor is capturing. I tend to either use the OVF or live view on the back of the camera. Newer mirrorless cameras apparently have phenomenal EVF’s, showing better contrast, detail, and with faster refresh rates.

Fujifilm X-Pro 2 + 7artisans 55mm f/1.4
Switching between the EVF and OVF is simple enough, just flick the switch on the front of the camera with your right trigger finger. A huge issue I have with the X-Pro 2 in general concerning the EVF/OVF, is the mode button next to it. It gets accidentally pressed, changing how the viewfinder works. Sometimes it blacks out the LCD screen. Sometimes it blocks off usage of the viewfinders. It would be a million times better to have that buried in the settings (which they did on the X-Pro 3) instead of having it’s own button. If you ever turn your camera on and the LCD doesn’t pop up, try cycling through the modes and it’ll probably come up.
Image Quality
It’s good. It’s super good. The Fuji files in combination with Capture One blow me away every time. Bringing up the shadows reveals good detail, with little noise at most ISO’s. Images are easily useable up to 6,400, something that can’t be said for the Canon. The Canon’s limit is right around 1,600, and anything higher than that starts to degrade quickly.

Winona, Minnesota. ISO 1600.
Unprocessed files have a lot of potential if needed, but I’ve found the colors and contrast just need a tiny boost to be at a level I like. Reds seem to pop the most, but the sensor gives a really good baseline for editing. This next photo, I barely had to change anything, partially do to the fact that the light was damn near perfect.

I like contrasty images, so I left the road darker. I could have pulled up the shadows a bit and therefore showed more details in the road, but I didn’t feel it added to the photo at all. Like I mentioned above, I typically just boost the contrast and saturation a bit, and leave everything else as is.
The more I shoot with this camera, the more comfortable I get shooting with the optical viewfinder. I typically shoot in Aperture Priority (set the aperture, let the camera choose shutter speed) and set the exposure compensation to -1 or -1.5 to preserve the highlights. I know I can draw the shadows up easily if need be while not blowing out the highlights. This next photo is a great example, as Miah was just a dark shadow before I started processing the file.

Miah, Whitewater State Park, Minnesota.
The shadows tend to have a lot of information in them even when underexposed by 2 to 3 stops, which I can’t say for the highlights. I’ve found that I can recover a bit of information in the highlights, up to 1 stop over exposed, but beyond that, you’ll blow them.

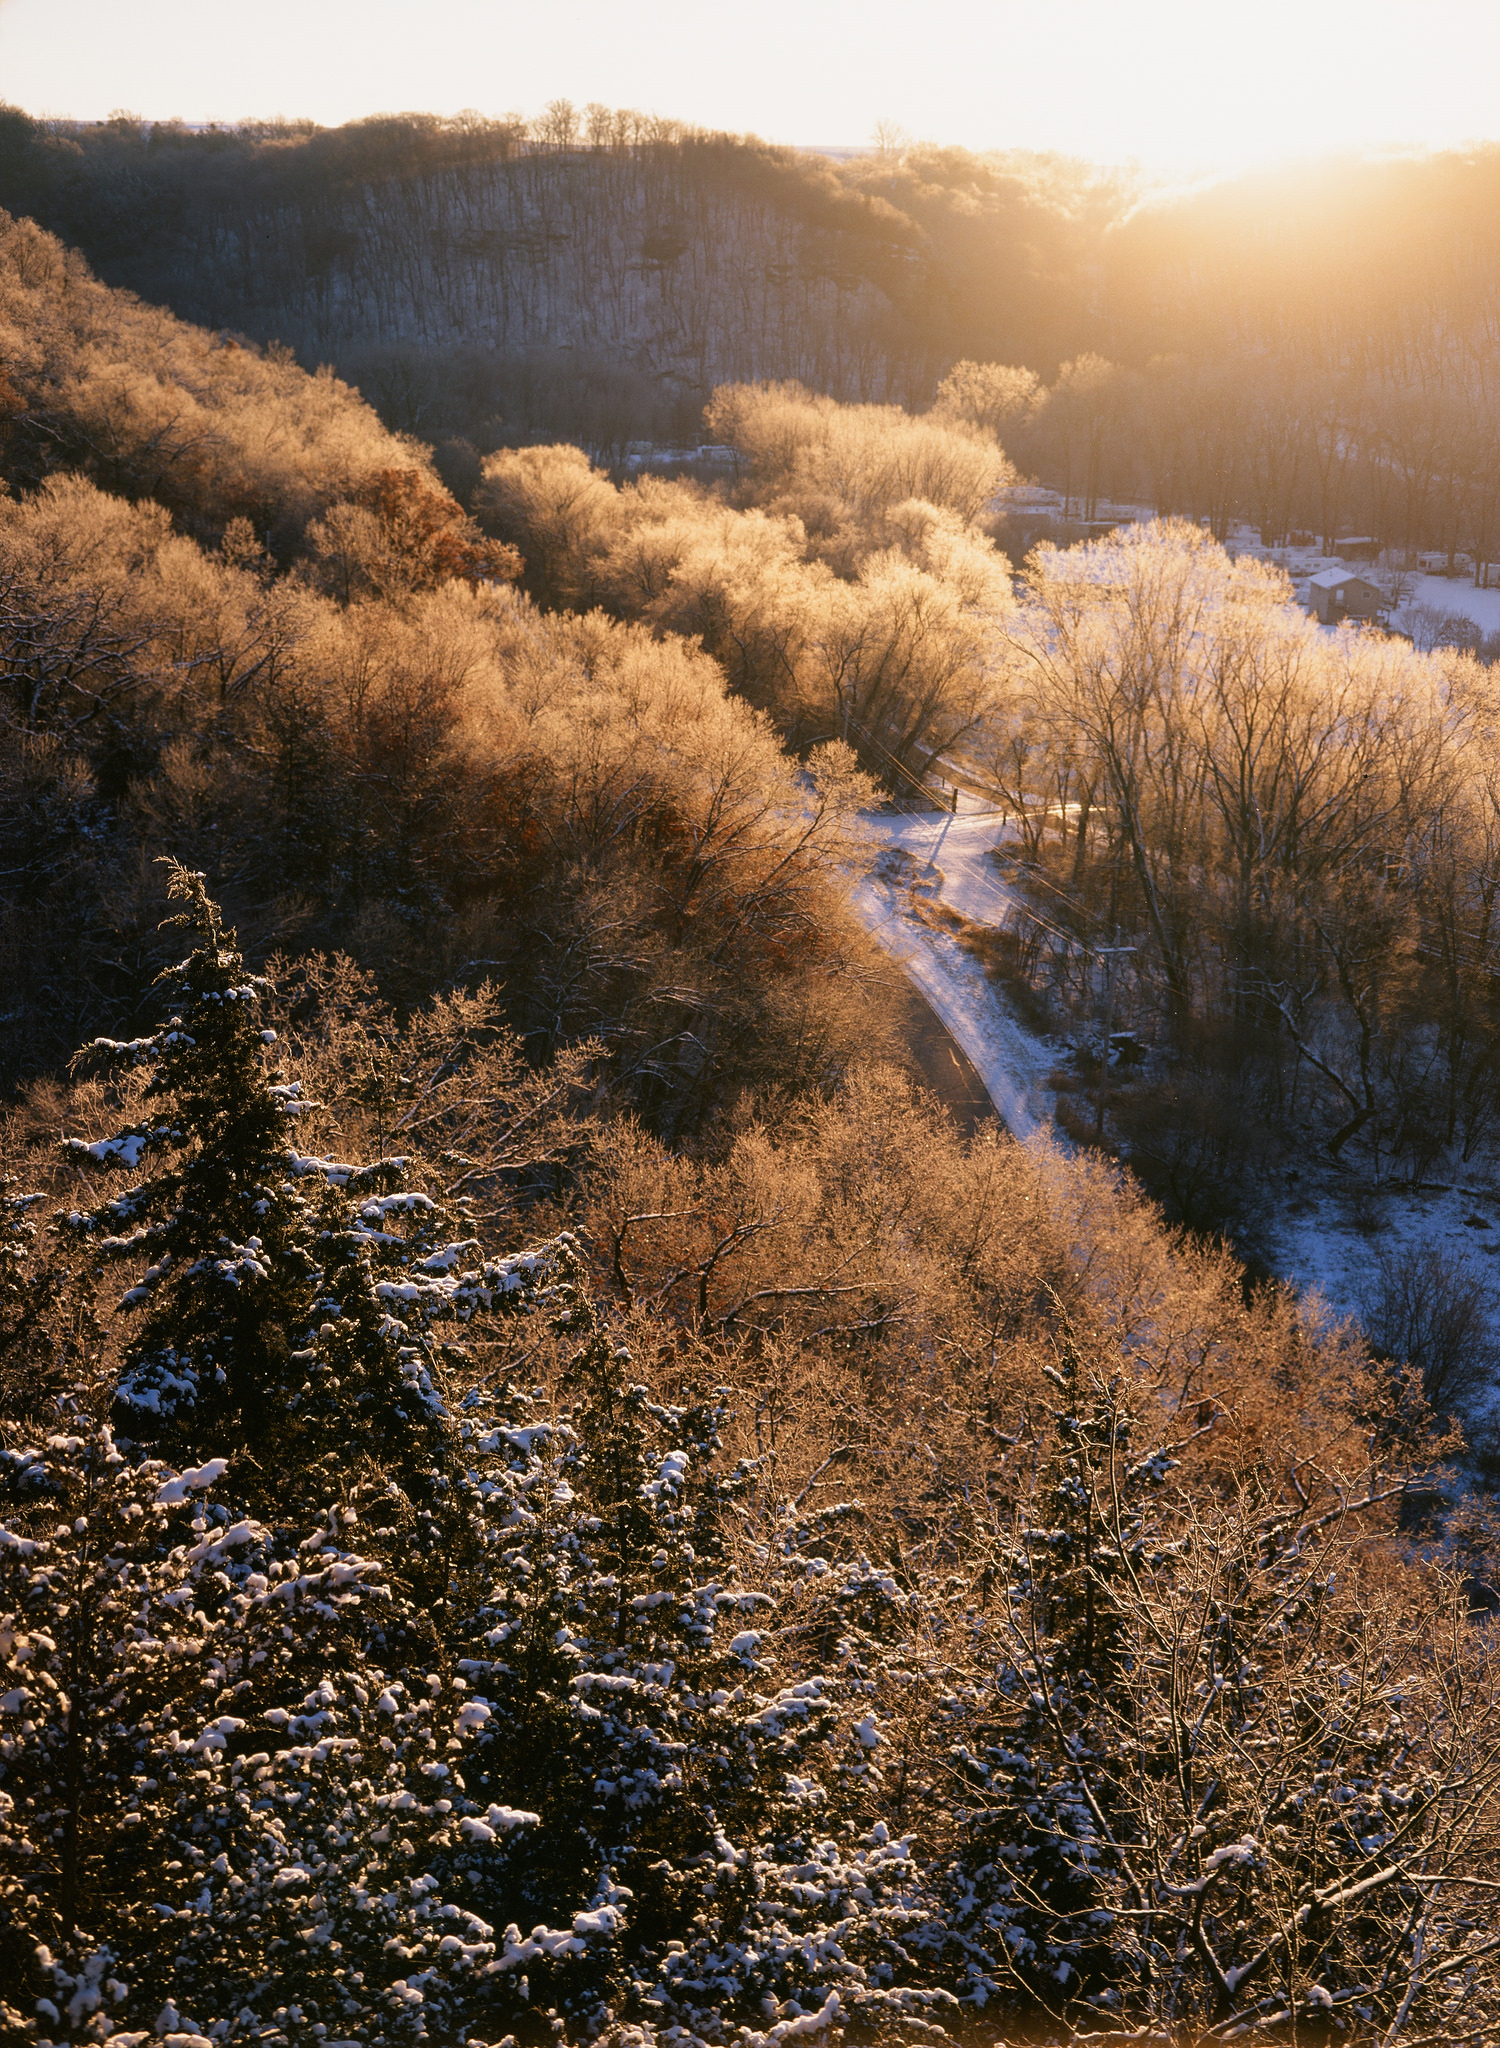
Early Fall. Root River Park outside of Rochester, Minnesota.
I was able to pull back the highlights in the sky to reveal more a bit more blue on the right side of the image. If I pulled them back too far, the sun stopped looking like a sun, and more like a random orb in the sky. Pulling back the highlights in the sky too much will give it a fake look (which some people like). If the sun is going to be in the photo, you should try and make it actually look like the sun.

Pahrump, Nevada. Martin the Old Man Manual Mazda. Death Valley off in the distance.
Overall, I really do love using this camera, though I still much prefer my film cameras for more serious work. It is great for everything from snapshots to more serious work, though I don’t think you’ll see anybody shooting with it in a professional studio environment. I actually bought a flash and some studio equipment to learn more about lighting, taking some interesting self portraits in the process.

Godox Flash + X-Pro 2 + 23mm f/2
Now about four years old, it’s definitely still a very capable camera. Though I have my issues with it (like anyone will with any camera) I do enjoy using it and I’m glad I picked it up to become my new main digital camera. I’ll probably trade it for a Fuji X-H1 eventually, as that camera has a much larger grip, which is something I would prefer over the measly grip of the X-Pro 2. Until then, I’ll keep shooting with it and enjoying it while I can.
NOW, onto more photos.

Monterey, California. Just north of Big Sur.

Lanesboro, Minnesota.

Sequoia National Forest, California.

Perrot State Park, Wisconsin.

Sequoia National Forest, California.

Chloe, Eye Autofocus - On. Twin Cities, Minnesota.

Cedar Cultural Center, Minneapolis, Minnesota.

Somewhere in the middle of California.

Also somewhere in the middle of California.

Perrot State Park, Wisconsin.

Miah’s Birthday, Interstate State Park, Minnesota.

Pahrump, Nevada.

Pahrump, Nevada.

One of my three favorite cameras!!!
Cult Classics
These three cameras have some what of a cult following in the 35mm film community. Each one easily slips into a pocket without much fuss. Prices vary considerably between the three, but all will cost easily above $75 depending on where you purchase them.

Canon Sure Shot, Rollei 35s, and Olympus XA2.
These three cameras have some what of a cult following in the 35mm film community. Each one easily slips into a pocket without much fuss. Prices vary considerably between the three, but all will cost easily above $75 depending on where you purchase them.
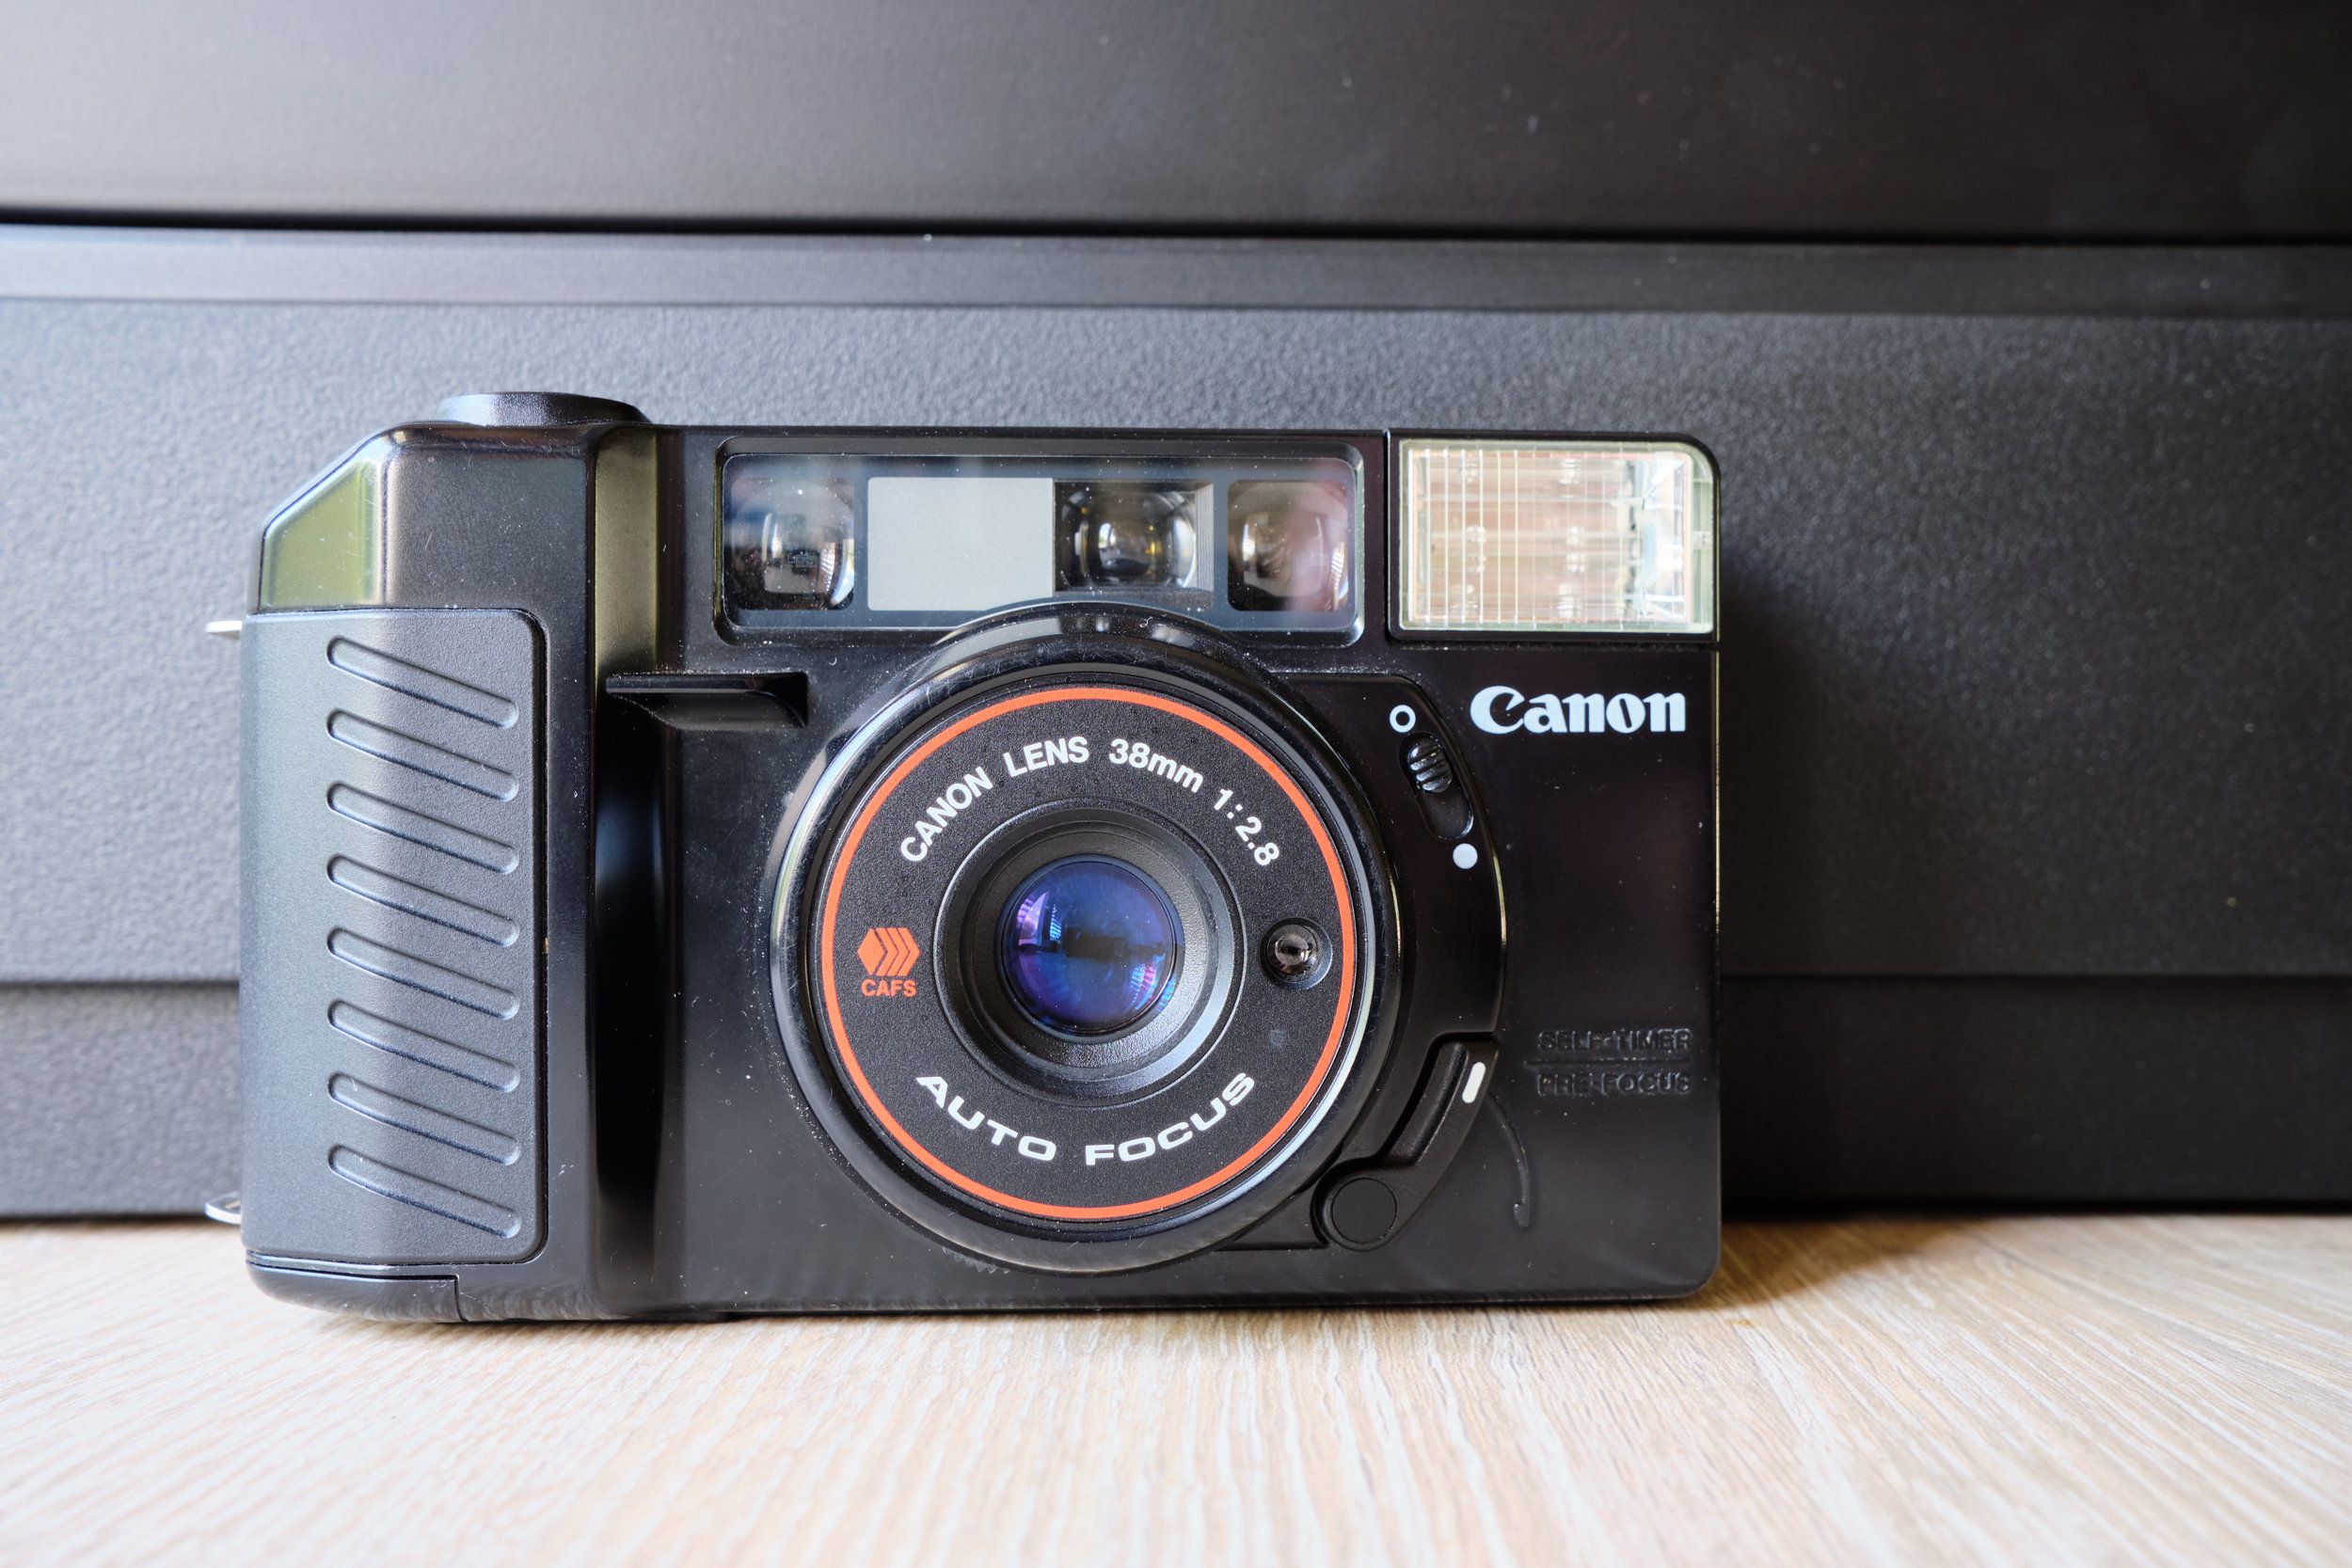
The Canon Sure Shot is the most automated of the three cameras. The only thing you have control over (sort of), is the focus. The switch on the front allows you to “Pre-focus”, though it’s anybody’s best guess where it’s actually focusing. There is a small scale in the viewfinder showing you about where it’s focusing, but I really have no idea what the scale means in practice. Other than the pre-focusing option, all you do is point and shoot and hope that the photo turns out.
A little bit about the camera:
35mm film
38mm f/2.8 Lens
Completely automatic point & shoot (except for the pre-focus)
Decently sharp lens
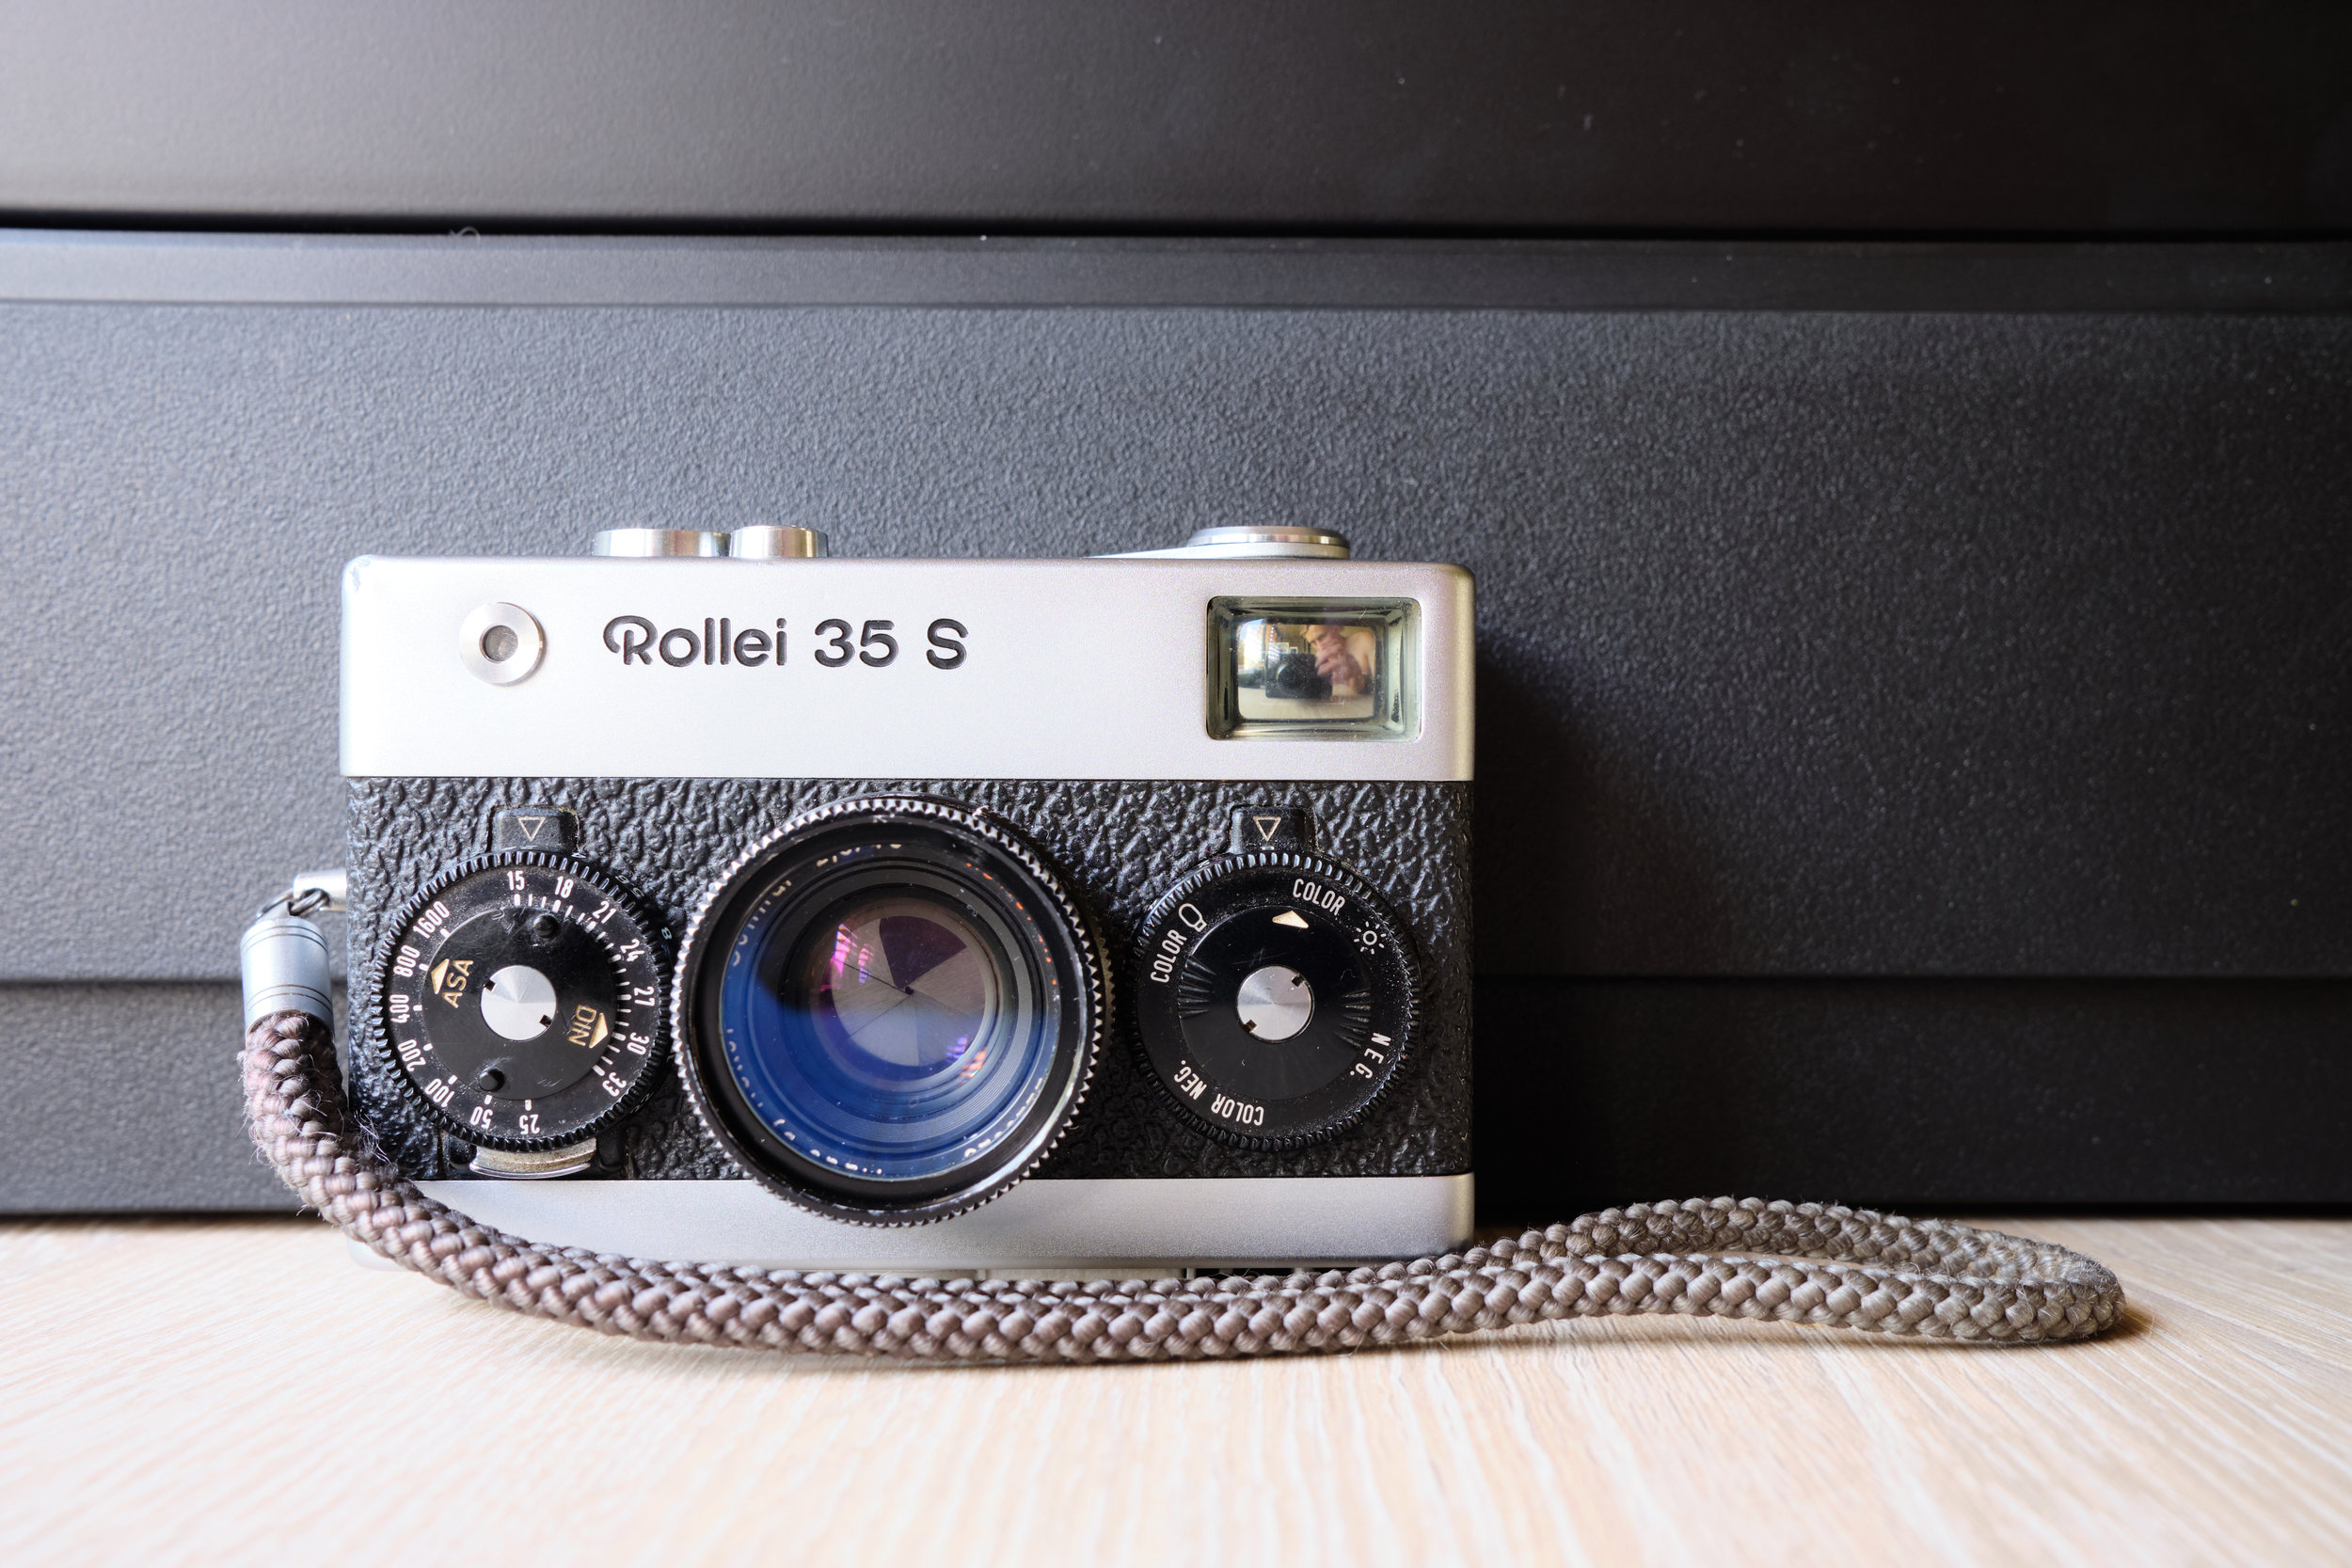
The Rollei 35 S is completely manual and the most compact of the three cameras. It does have a light meter to help determine proper exposure but finding a battery for it isn’t the easiest; I’ve been guessing exposure. Shutter speed and aperture are controlled by the two front dials. Focus is of the zone-focusing style, which is basically guessing distance and hoping you get it right. This is the most well made camera of the three as well. 1960’s german engineering is something else.
A little bit about the camera:
35mm film
Completely manual
40mm f/2.8 Sonnar Lens
Most compact and extremely well built

The Olympus XA2 is a strange mix between the two other cameras. You must move the switch on the left of lens to determine where it will focus, so a much less accurate version of zone-focusing. Exposure is completely automatic. I feel most comfortable sliding this camera in a pocket since the lens is covered when closed. I’m not sure which one is quieter, this camera or the Rollei. Advancing to the next frame is the same as disposable cameras, with an edged wheel on the right side.
A little bit about the camera:
35mm film
35mm f/3.5 Zuiko Lens
Mix of manual and automatic
Easily the lightest of the three
I will write up a full review of each of the three cameras in the next month or so, going into more detail and showing pictures I’ve taken with each one. In the mean time, I’m going to hunt for a battery for the Rollei so I hopefully get some in focus shots.
5 Frames With the Mamiya M645 1000s and Mamiya-Sekor C 55mm f/2.8
My dive into medium format film was hard and fast. Less than two months after I started shooting film again, and after buying a Leica M3, I found this beauty of a Mamiya M645 set up on eBay.
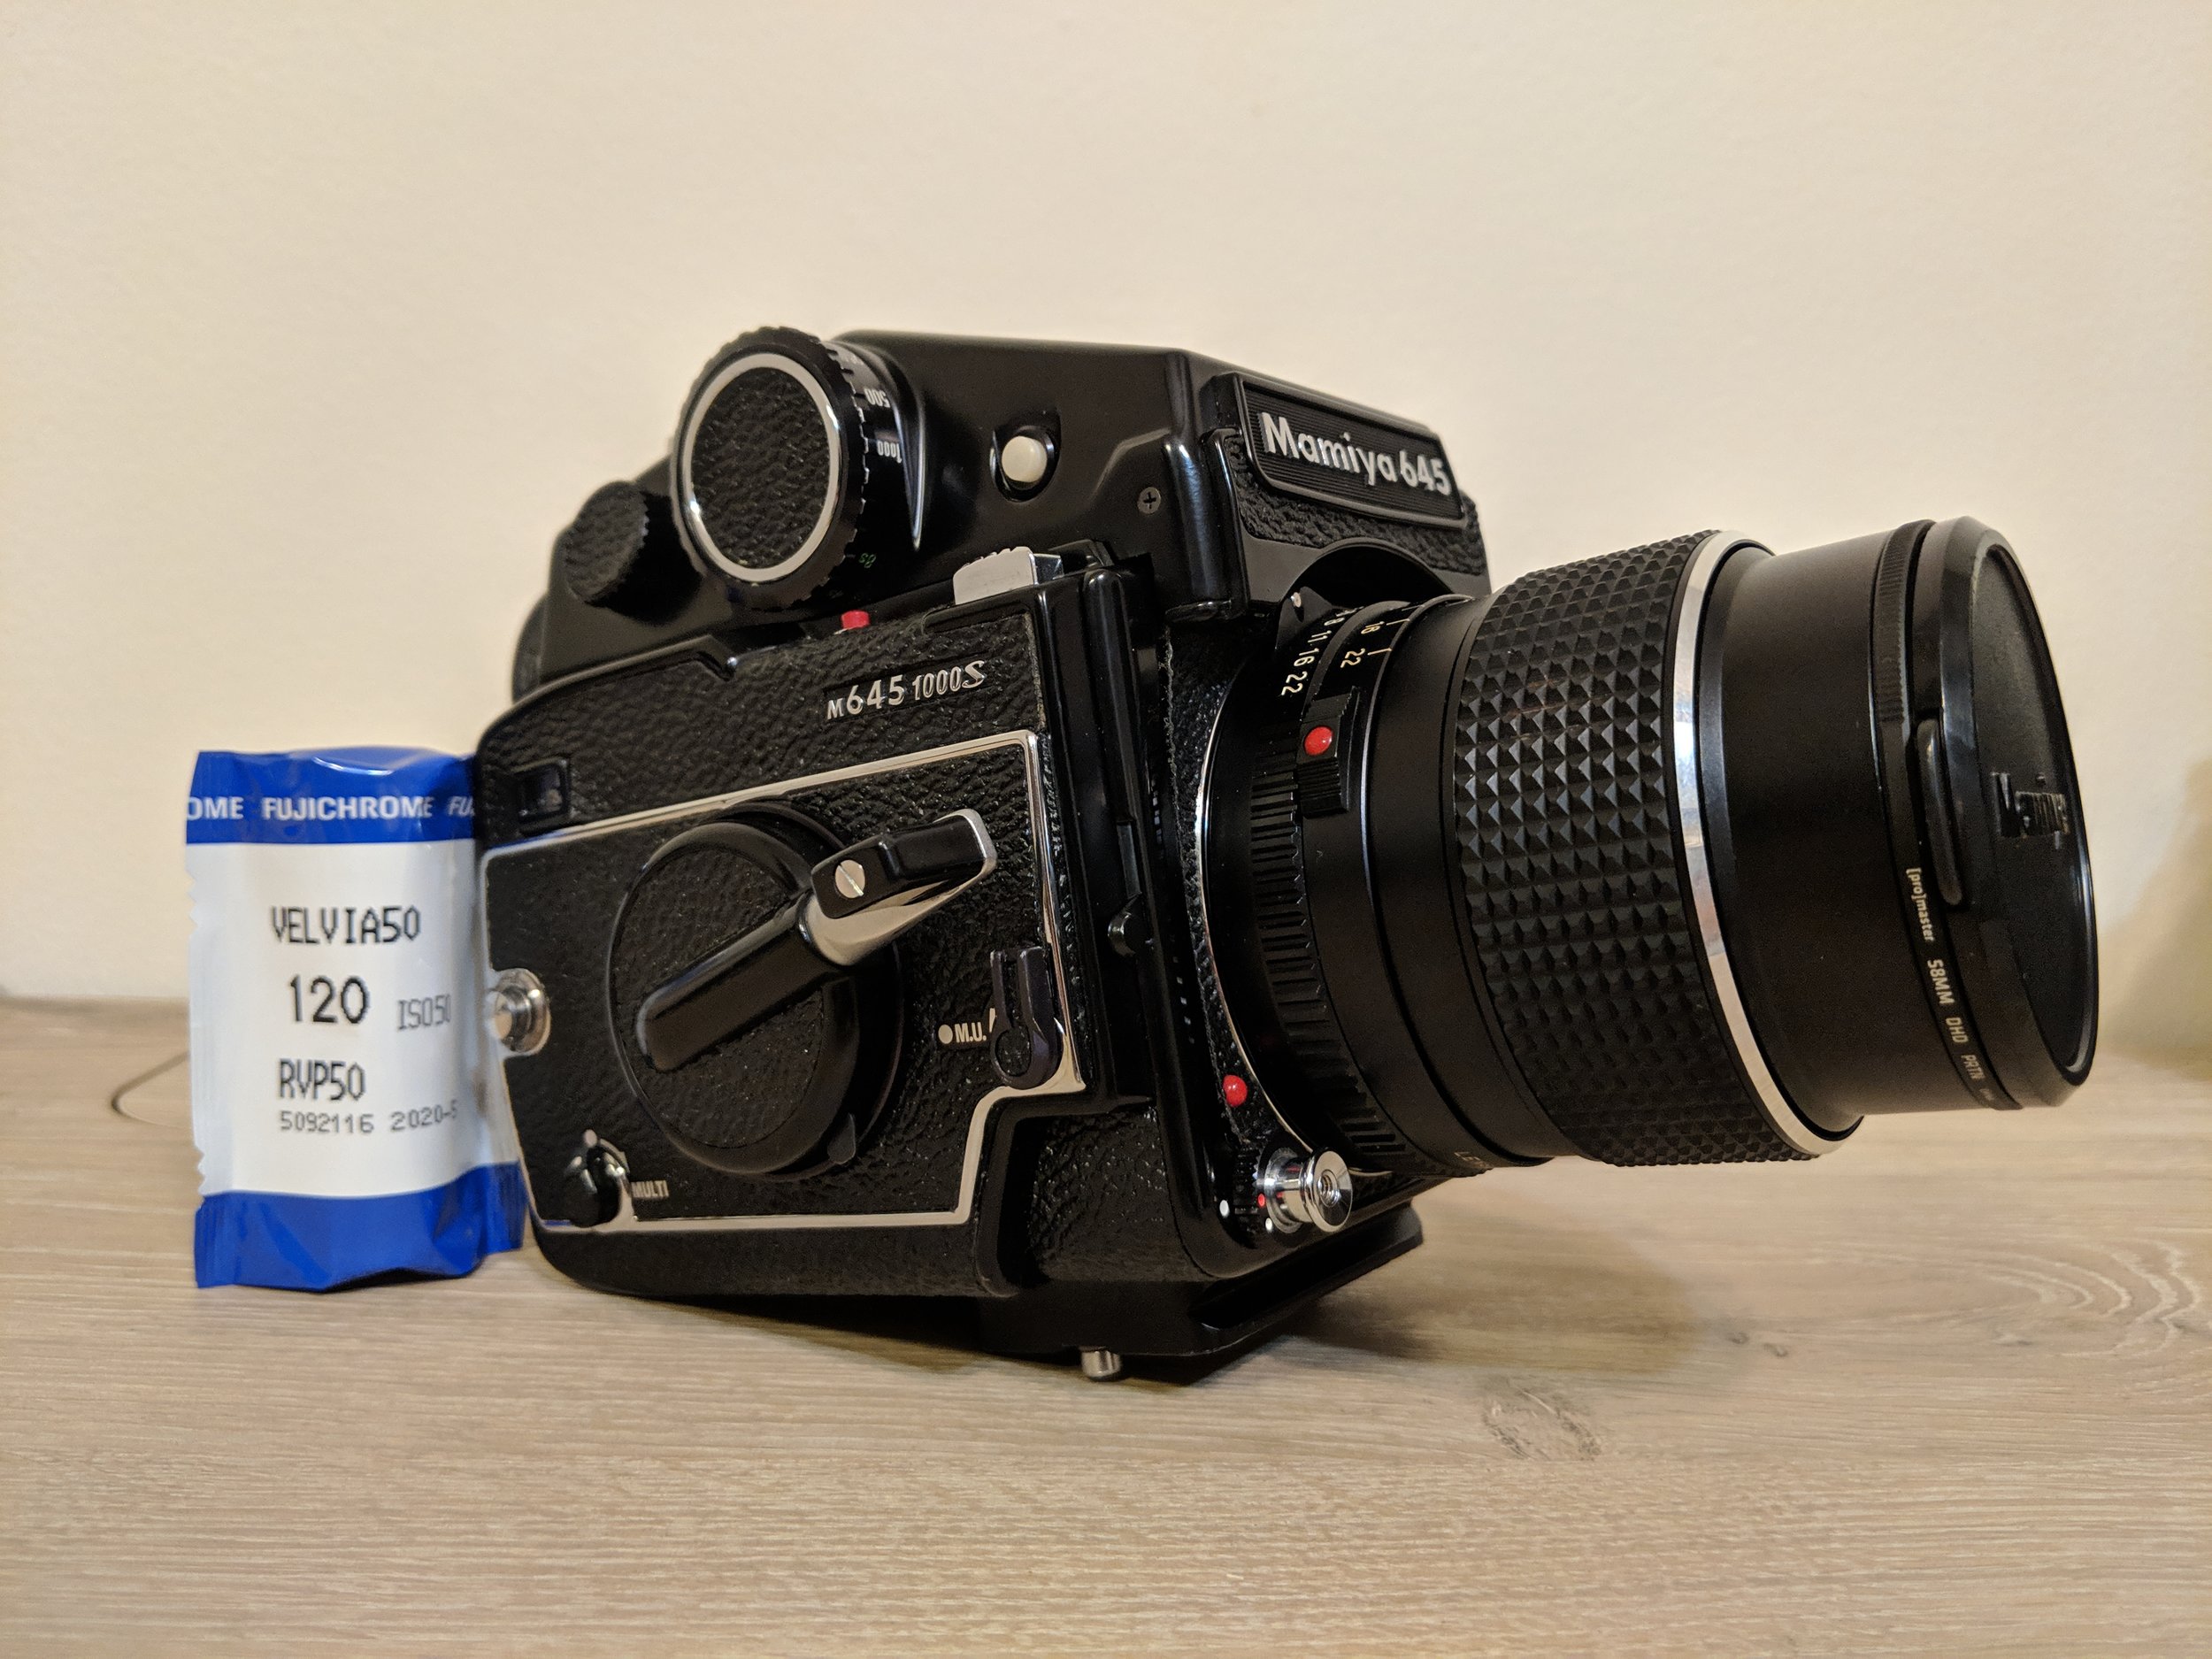
My dive into medium format film was hard and fast. Less than two months after I started shooting film again, and after buying a Leica M3, I found this beauty of a Mamiya M645 set up on eBay. It originally came with the 80mm f/2.8 but I wanted to go a little wider. The 55 f/2.8 offers a full frame equivalent of about 36mm. This lens has barely left the camera, and allows me to hand hold most shots at 1/60th of a second with ease.
The lens itself is small and decently light for being mostly metal and glass, where as the body weighs at least two and a half pounds with the metered prism attached. It's a honker, that's for sure. The body is solidly built, the mirror is massive and claps loudly when either of the shutters is pressed. The 1000s has a mirror up lever (highly suggested for slower speeds) and a multi-exposure opposite of the mirror up. I haven't experimented with how many exposures are possible, but I imagine it could go on endlessly if necessary. Shutter speeds range from 1/1000th of a second to 8 seconds. The multi-exposure lever could be utilized for astrophotography if need be. It's not my favorite camera to lug around, but it certainly gets used the most.
It produces 15 images when 120 film is used, 30 with 220. Each negative is 56mm by 42mm, so not quite 6x4.5. Since the shutter button located on the front of the body is rather touchy, I would highly recommend locking it after each carefully curated shot. Film in general slows you down, but medium format does so even more.
Here's to making those 15 shots count.
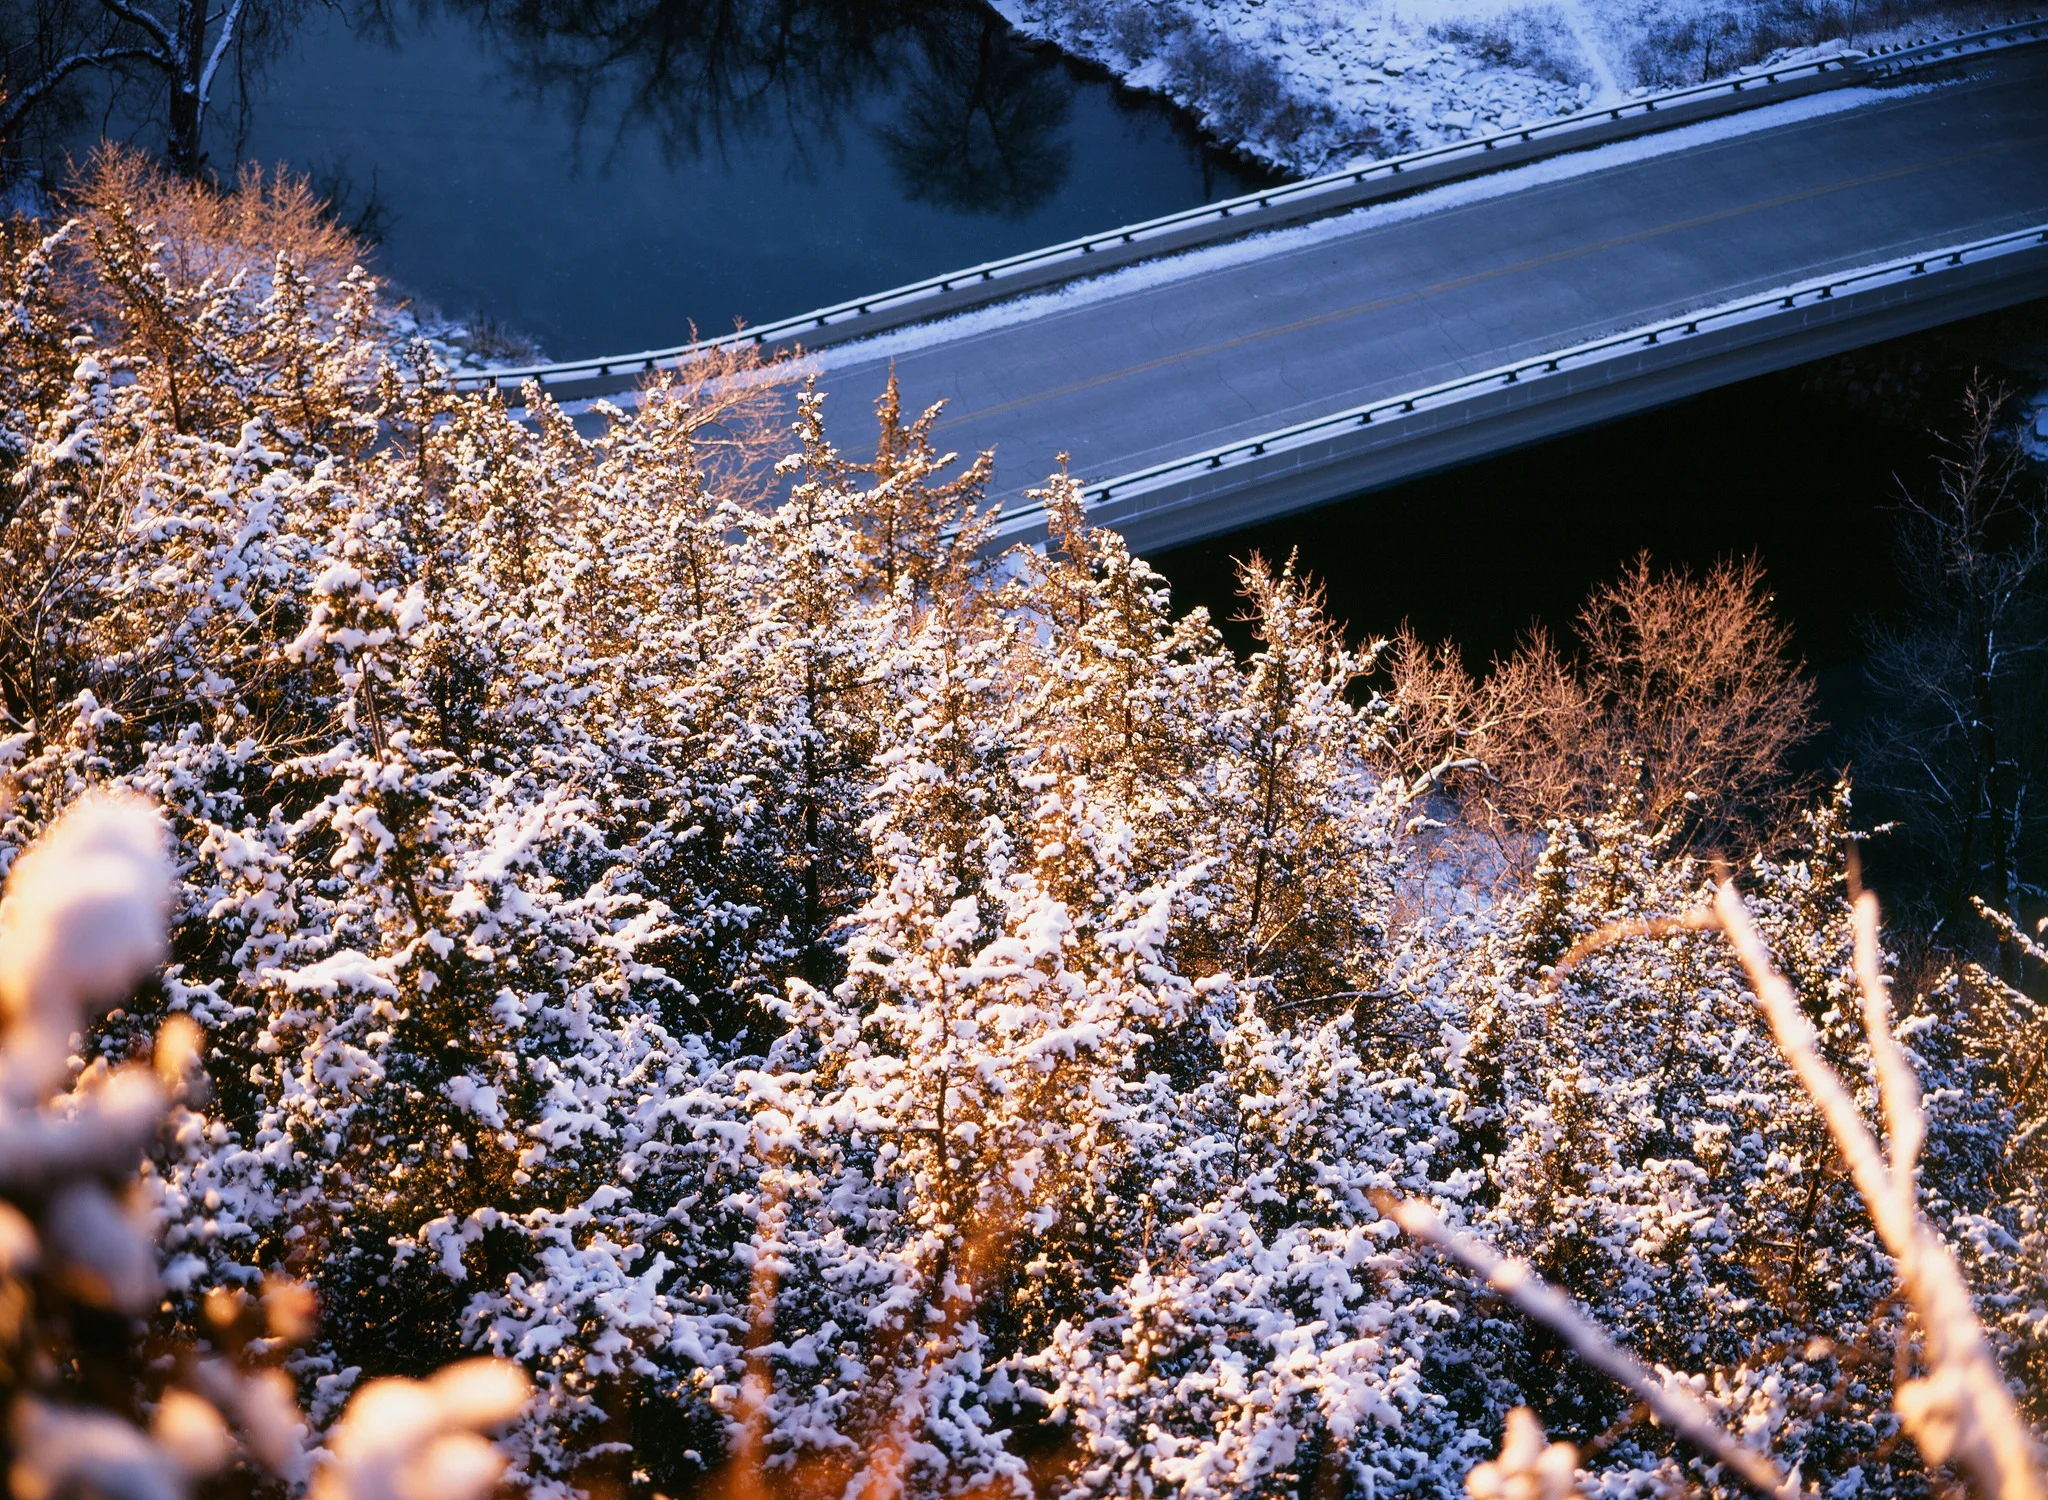
Velvia 50 - Lanesboro
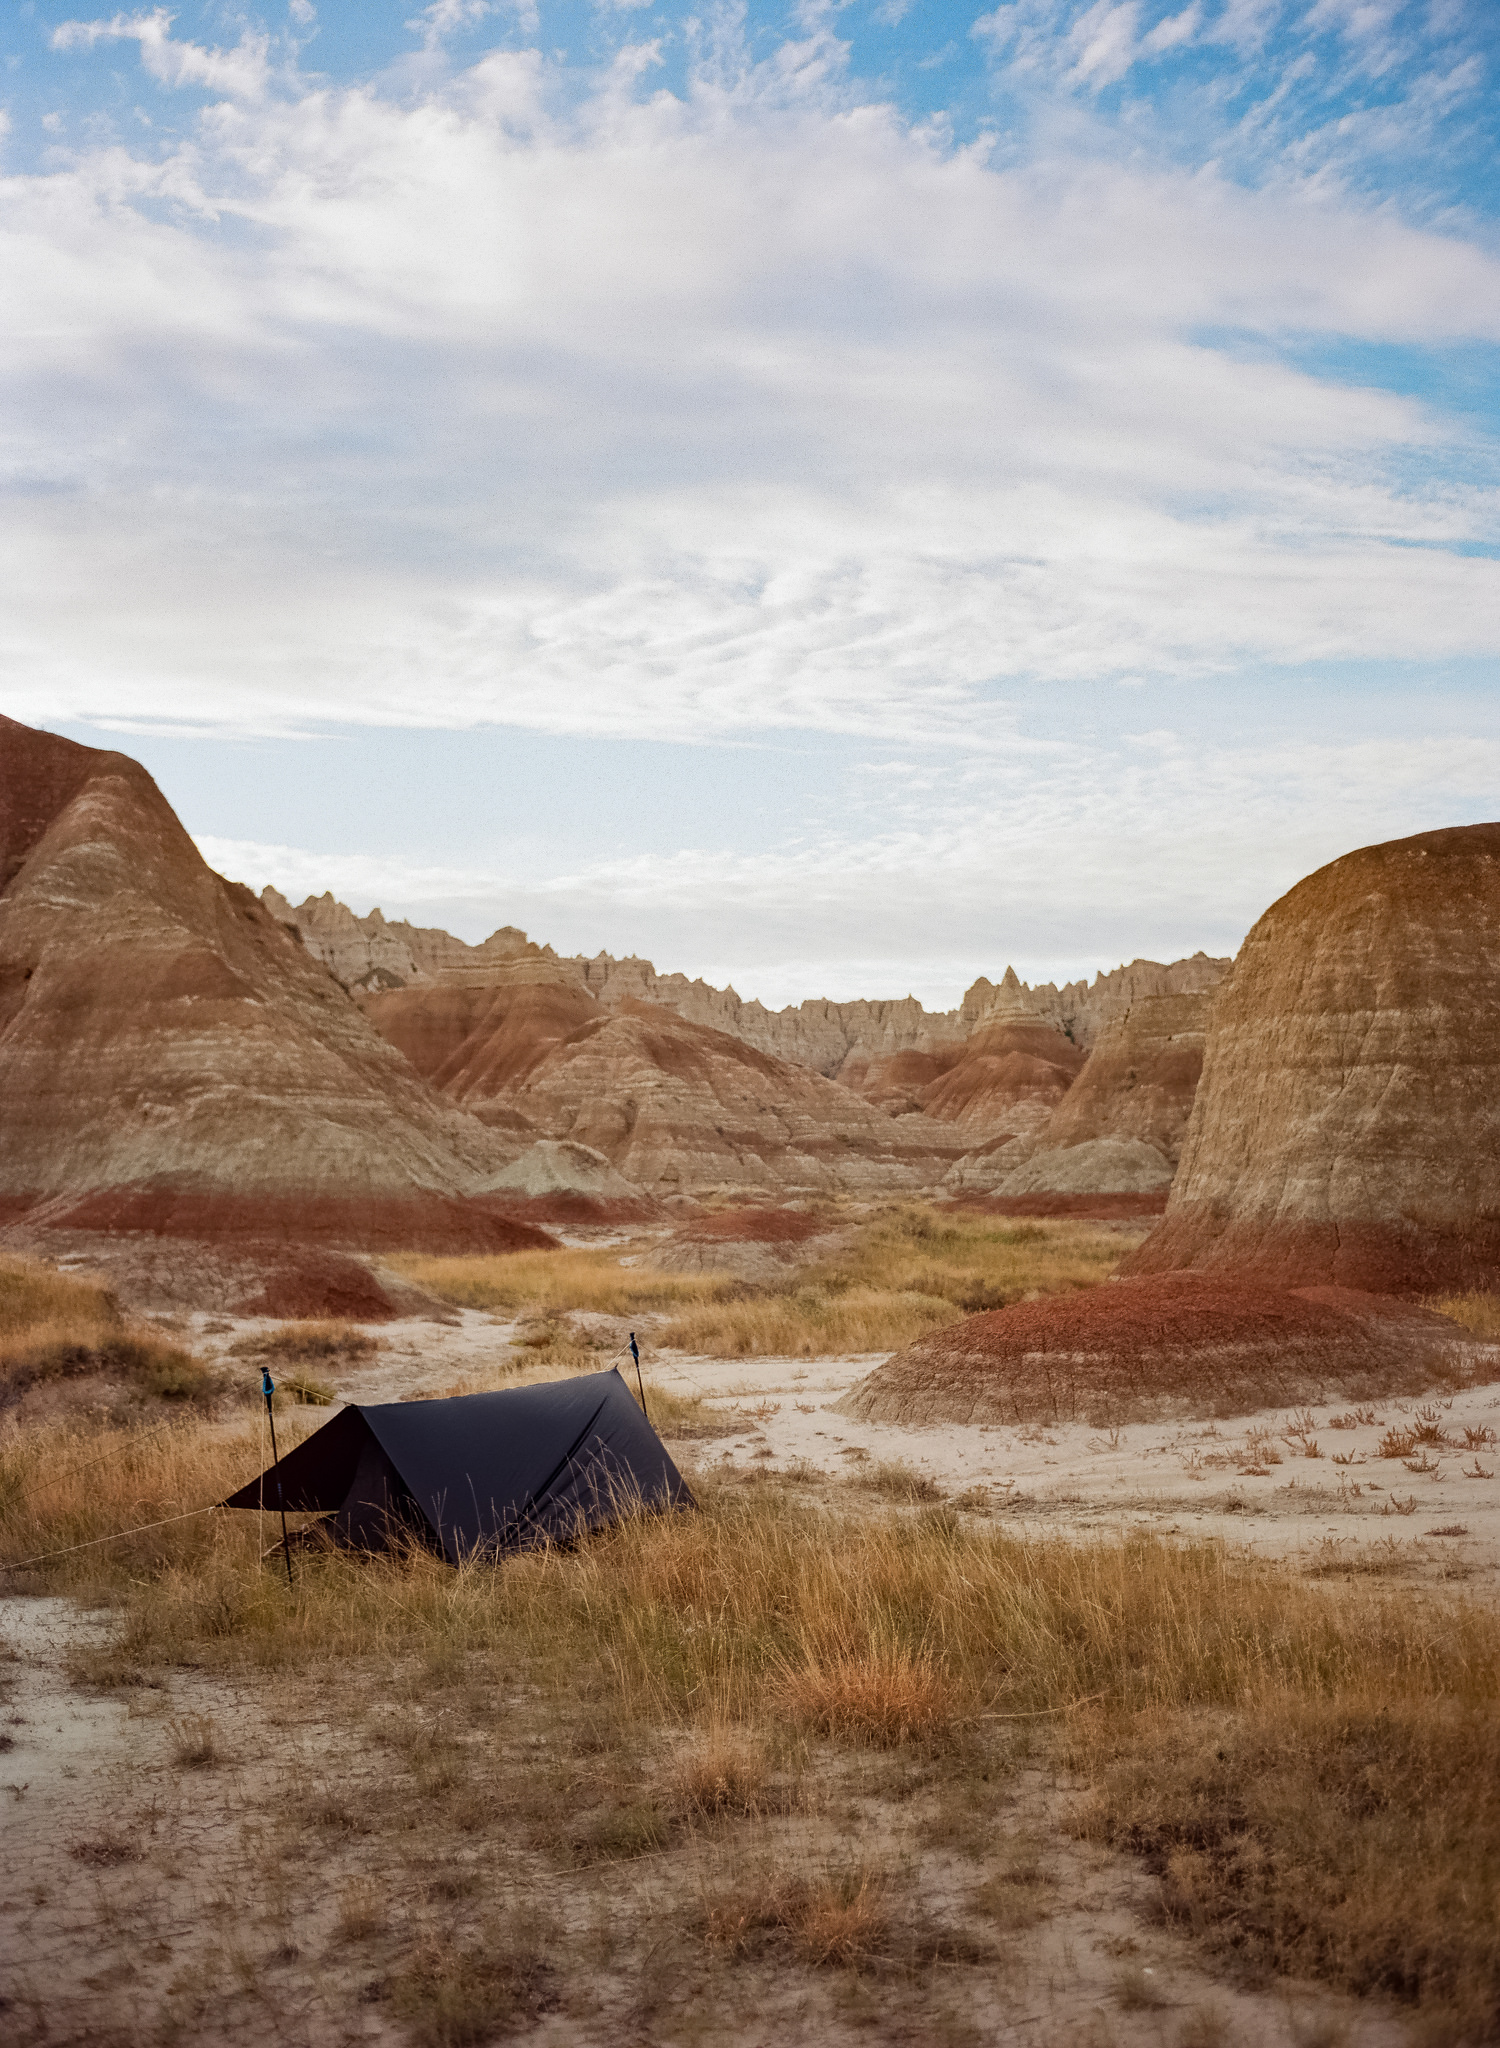
Ektar 100 - Badlands National Park

Velvia 50 - Lanesboro

Ektar 100 - Badlands National Park
Velvia 50 - Lanesboro
6 Frames with the Canon Rebel G and 50mm f/1.8
The Canon Rebel G is not a sought-after film camera, but it’s what I was gifted for a film photography class I accidentally took in college. It was my moms’, and either well taken care of, or rarely used. It’s rather simple, with one dial to control shutter speed and aperture, a shutter button, a self-timer, different exposure modes ranging from A to M, an ISO mode to change the automatic reading of the film, exposure lock, and TTL center weighted metering.

The Canon Rebel G is not a sought-after film camera, but it’s what I was gifted for a film photography class I accidentally took in college. It was my moms’, and either well taken care of, or rarely used. It’s rather simple, with one dial to control shutter speed and aperture, a shutter button, a self-timer, different exposure modes ranging from A to M, an ISO mode to change the automatic reading of the film, exposure lock, and TTL center weighted metering. The “Nifty Fifty” paired with the G is one of the lightest set-ups I’ve come to hold in my hands. All together it weighs less than a pound (.45 kg), fits easily in a sweat shirt pocket, and is very inconspicuous when it comes to street photography with its small form.


Metering is accurate, and looking through the viewfinder, it is incredibly easy to see your aperture, shutter speed, and exposure reading. Shutter speeds go up to 1/2000th of a second, and down to 30 seconds.
When popping open the back, the film goes on the left, rolls to the right, and automatically spools up on the right. As you are shooting, the film automatically rolls back into the film canister, preventing any shots taken from being ruined. I have come to love this feature, as winding up film is a pain in the ass with my Leica M3 and Mamiya 645 1000s. All and all, I’d recommend this set up to anyone looking to get into film, as the whole set up won’t cost more than $150 (less if you buy a used nifty fifty). This camera is entirely responsible for my expensive dive into film, and I wouldn’t have it any other way.